Inventory
Stock In
https://wesshelp.wessconnect.com/2021/06/16/how-to-do-stock-in/
Step 1: Click “INVENTORY”
Step 2: Click “STOCK IN”
Step 3: Click “NEW”
Step 4: Click “SUPPLIER” or “BRANCH”
Step 5: Fill in general information
Step 6: Fill in item details
Step 7: Click “✚”
Step 8: You can continue add the following items
Step 9: Click “APPROVE”
Last update: April 2021
https://wesshelp.wessconnect.com/2021/06/16/how-to-edit-stock-in/
Step 1: Click “INVENTORY”
Step 2: Click “STOCK IN”
Step 3: Select the stock in record
Step 4: Click “EDIT”
Step 5: You can make the changes if needed
Step 6: Click “APPROVE”
Last update: April 2021
https://wesshelp.wessconnect.com/2021/06/16/how-to-void-stock-in/
Step 1: Click “INVENTORY”
Step 2: Click “STOCK IN”
Step 3: Select the stock in record
Step 4: Click “EDIT”
Step 5: Click “VOID”
Last update: April 2021
https://wesshelp.wessconnect.com/2021/06/16/how-to-add-stock-movement-option/
Step 1: Click “SETTING”
Step 2: Click “STOCK MOVEMENT”
Step 3: Click “NEW”
Step 4: Fill in stock movement details
Step 5: Click “SAVE”
Last update: April 2021
Stock Out
https://wesshelp.wessconnect.com/2021/06/16/how-to-do-stock-out/
Step 1: Click “INVENTORY”
Step 2: Click “STOCK OUT”
Step 3: Click “NEW”
Step 4: Click “SUPPLIER” or “BRANCH”
Step 5: Fill in general information
Step 6: Fill in item details
Step 7: Click “✚”
Step 8: You can continue add the following items
Step 9: Click “APPROVE”
Last update: April 2021
https://wesshelp.wessconnect.com/2021/06/16/how-to-edit-stock-out/
Step 1: Click “INVENTORY”
Step 2: Click “STOCK OUT”
Step 3: Select the stock out record
Step 4: Click “EDIT”
Step 5: You can make the changes if needed
Step 6: Click “APPROVE”
Last update: April 2021
https://wesshelp.wessconnect.com/2021/06/16/how-to-void-stock-out/
Step 1: Click “INVENTORY”
Step 2: Click “STOCK OUT”
Step 3: Select the stock out record
Step 4: Click “EDIT”
Step 5: Click “VOID”
Last update: April 2021
https://wesshelp.wessconnect.com/2021/06/16/how-to-add-stock-movement-option-2/
Step 1: Click “SETTING”
Step 2: Click “STOCK MOVEMENT”
Step 3: Click “NEW”
Step 4: Fill in stock movement details
Step 5: Click “SAVE”
Last update: April 2021
Stock Take
https://wesshelp.wessconnect.com/2021/06/16/how-to-do-stock-take/
Step 1: Click “INVENTORY”
Step 2: Click “STOCK TAKE”
Step 3: Click “NEW”
Step 4: Click “GENERATE”
Step 5: Click and select the employee
Step 6: You can count the stock quantity and fill in remark to record
Step 7: Click “APPROVE”
Last update: April 2021
https://wesshelp.wessconnect.com/2021/06/16/how-to-edit-stock-take/
Step 1: Click “INVENTORY”
Step 2: Click “STOCK TAKE”
Step 3: Select the stock take record
Step 4: Click “EDIT”
Step 5: You can make the changes if needed
Step 6: Click “APPROVE”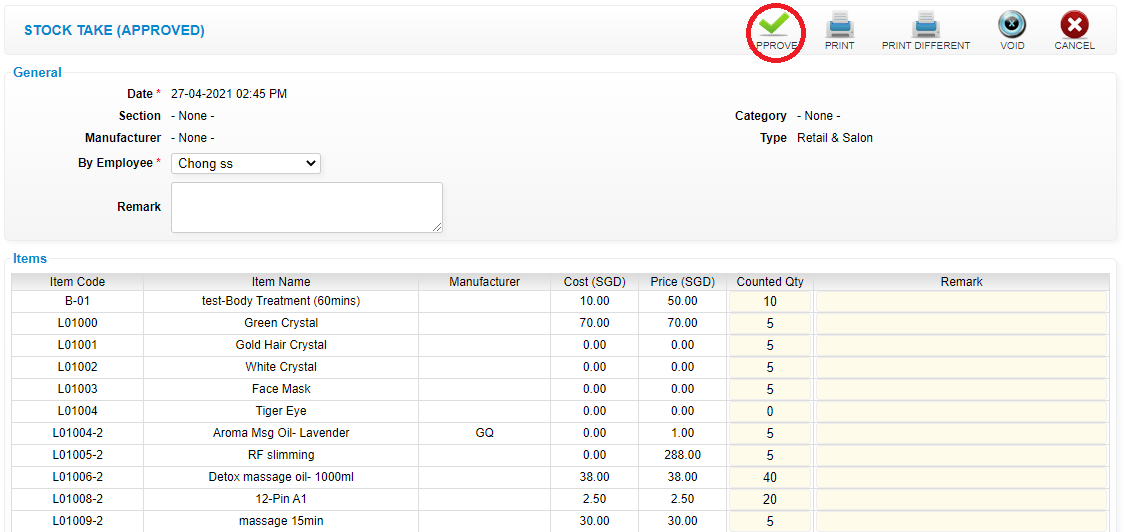
Last update: April 2021
https://wesshelp.wessconnect.com/2021/06/16/how-to-delete-stock-take/
Step 1: Click “INVENTORY”
Step 2: Click “STOCK TAKE”
Step 3: Select the stock take record want to delete
Step 4: Click “DELETE”
Last update: April 2021
Step 1: Click “STOCK TAKE“.
Step 2: Click on a stock take record.
Step 3: Click “PRINT DIFFERENT“.
Step 4: “Qty” column means the stock amount before the stock take is approved.
Step 5: “Counted Qty” column means the stock amount after the stock take is approved.
Step 6: [Optional] Click on PRINT.
Last Updated: Aug 2024
Issue Coupon
https://wesshelp.wessconnect.com/2021/06/16/how-to-create-coupon-with-serial-number/
Step 1: Click “PRODUCT & SERVICE”
Step 2: Click “COUPON”
Step 3: Click “NEW”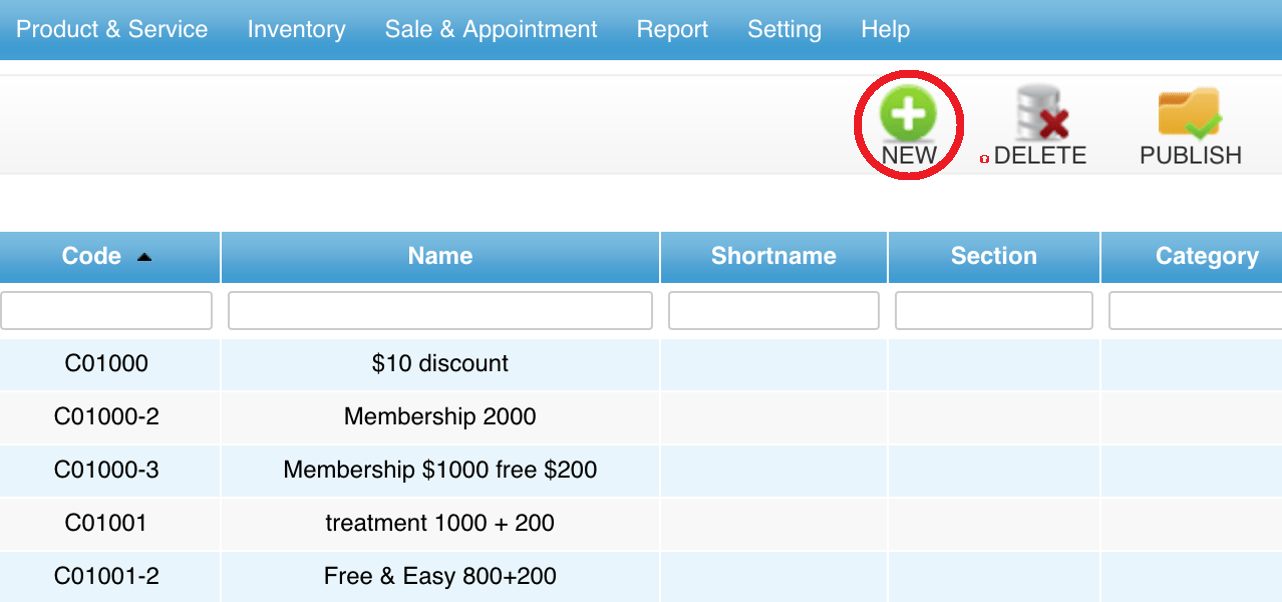
Step 4: Fill in coupon details
Step 5: Select “DISCOUNT COUPON”
Step 6: Transferable can select “YES” or “NO”
*YES – Can be selected from Use Coupon
*NO – Redeem serial number coupon from Use Prepaid”
Step 7: Select “YES”
Step 8:“Enter the discount amount or discount percentage (For e.g. 10 or 10%)”
Step 9: Click “SAVE”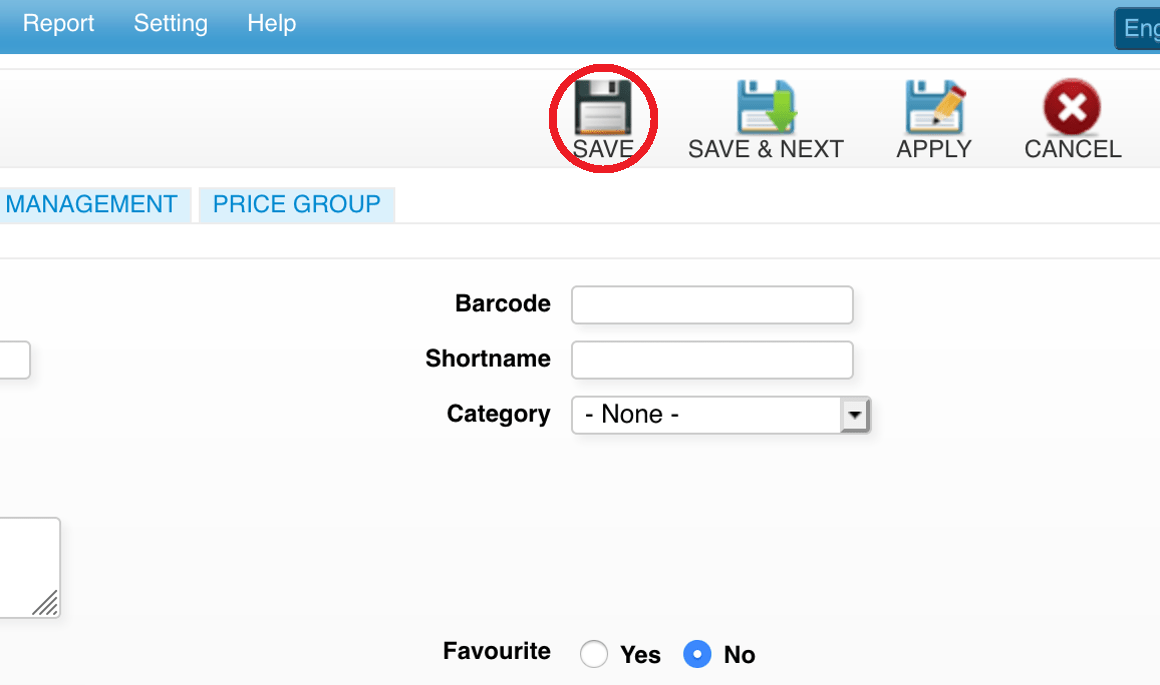
Last update: April 2021
https://wesshelp.wessconnect.com/2021/06/16/how-to-set-the-serial-number-format/
Step 1: Click “INVENTORY”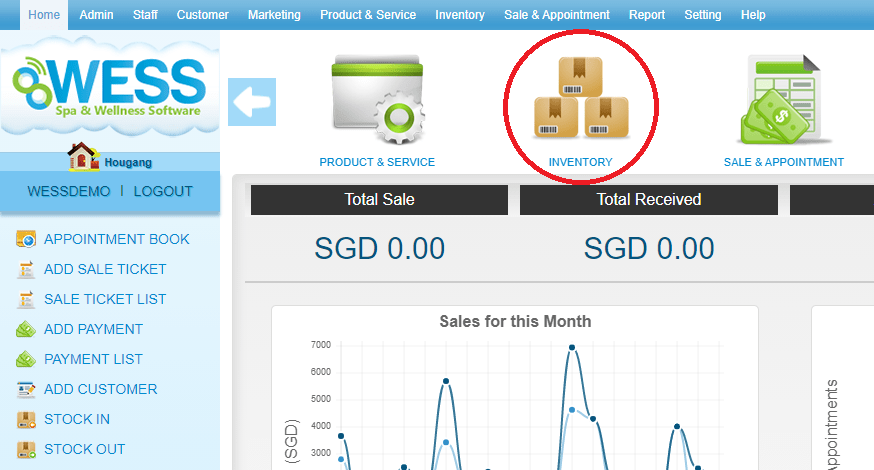
Step 2: Click “ISSUE COUPON”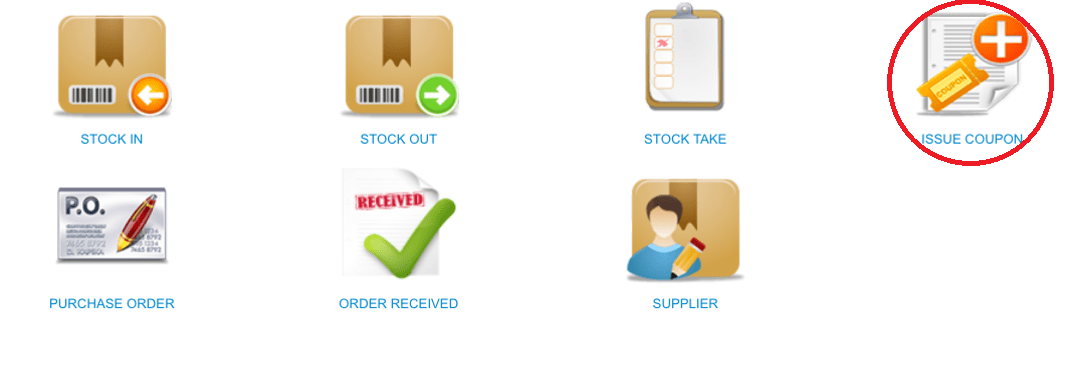
Step 3: Click “NEW”
Step 4: Fill in issue coupon details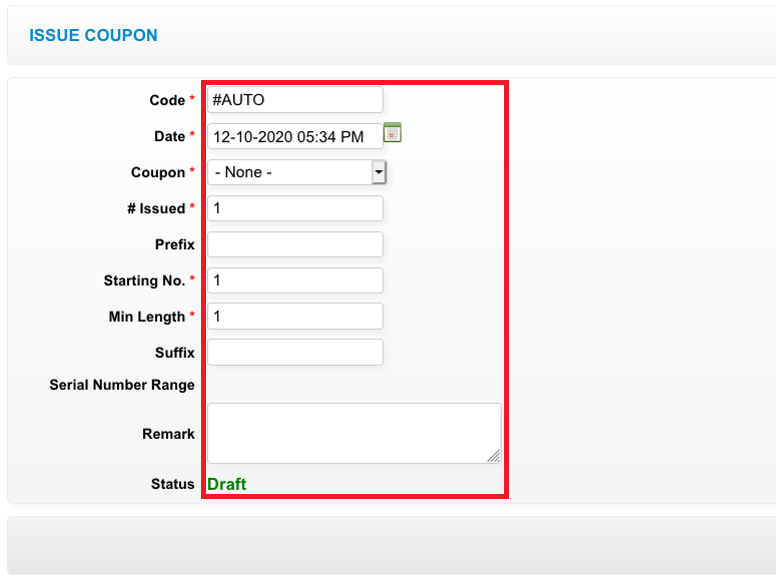
Step 5: Click “APPROVE”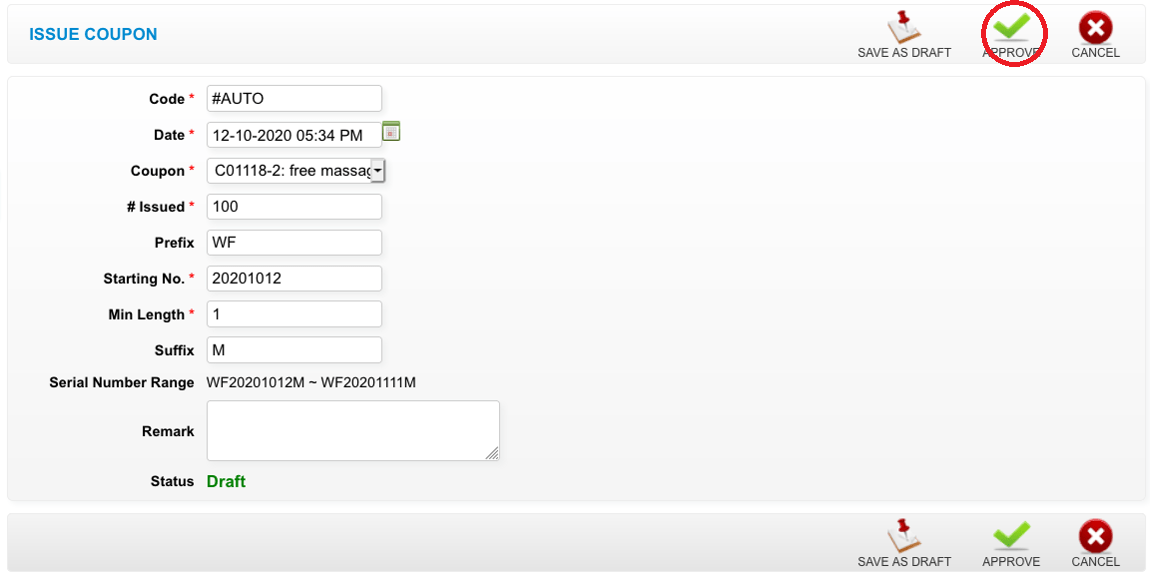
Last update: April 2021
Purchase Order & Order Received
https://wesshelp.wessconnect.com/2021/06/16/how-to-create-purchase-order/
Step 1: Click “INVENTORY”
Step 2: Click “PURCHASE ORDER”
Step 3: Click “NEW”
Step 4: Click “SUPPLIER” or “BRANCH”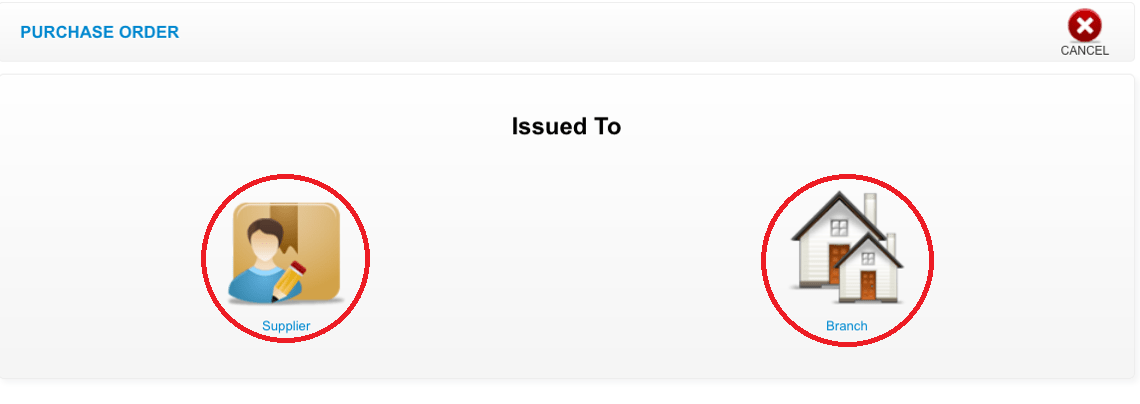
Step 5: Fill in purchase order details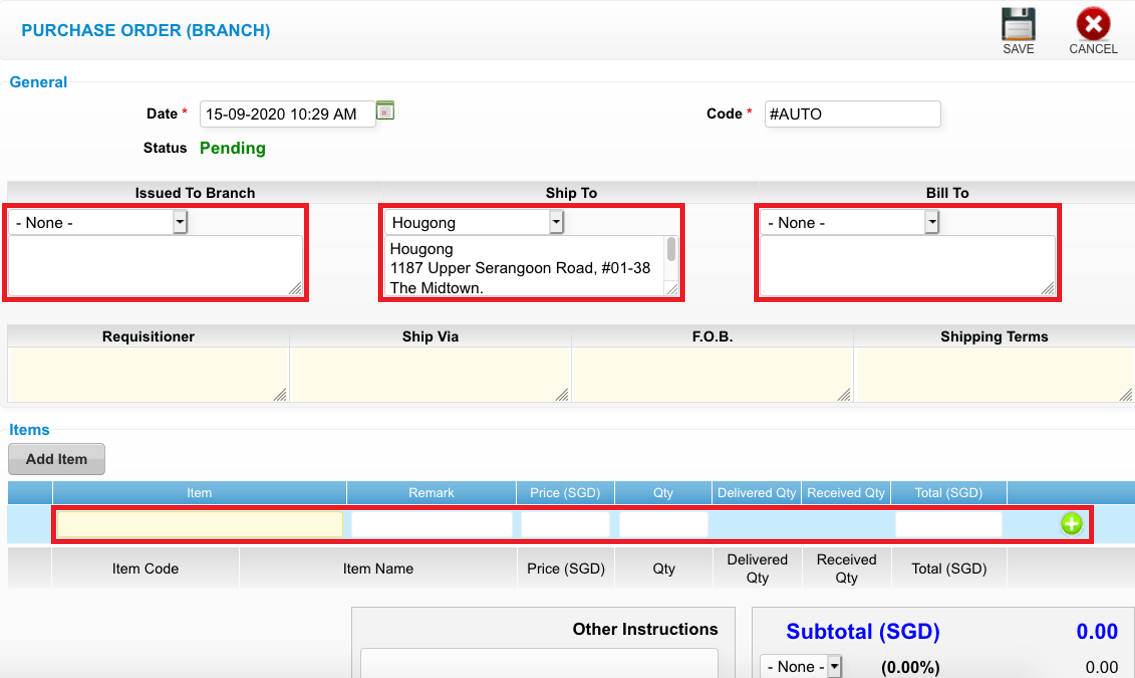
Step 4: Click “SAVE”
Last update: April 2021
Step 1: Click “INVENTORY”
Step 2: Click “ORDER RECEIVED”
Step 3: Select the purchase order record
Step 4: Fill in general details and items details
Step 5: Click “APPROVE”
Last update: April 2021
Step 1: Click “INVENTORY”
Step 2: Click “PURCHASE ORDER”
Step 3: Select the purchase order record
Step 4: Click “EDIT”
Step 5: Click “STOCK IN”
Step 6: Enter the receive items details
Step 7: Click “APPROVE”
Last update: April 2021
https://wesshelp.wessconnect.com/2021/06/16/how-to-edit-purchase-order/
Step 1: Click “INVENTORY”
Step 2: Click “PURCHASE ORDER”
Step 3: Select the purchase order record
Step 4: Click “EDIT”
Step 5: You can make the changes if needed
Step 6: Click “SAVE”
Last update: April 2021
https://wesshelp.wessconnect.com/2021/06/16/how-to-void-purchase-order/
Step 1: Click “INVENTORY”
Step 2: Click “PURCHASE ORDER”
Step 3: Select the purchase order record want to delete
Step 4: Click “EDIT”
Step 5: Click “VOID”
Last update: April 2021
Supplier
https://wesshelp.wessconnect.com/2021/06/16/how-to-add-supplier/
Step 1: Click “INVENTORY”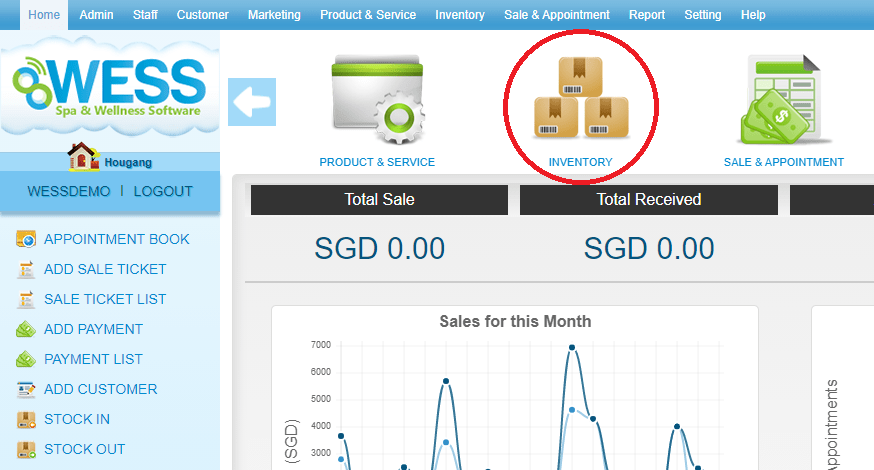
Step 2: Click “SUPPLIER”
Step 3: Click “NEW”
Step 4: Fill in supplier details
Step 5: Click “SAVE”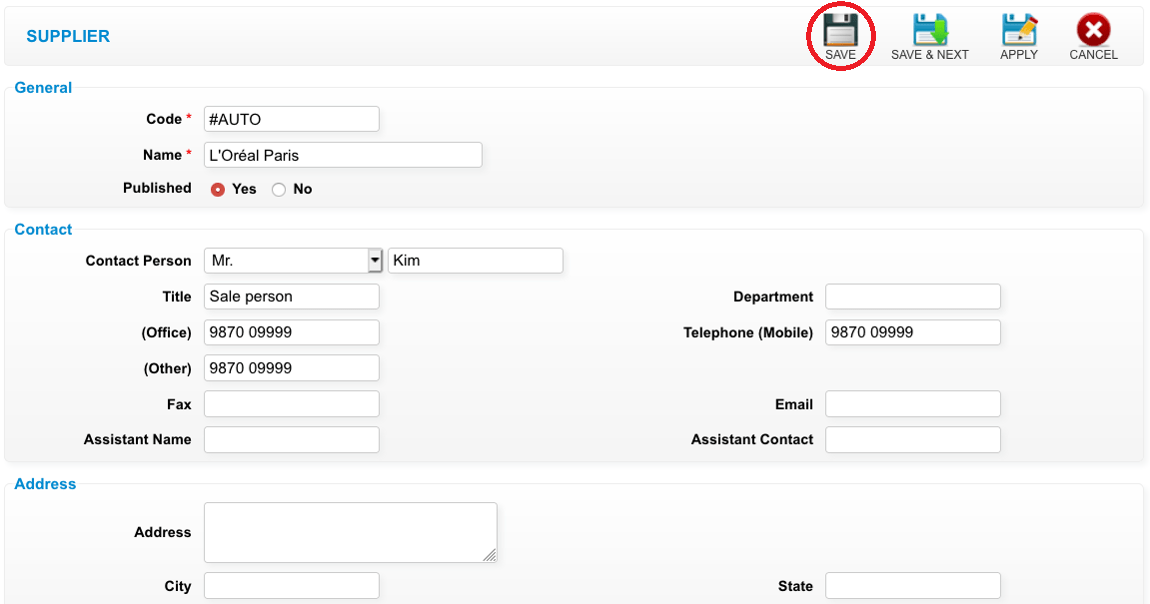
Last update: April 2021
https://wesshelp.wessconnect.com/2021/06/16/how-to-edit-supplier/
Step 1: Click “INVENTORY”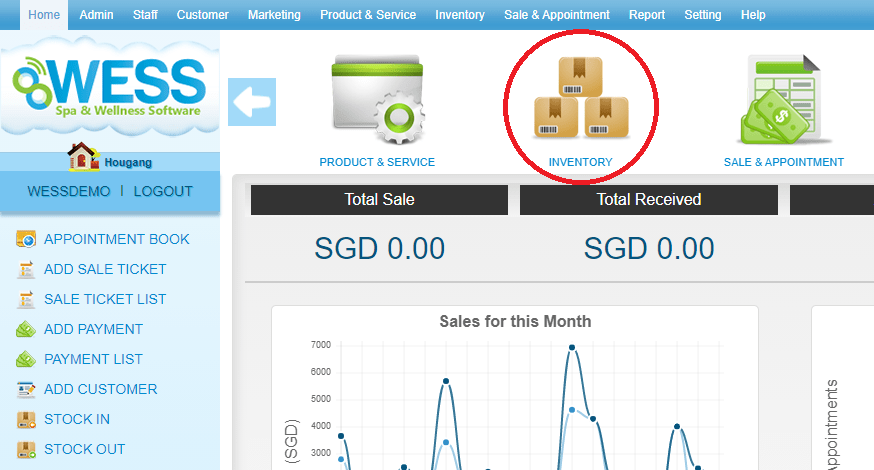
Step 2: Click “SUPPLIER”
Step 3: Select the supplier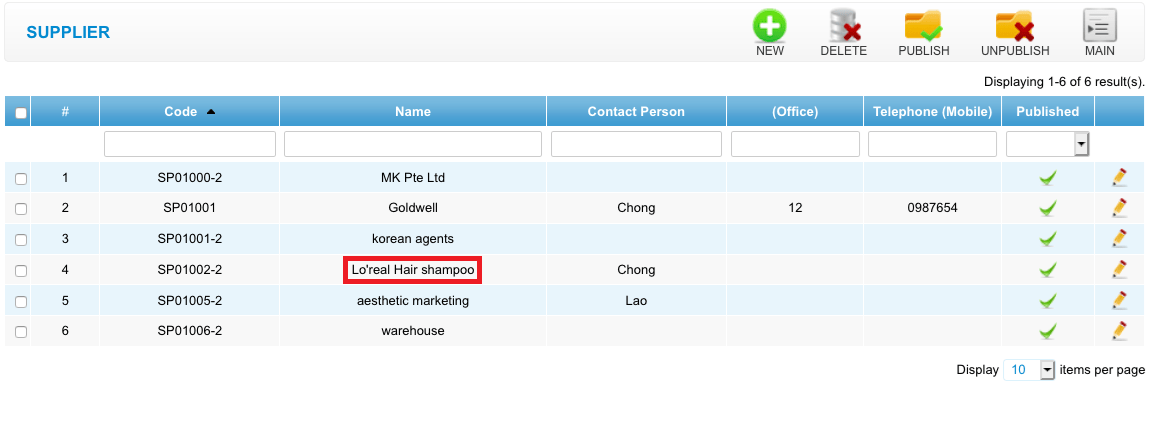
Step 4: Click “EDIT”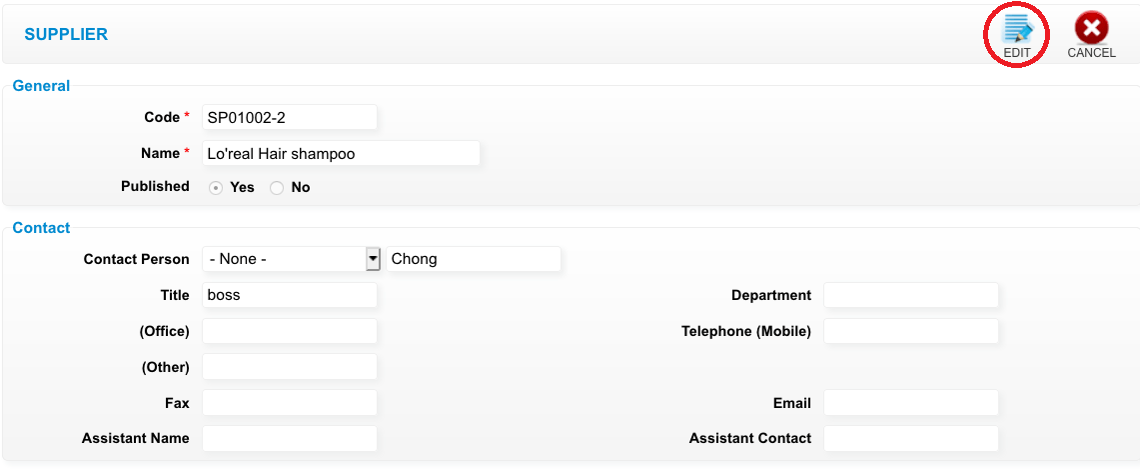
Step 5: You can make the changes if needed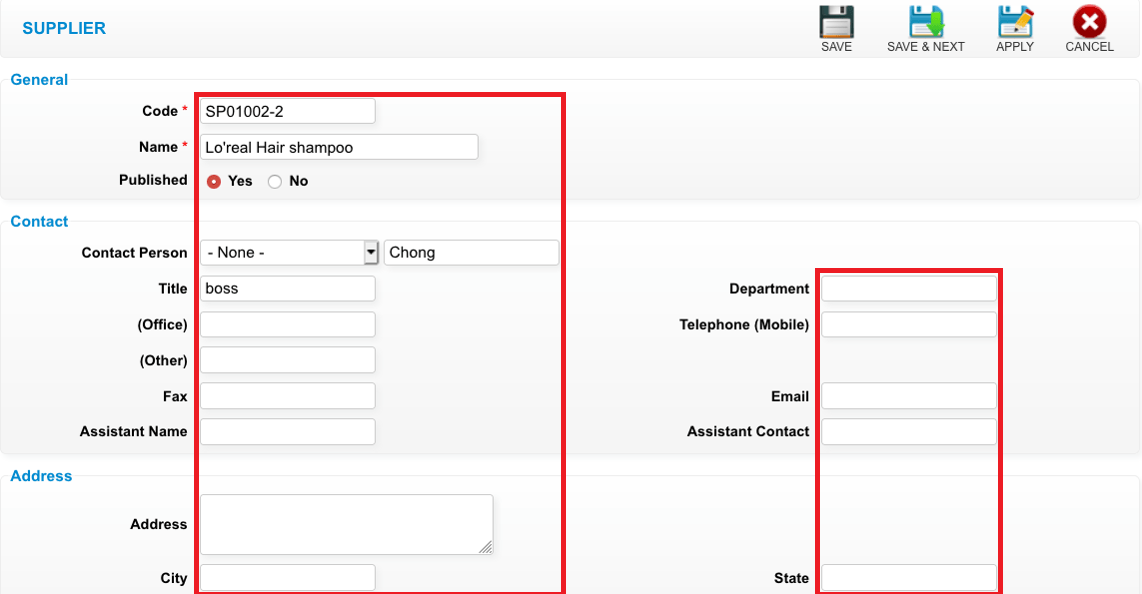
Step 6: Click “SAVE”
Last update: April 2021
https://wesshelp.wessconnect.com/2021/06/16/how-to-delete-supplier/
Step 1: Click “INVENTORY”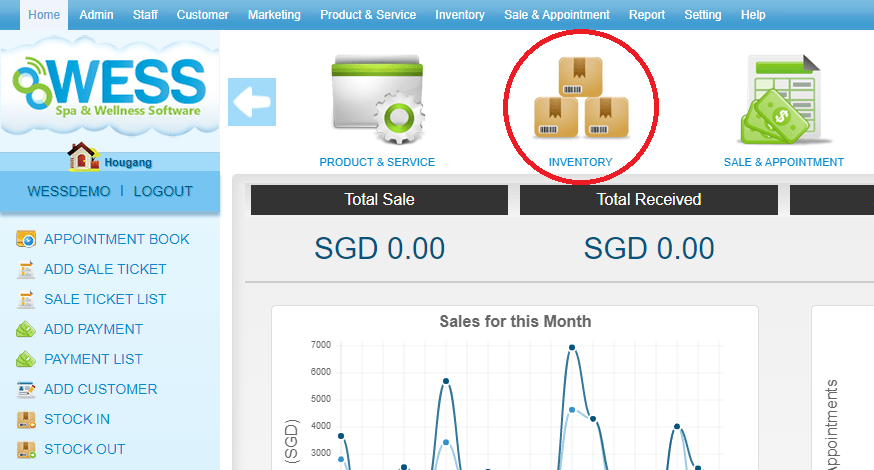
Step 2: Click “SUPPLIER”
Step 3: Select the supplier want to delete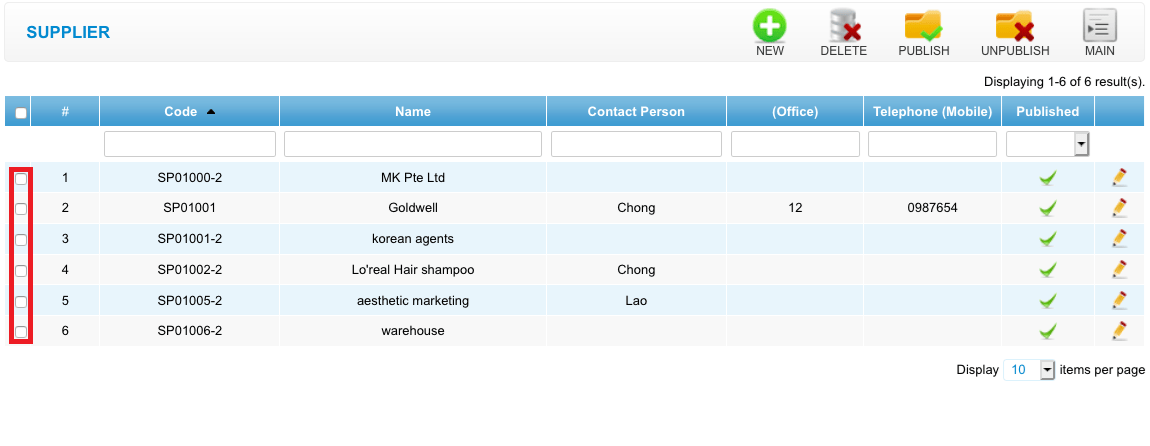
Step 4: Click “DELETE”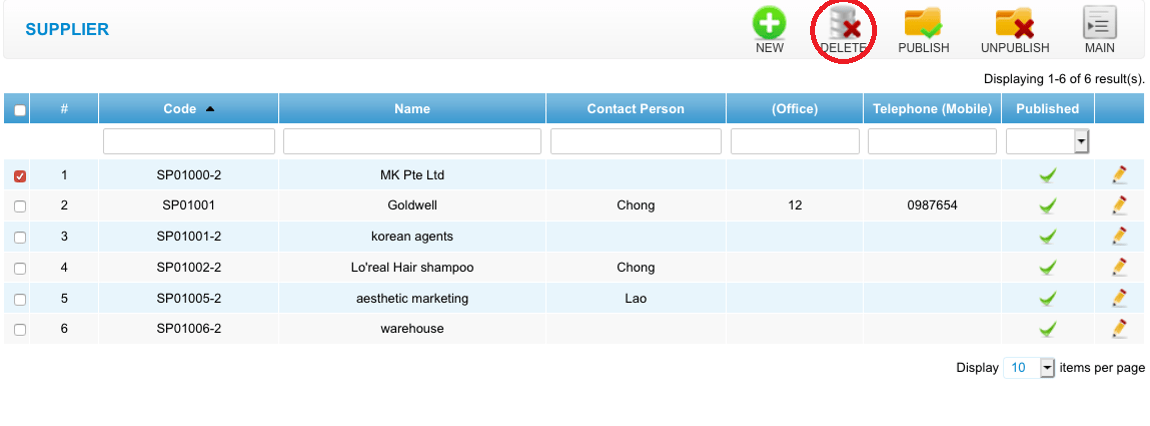
Last update: April 2021
Salon product usage
https://wesshelp.wessconnect.com/2023/03/13/how-to-set-up-salon-product-usage-amount/
Salon product: product to be used in service.
Step 1: Click “Product & Service”.
Step 2: Click “SALON PRODUCT“.
Step 3: Click on “NEW“.
Step 4: Fill in information as many as you want here.
The ‘*‘ symbol element means the required field.
Step 5: Click “STOCK CONTROL“.
Step 6: Find the “Usages Per Unit” field and set it.
- Formula : (1 / N)
- 1: one unit of the salon product.
- N: the number of times that one unit of the salon product can be used in different services.
In example diagram, this field is set up ‘8’ , N = 8.
This means one unit of the product can be used for 8 services.
Therefore, each service uses 1/8 (one-eighth) of the product unit.
Step 7: Click any Save icon “💾”.
Step 8: Make sure the salon product has been set up and saved.
Step 9: Next, click “SERVICE“.
Step 10: Click red pen icon “✏️” to open it or green “NEW” to create a specific service.
Step 11: Confirm or fill in the details of the service and click “STOCK CONTROL“. 
Step 12: Click “Add Item“.
Step 13: Display the input box with the name/code of the salon product filled in.
Step 14: Select and click the salon product. 
Step 15: Fill in “Usage Amount” after selecting the product and “Remark” if needed. Then click the add icon “+”.
Step 16: Show the Salon Product details means the add item was successful.
Step 17: Click any Save icon “💾”.
Step 18: Make sure the service is set up and saved.
Last update: July 2024
