
Full Guide: https://wesshelp.wessconnect.com/2025/01/20/how-to-add-a-new-user/
Step 1: Click “Admin” . 
Step 2: Click “User” .
Step 3: Click “NEW” .
Step 4: Create a “Username” .
Step 5: Create a “Password” .
[!] The password must contain at least the following:
a. 8 characters
b. one uppercase letter [A-Z]
c. one lowercase letter [a-z]
d. one number [1-0]
e. one special character [exp: ‘@’ , ‘#’ , ‘_’ or etc]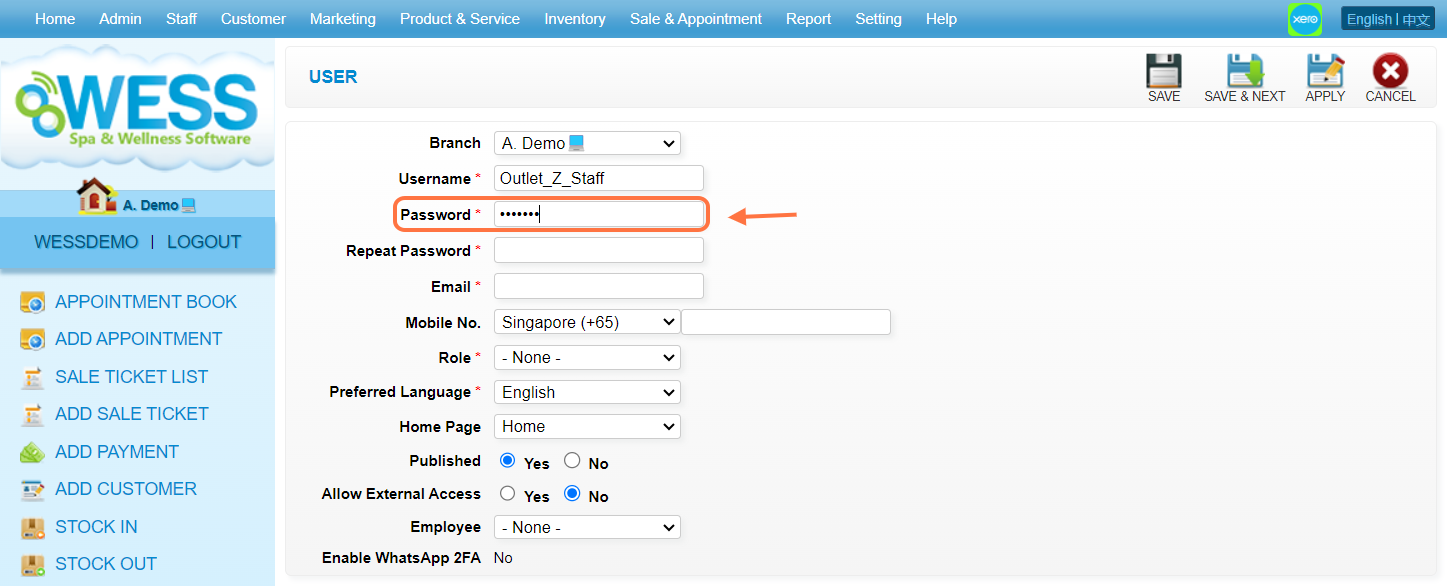
Step 6: Repeat the password here for confirmation.
Step 7: Enter a valid “email” .
Step 8: Select a phone number format and enter the phone number.
Step 9: Select a “role” for the new user.
[!] The role can determine which access this user has.
Step 10: Select a “Preferred Language” every time the user logs in to WESS.
Step 11: Make sure the “Published” has been set to “Yes“.
Step 12: Make sure “Allow External Access” is set to “No“.
[!] This setting allows the user to log in to WESS from a network other than the outlet.
Step 13: [Optional] Click on “Employee” to select the employee.
[!] Select an employee to become an admin.
Step 14: Click on “APPLY” or other disk icons to save.
Step 15: Make sure the new user has been saved.
Last Updated: August 2025
Full Guide: https://wesshelp.wessconnect.com/2021/06/17/how-to-edit-role-access-right/
Step 1: Click “ADMIN”
Step 2: Click “ROLE”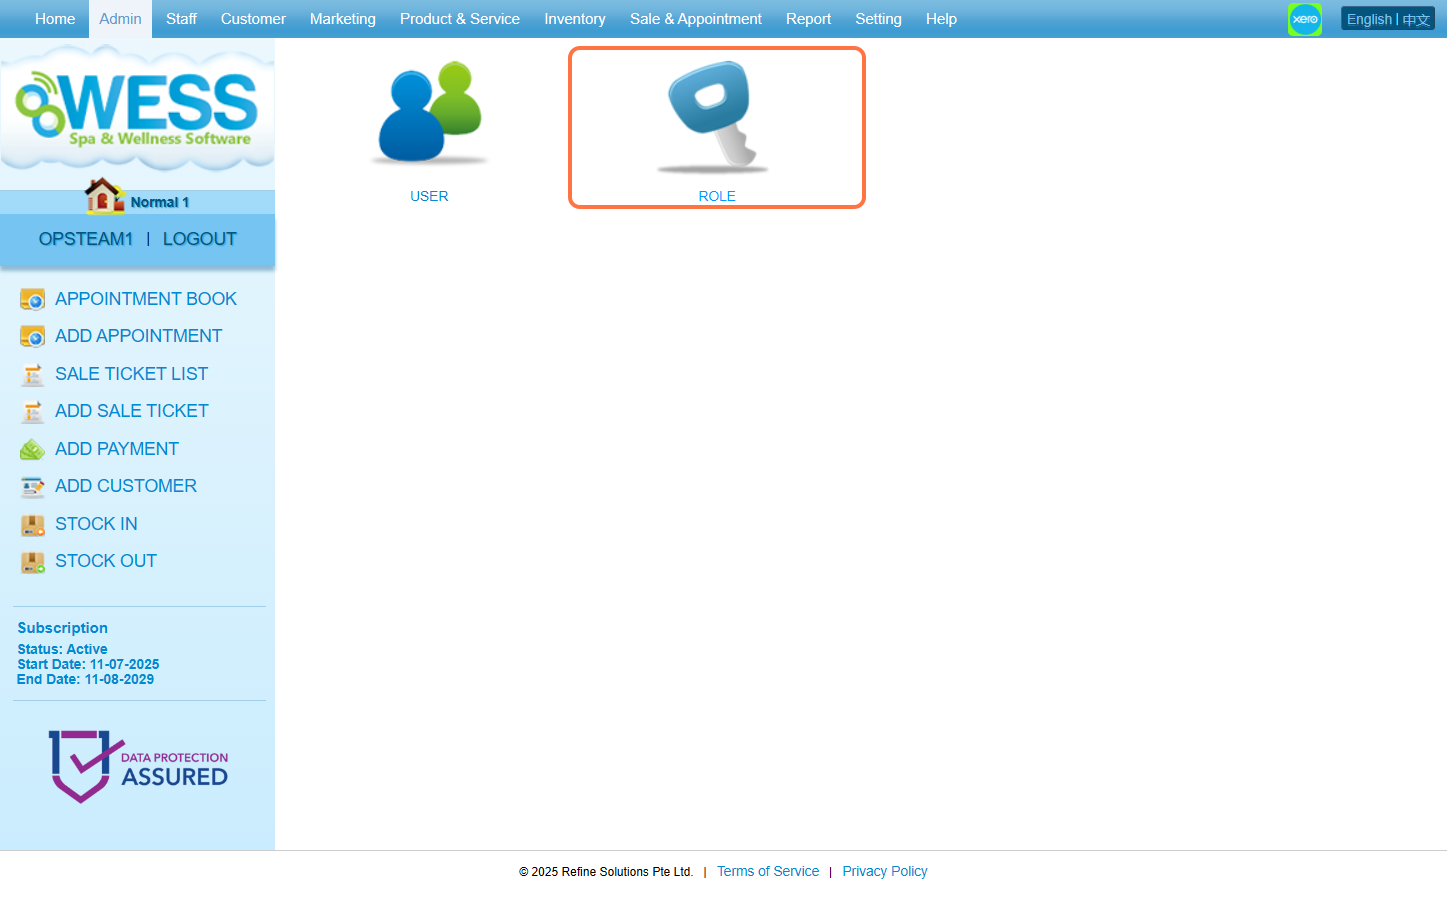
Step 3: Select any role you want to edit/make changes on 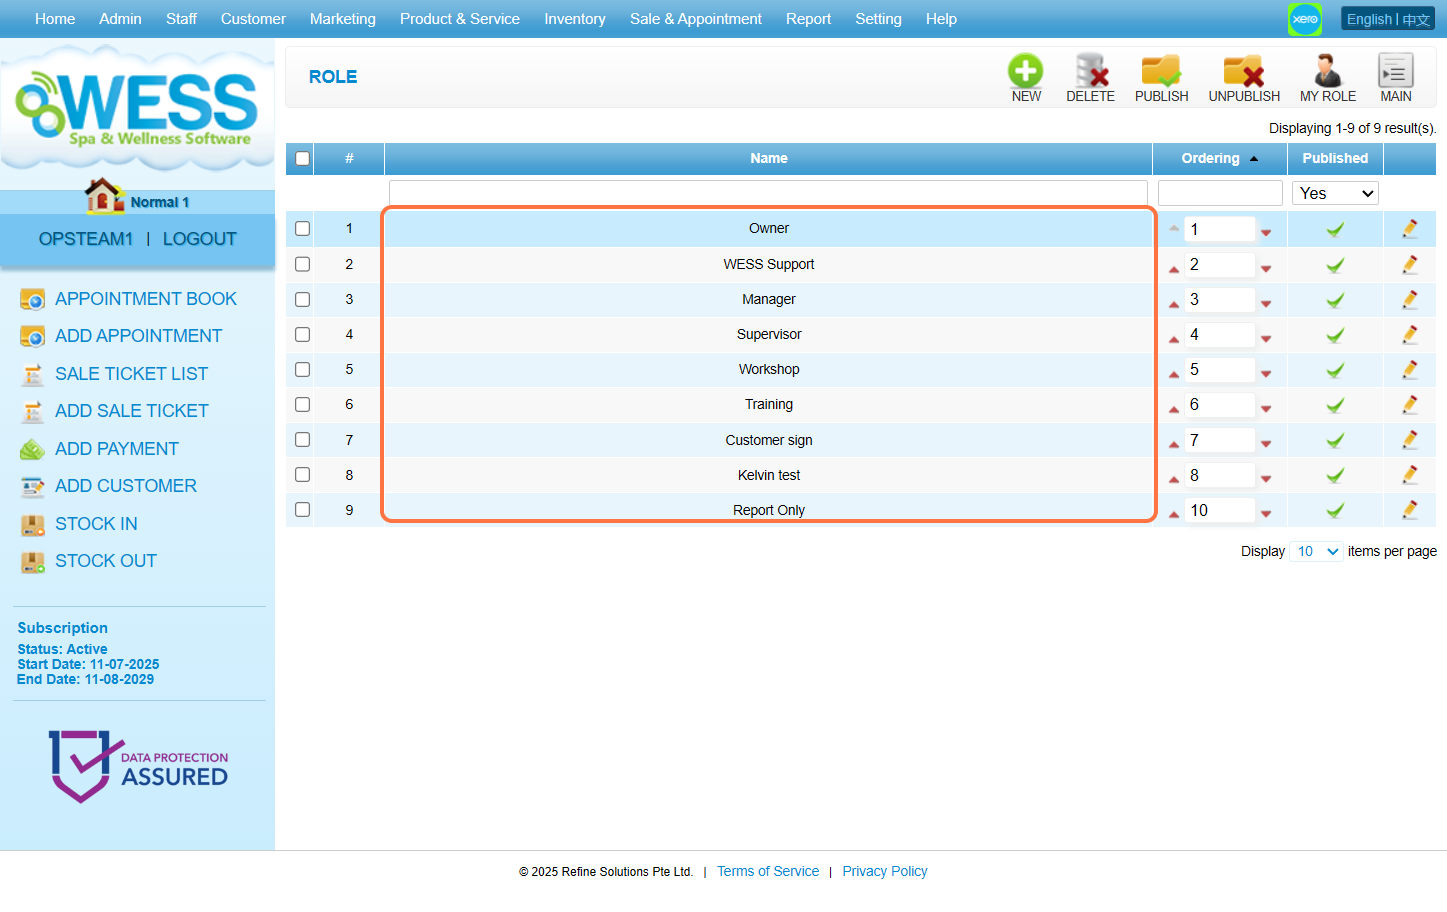
Step 4: Click “EDIT”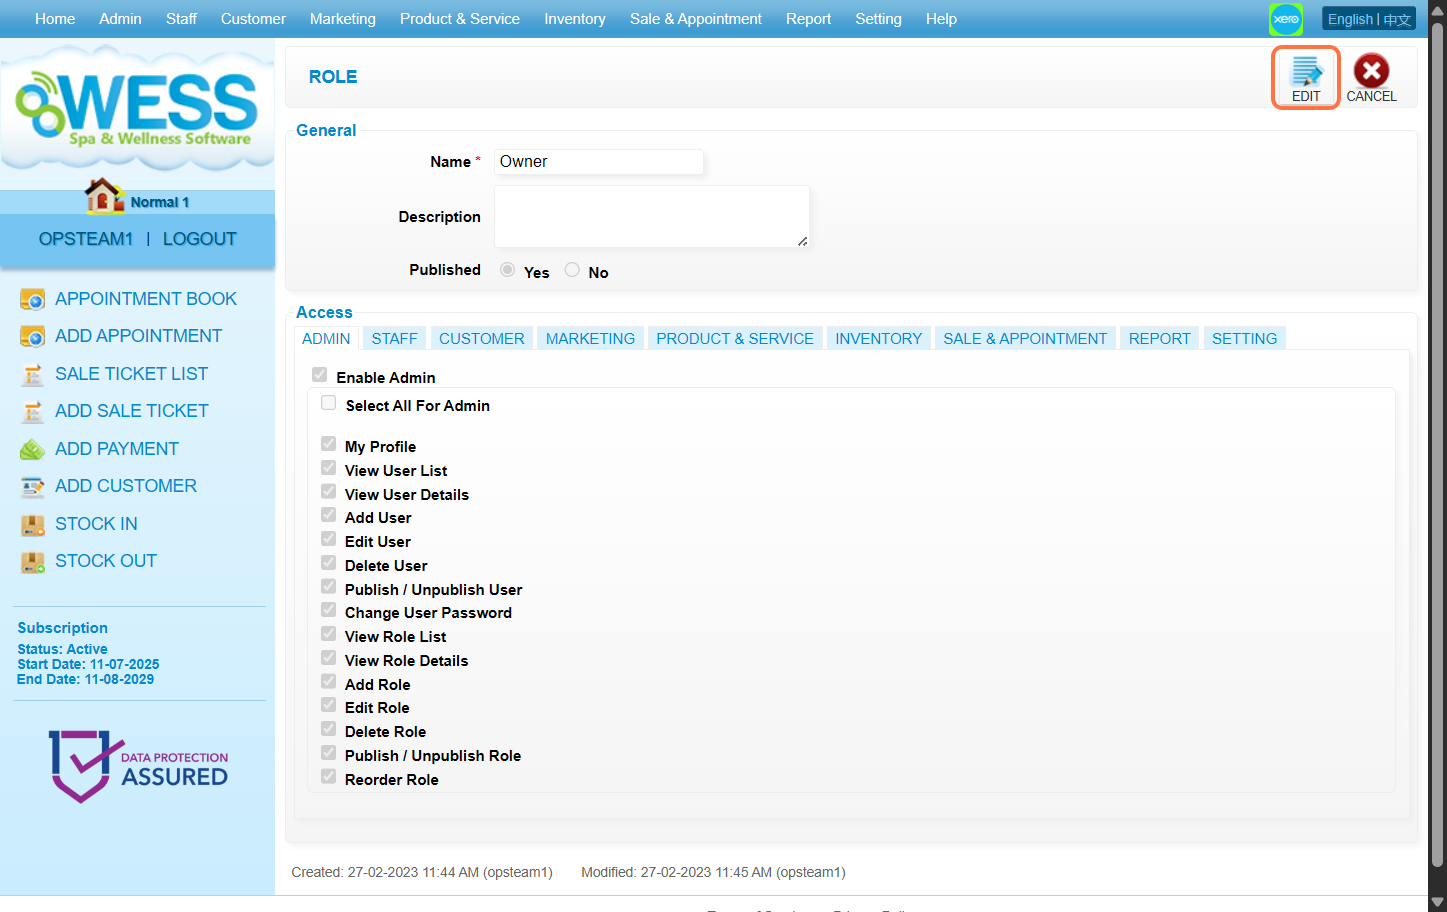
Step 5: Make any edits/changes that you wanted to do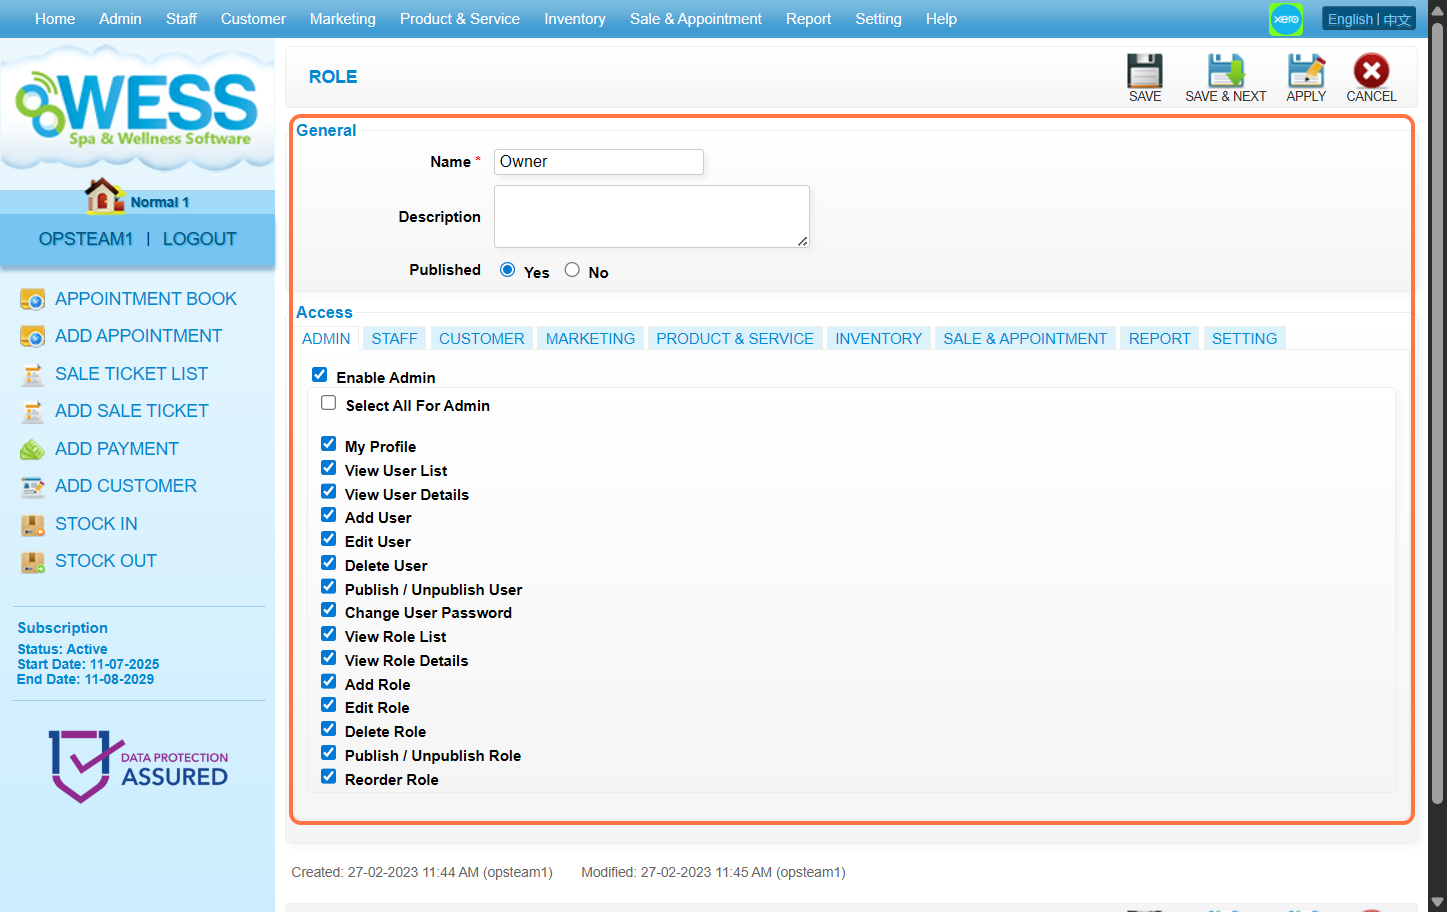
Step 6: Click “SAVE”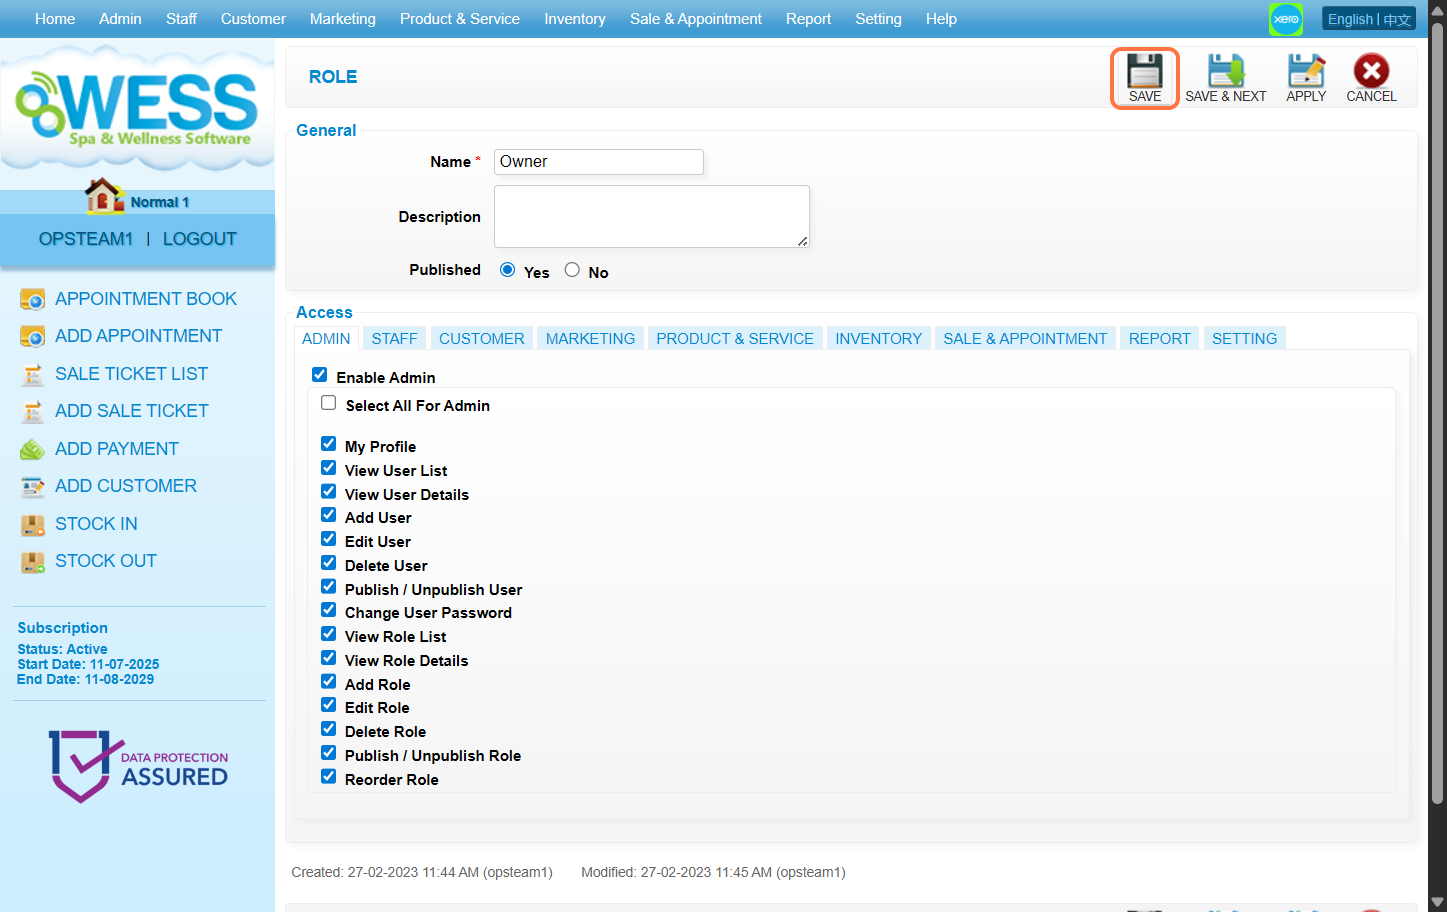
Last update: August 2025
Full Guide: https://wesshelp.wessconnect.com/2021/06/08/how-to-add-new-employee/
Step 1: Click “STAFF”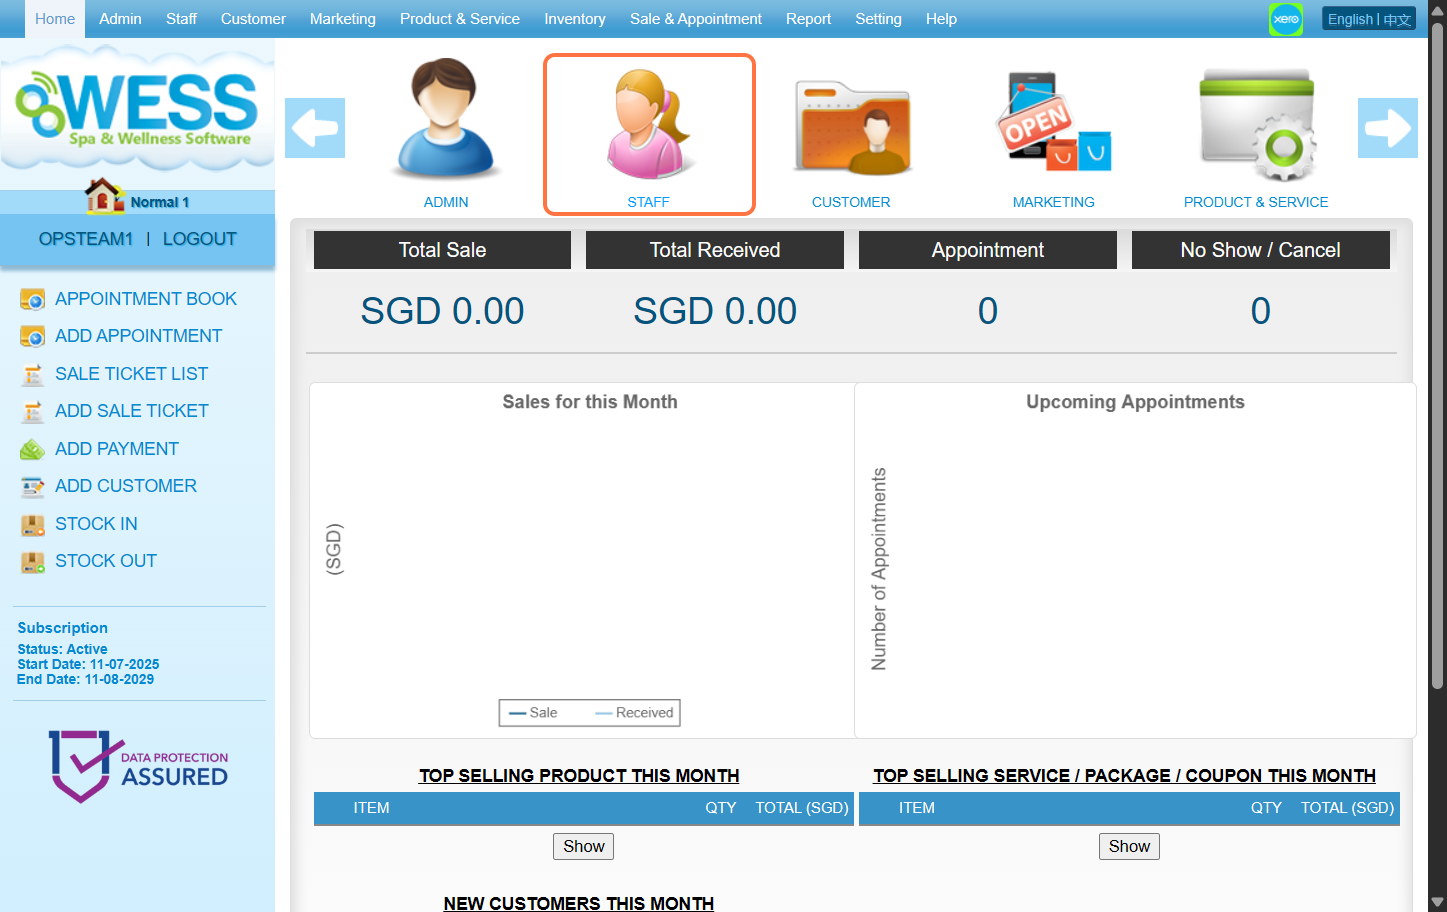
Step 2: Click “EMPLOYEE”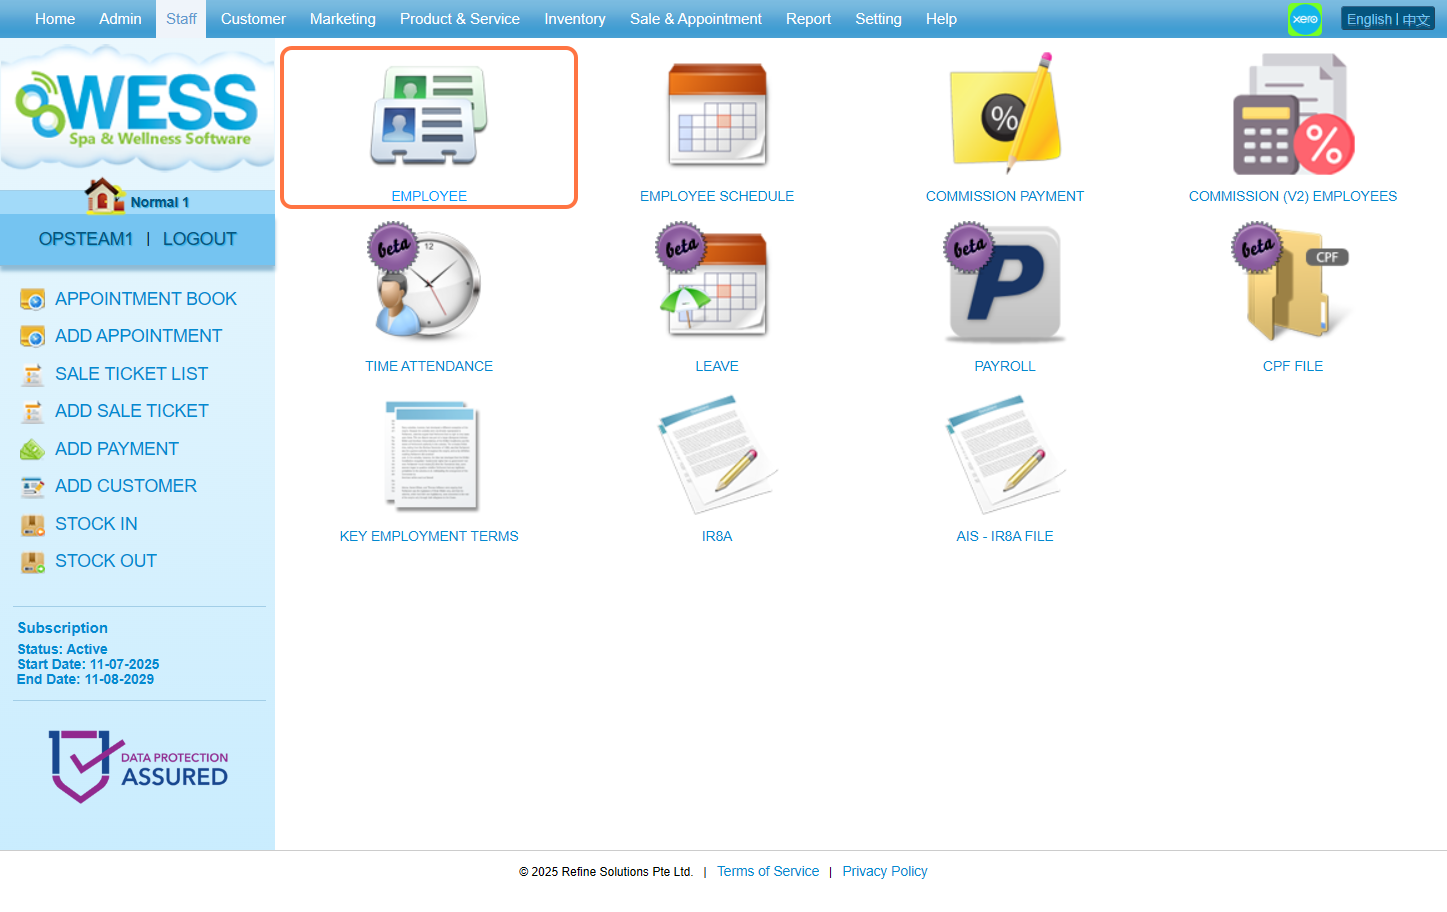
Step 3: Click “NEW”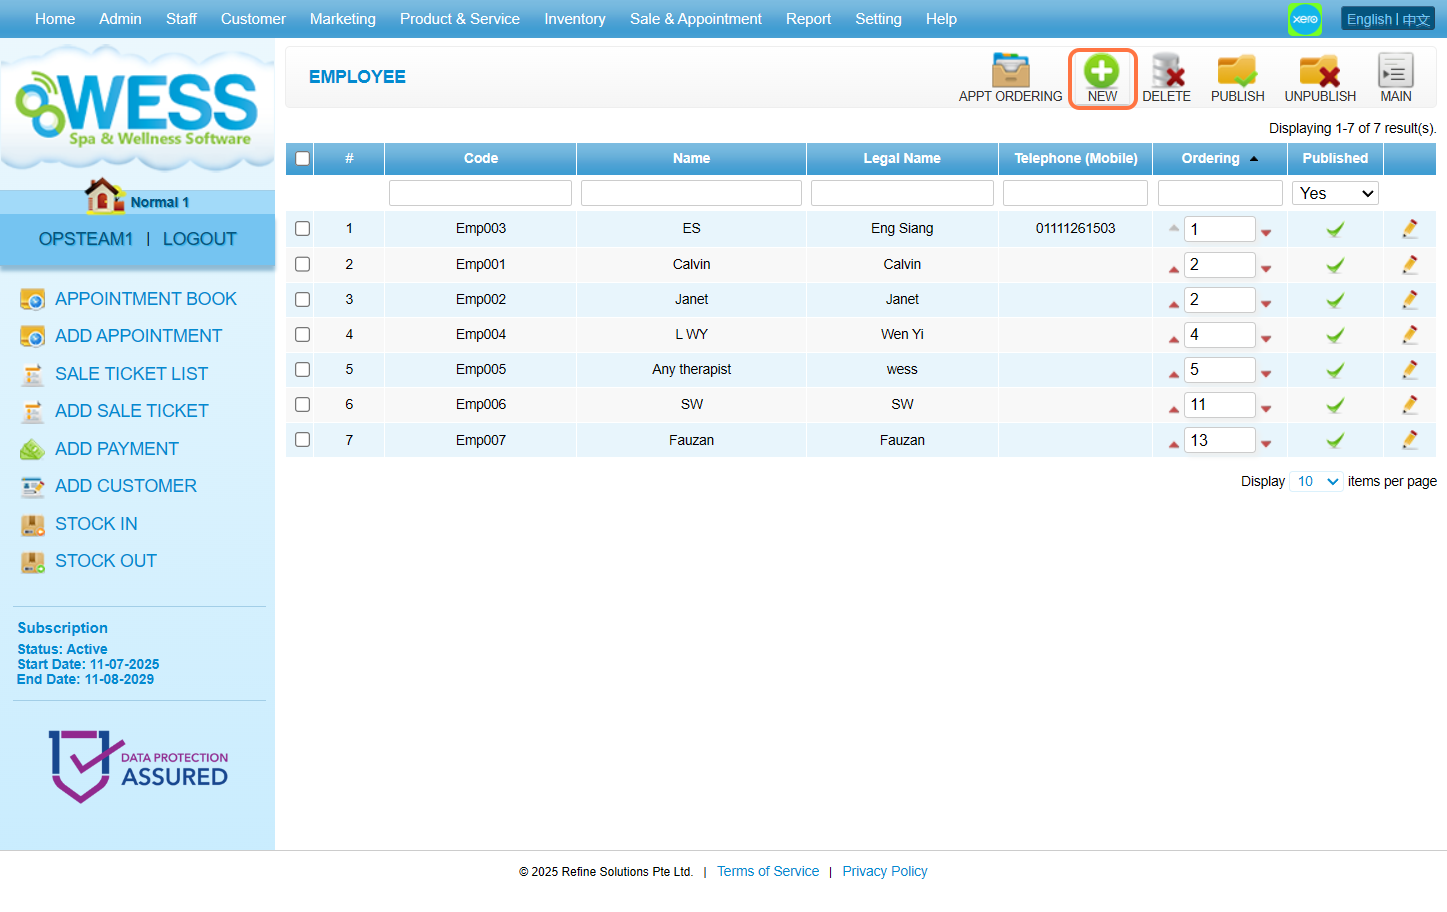
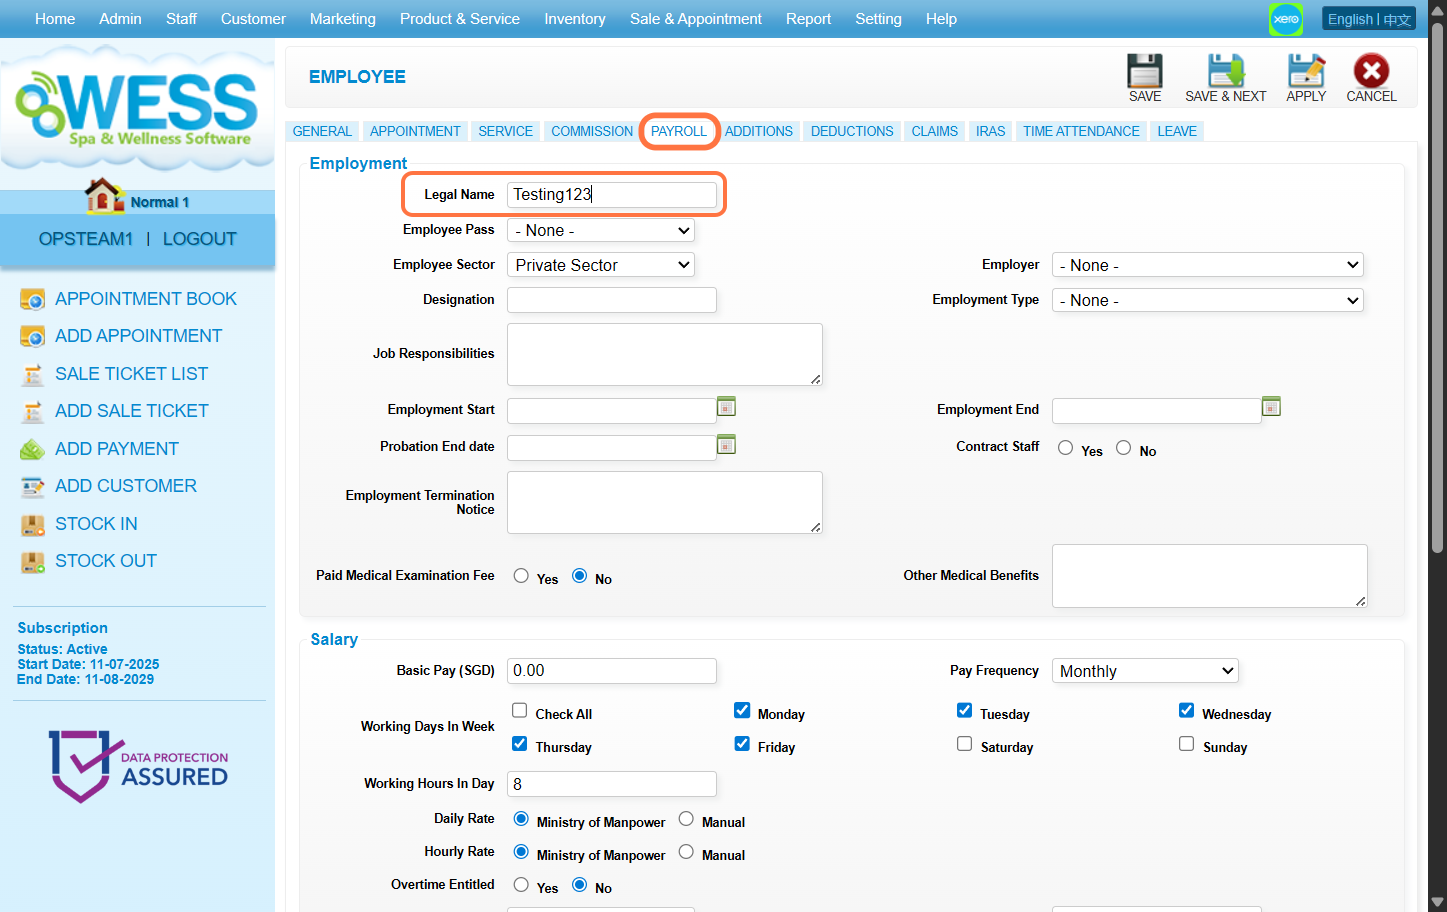
Step 4: Fill in employee details
[!] The legal name under the Payroll Tab must be filled as well to be able to save.
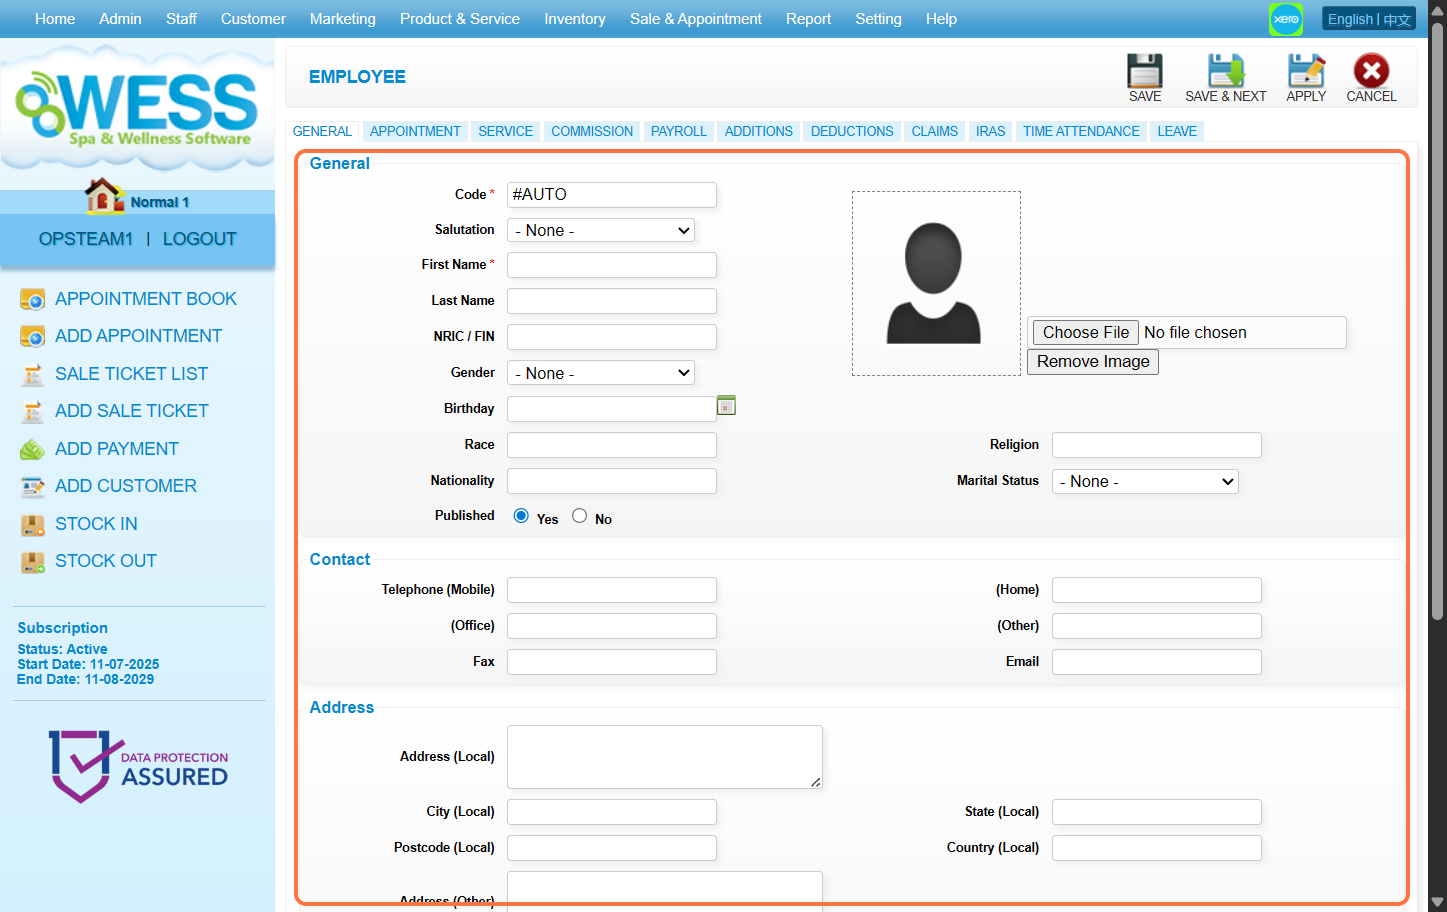
Step 5: Click “SAVE”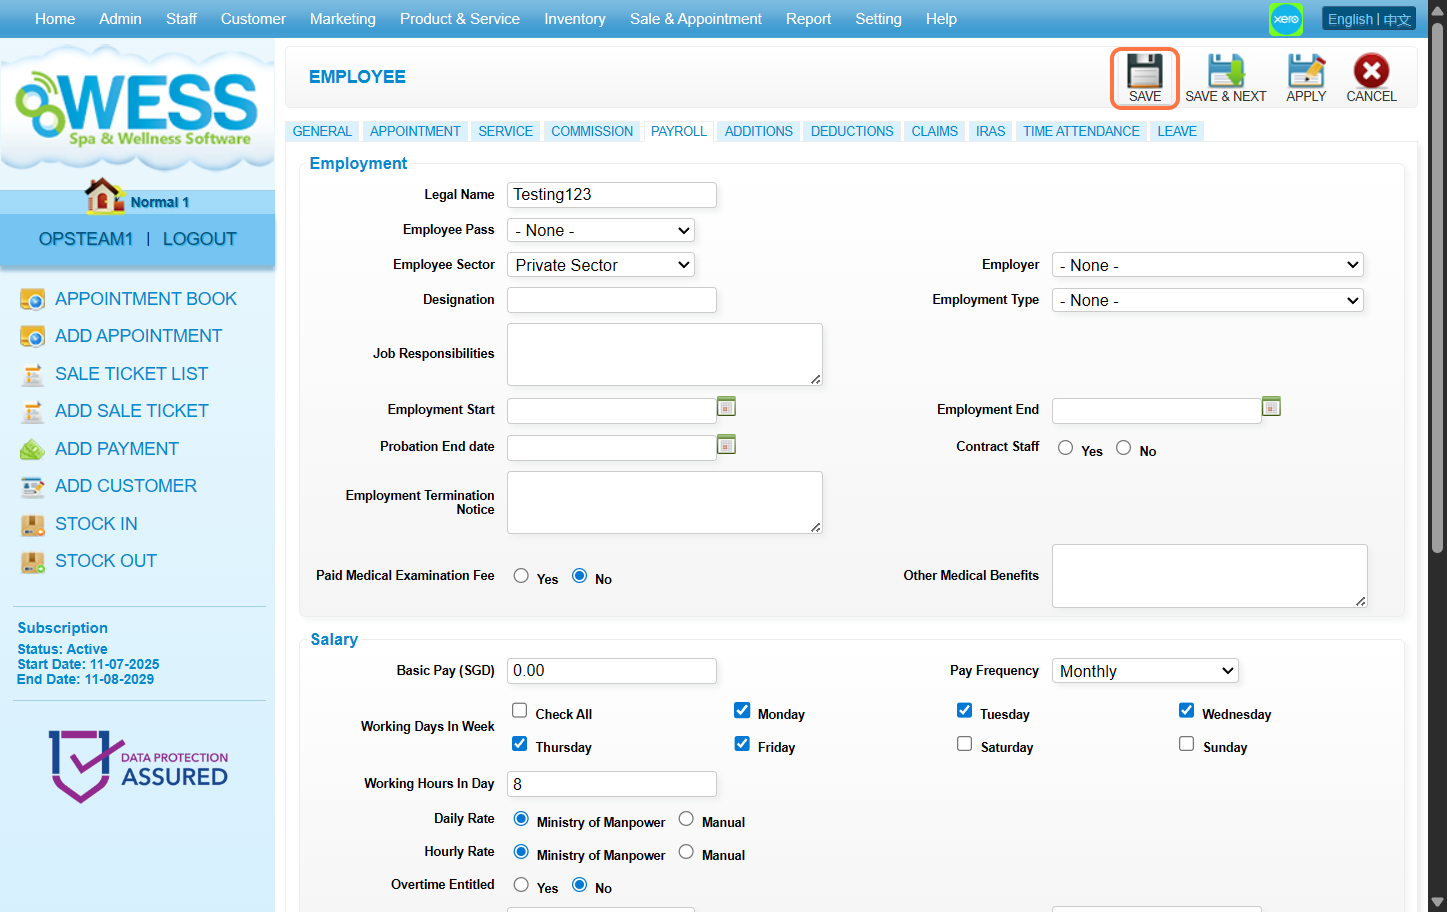
Last update: August 2025
Full Guide: https://wesshelp.wessconnect.com/2021/06/15/how-to-add-new-customer/
Step 1: Click “CUSTOMER”
Step 2: Click “CUSTOMER”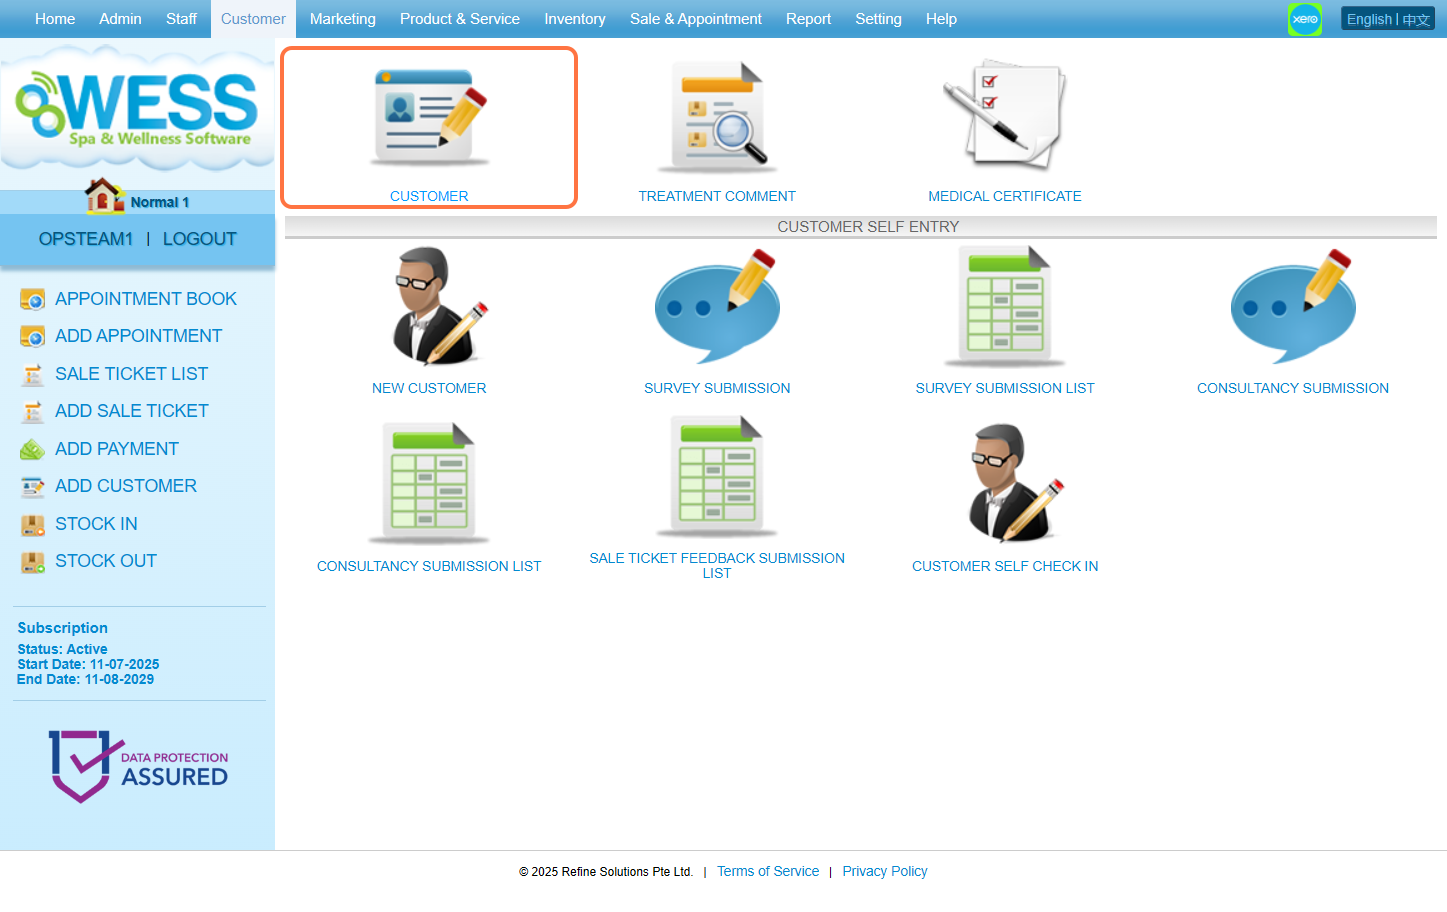
Step 3: Click “NEW”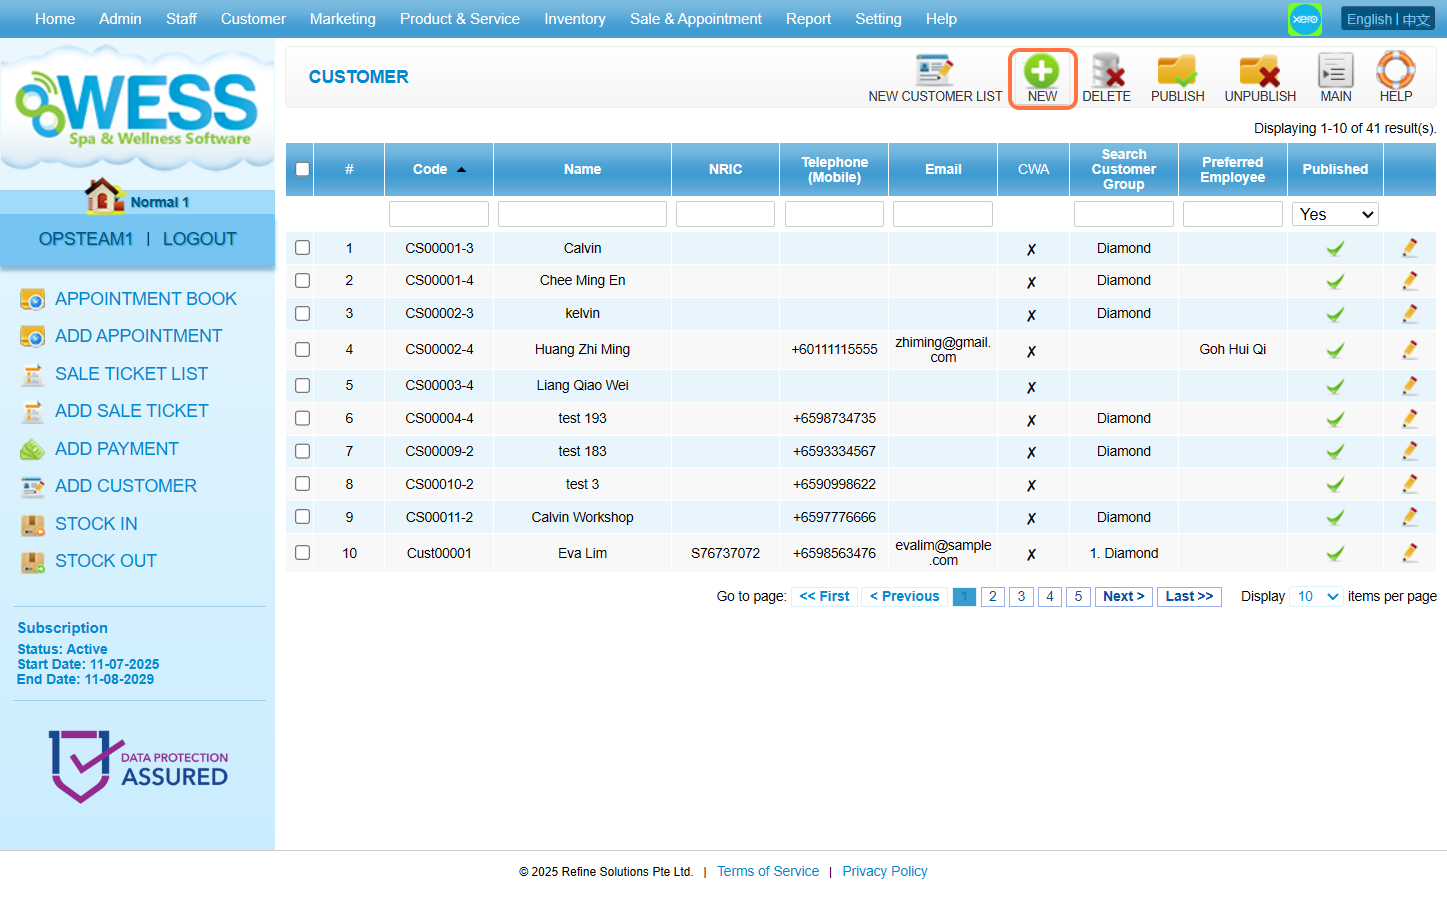
Step 4: Fill in customer details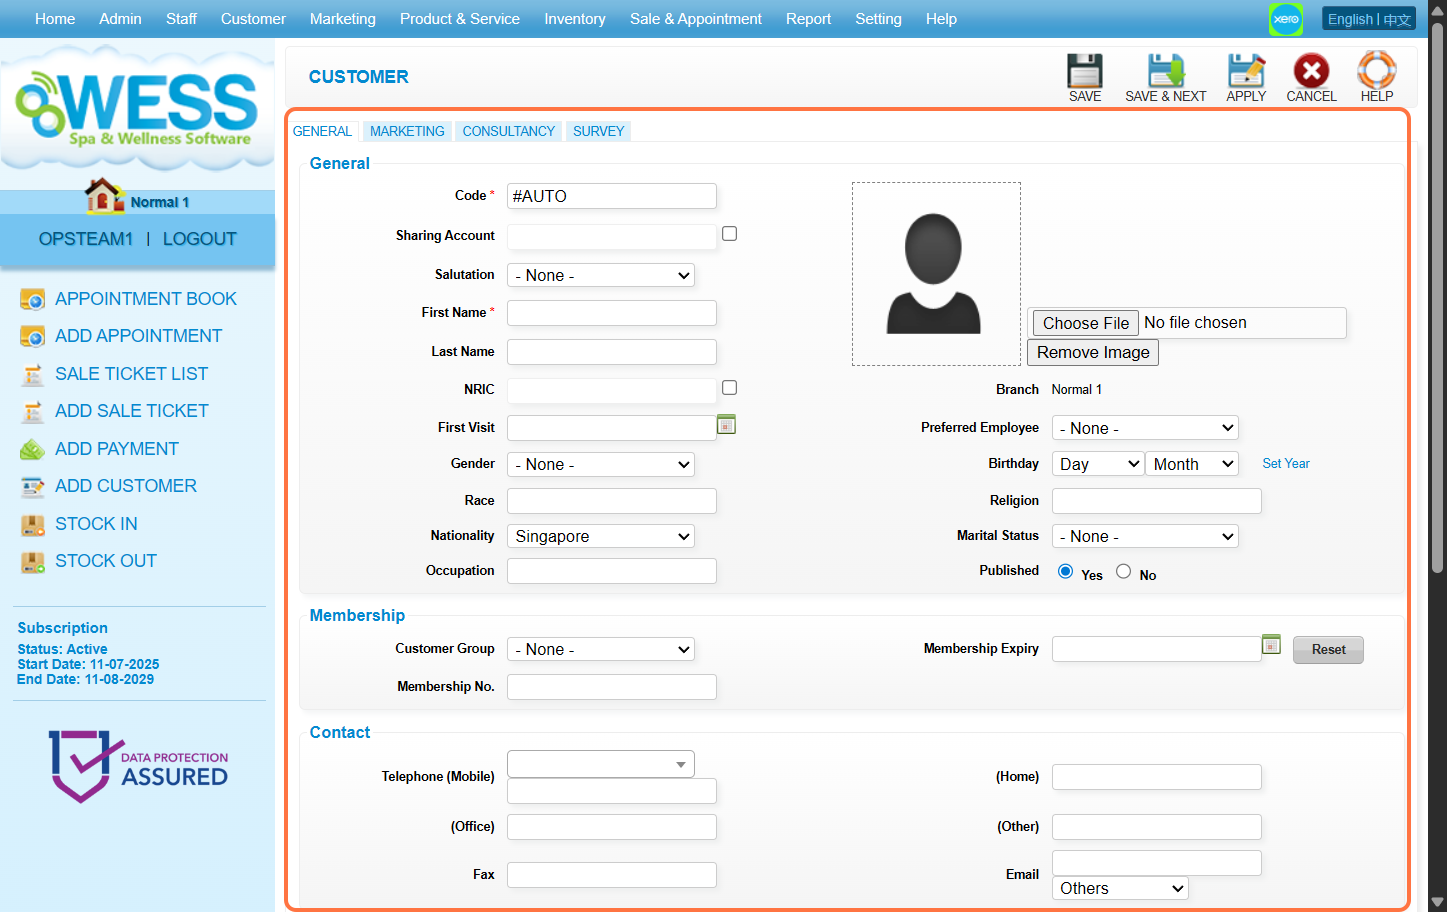
Step 5: Click “SAVE”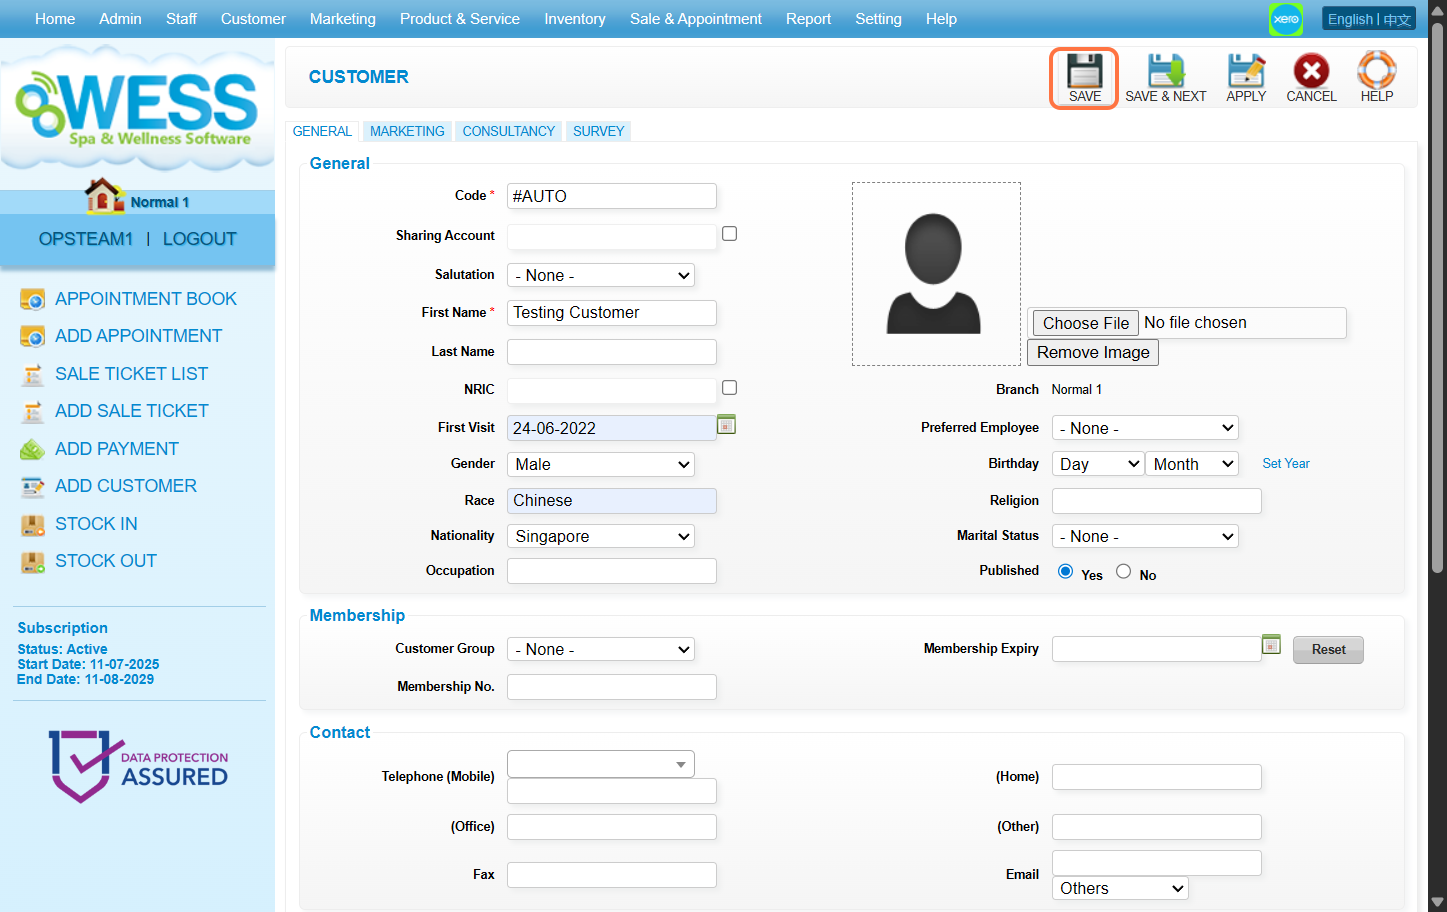
Last update: August 2025
Full Guide: https://wesshelp.wessconnect.com/2021/06/17/how-to-add-appointment/
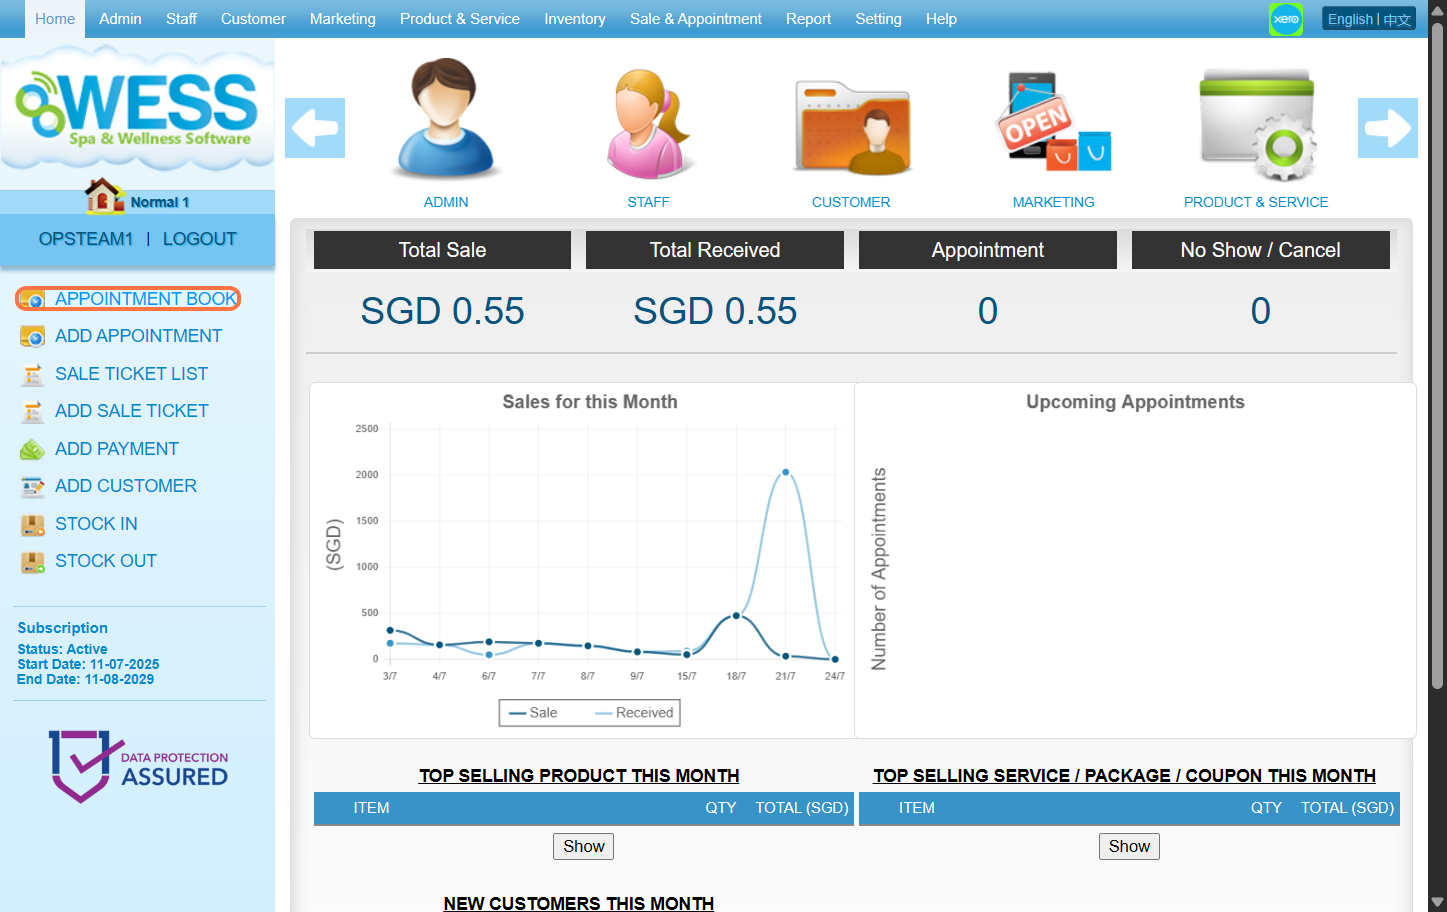
Step 1: Click on “APPOINTMENT BOOK”
Step 2: Select the date
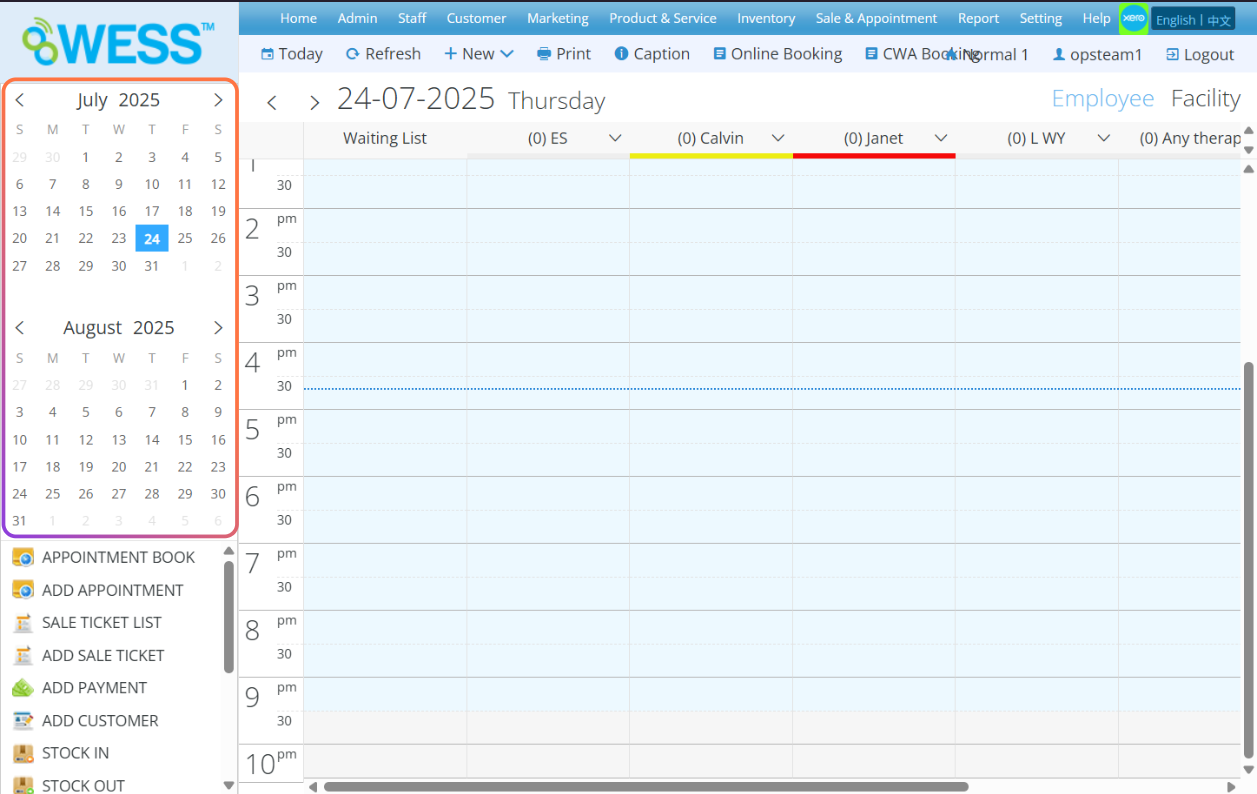
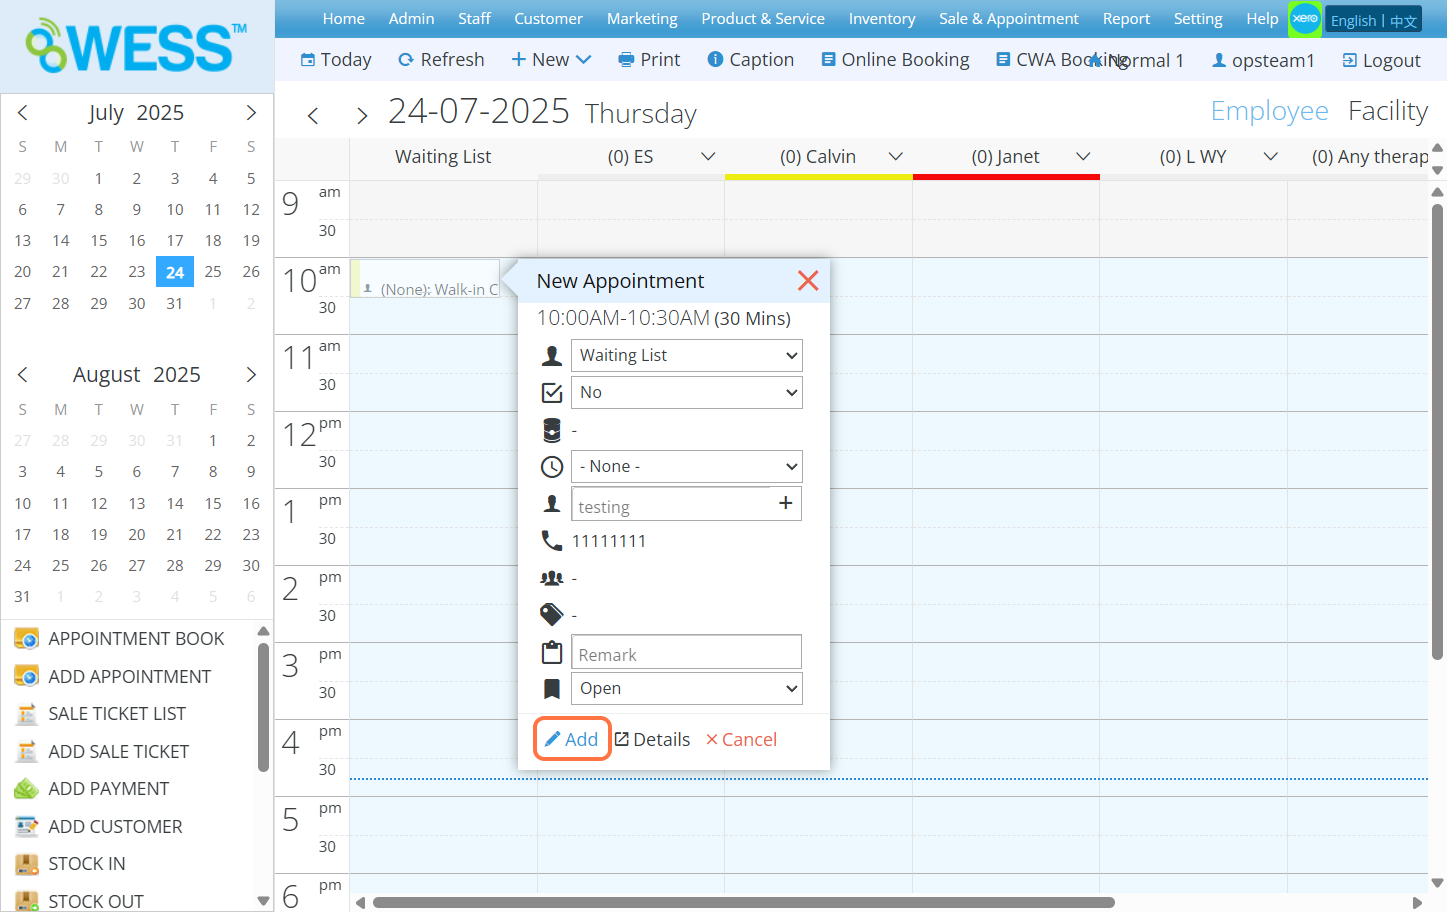
Step 3: Select the time that customer want to booking

Step 4: Click and select an employee
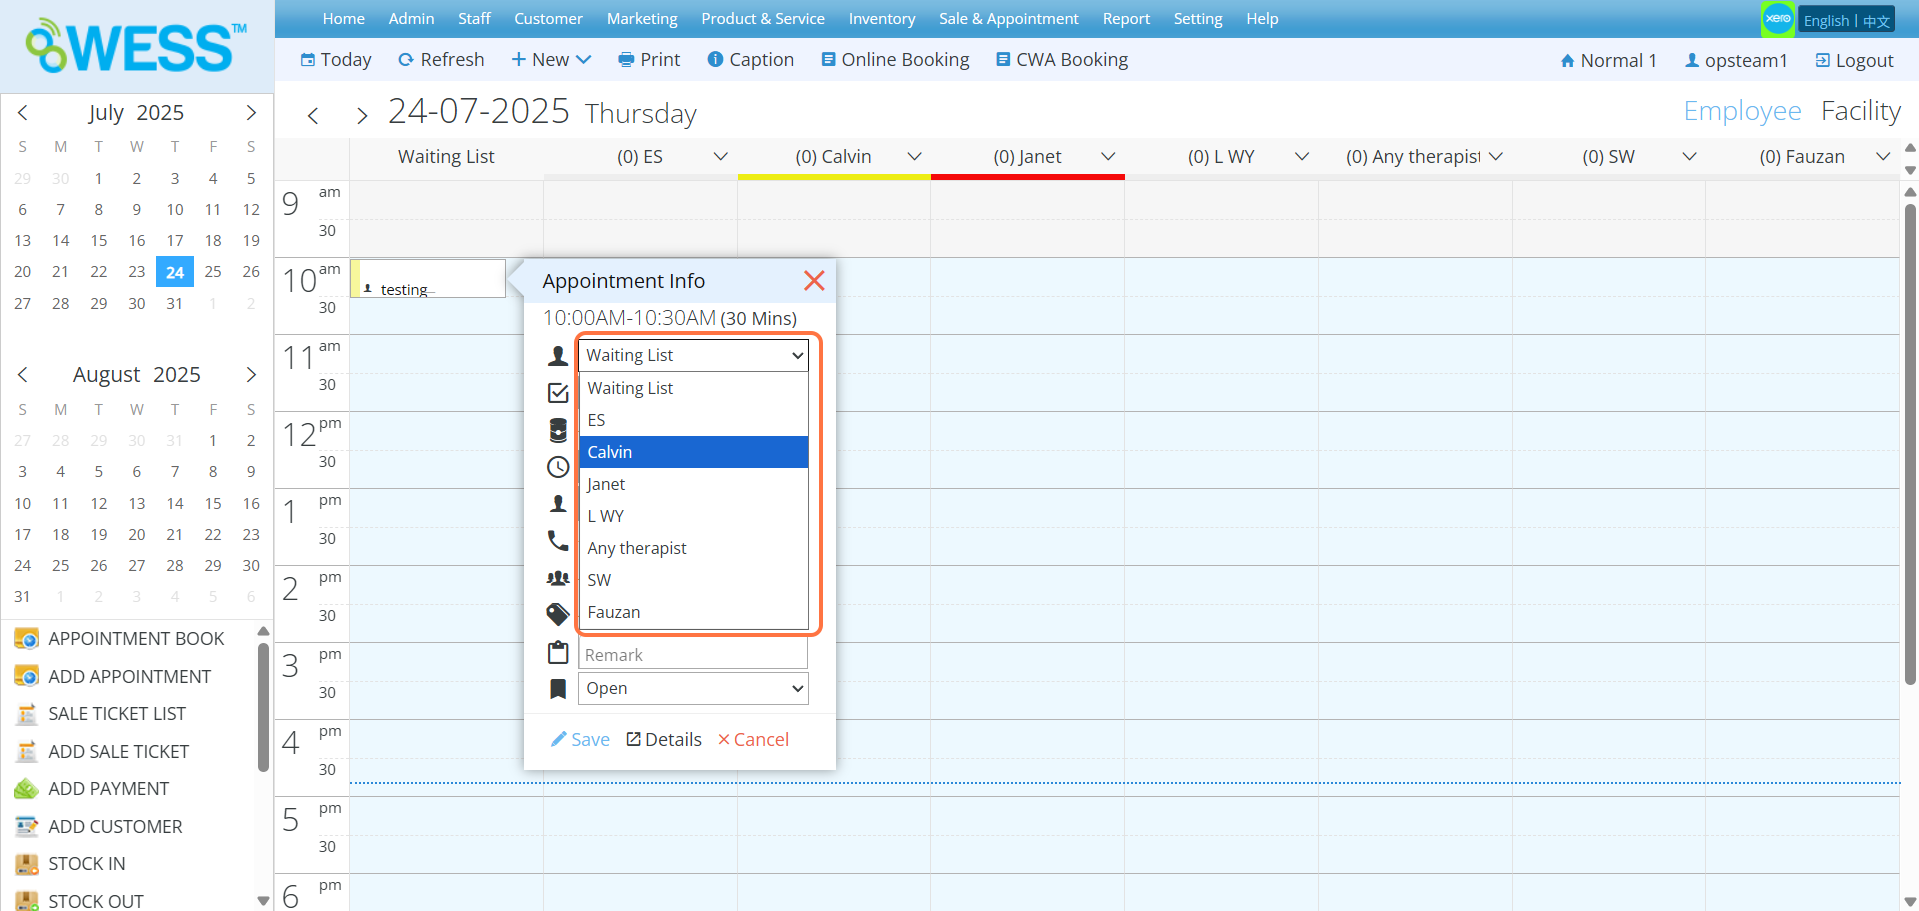
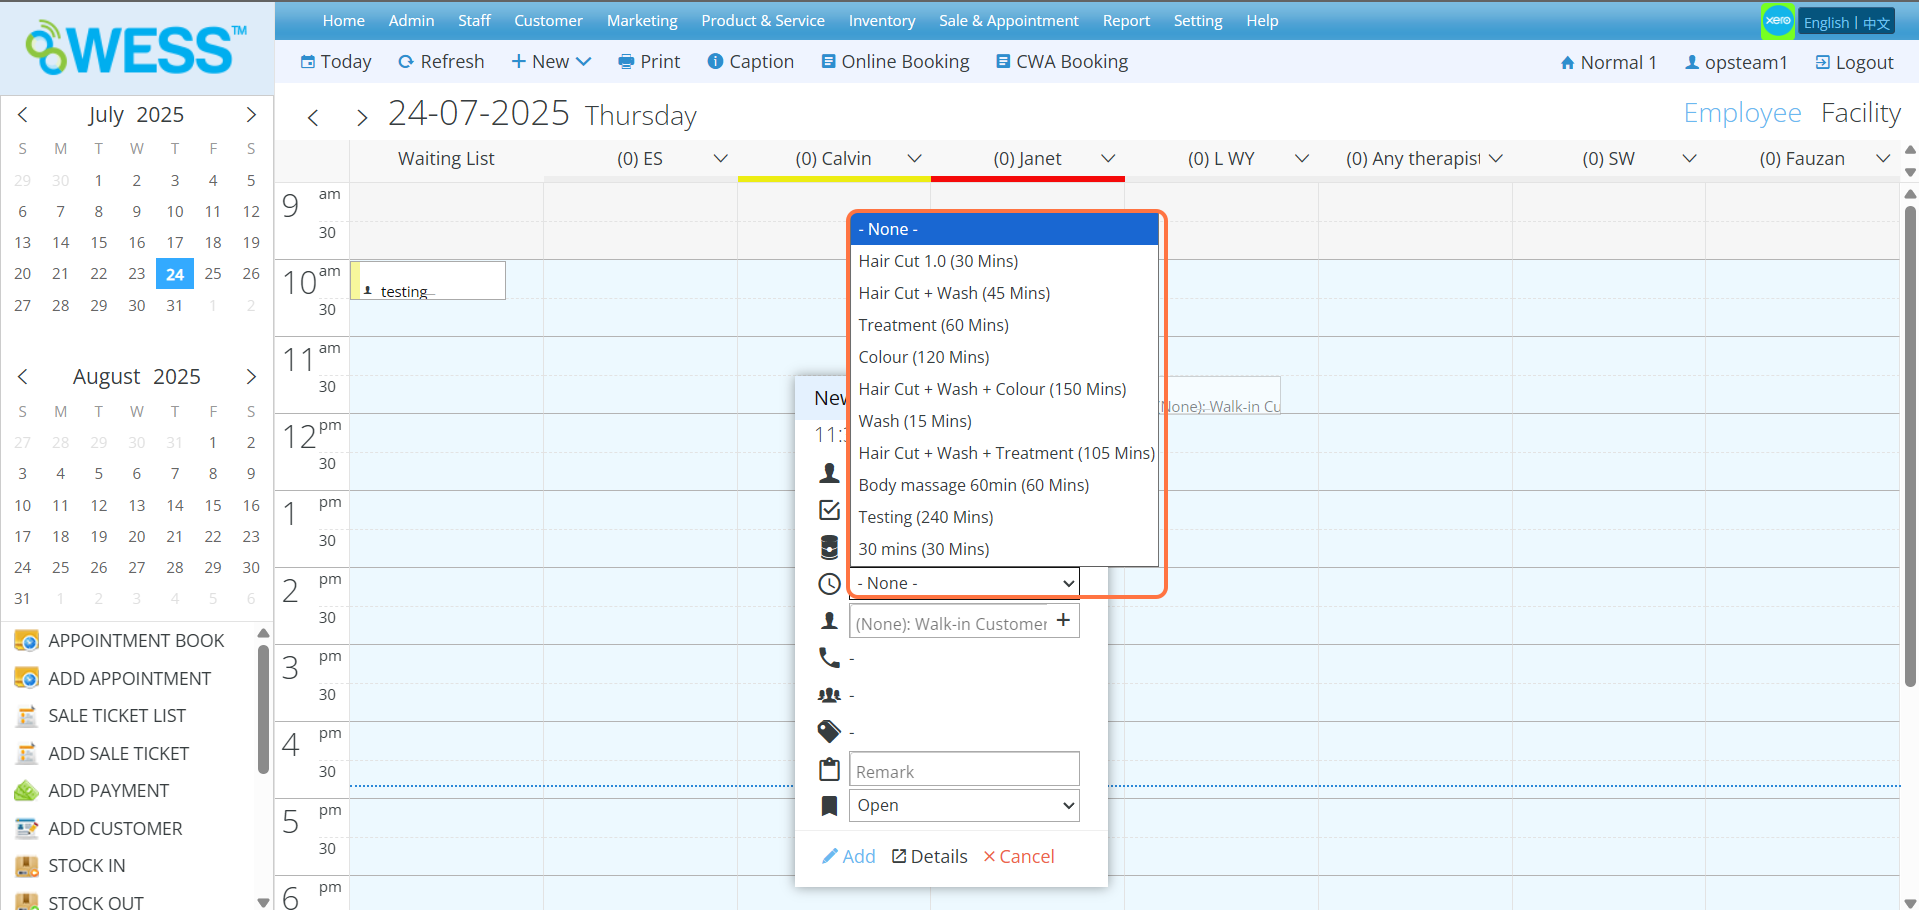
Step 5: Click and select a programme
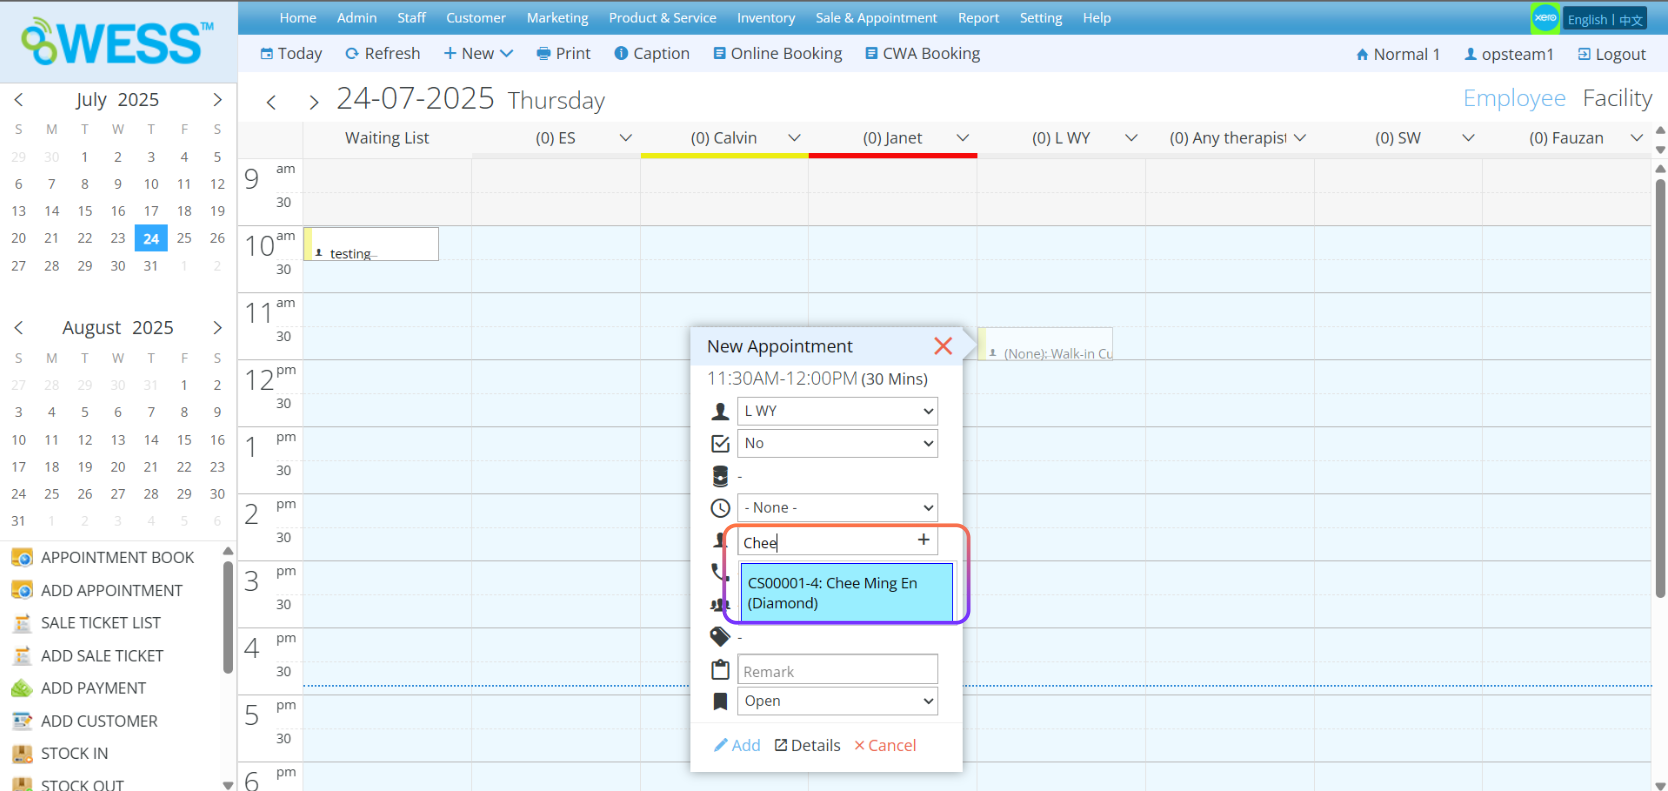
Step 6: Enter the customer name
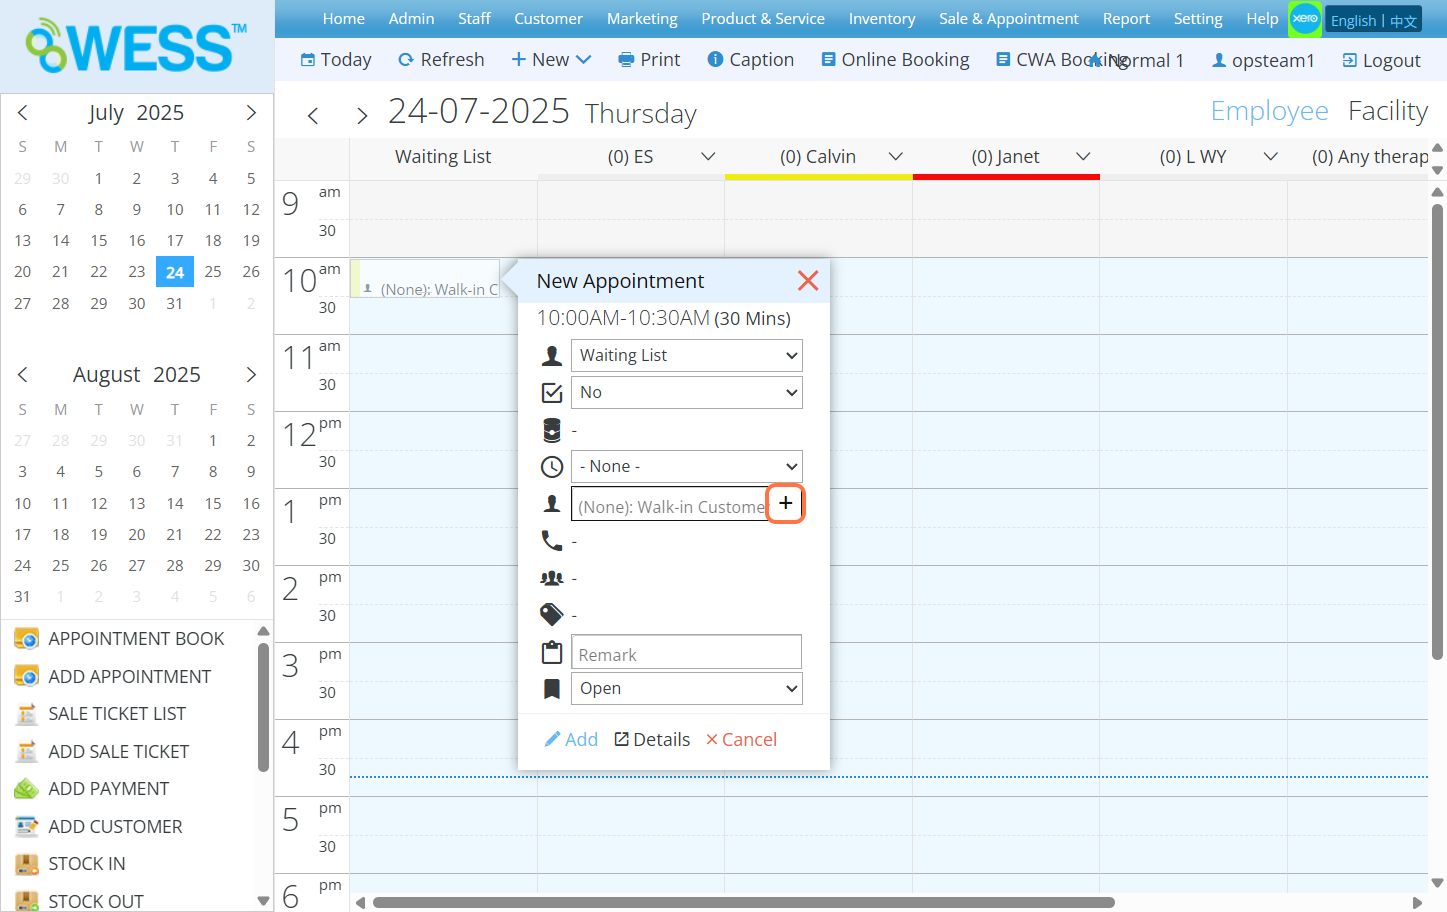
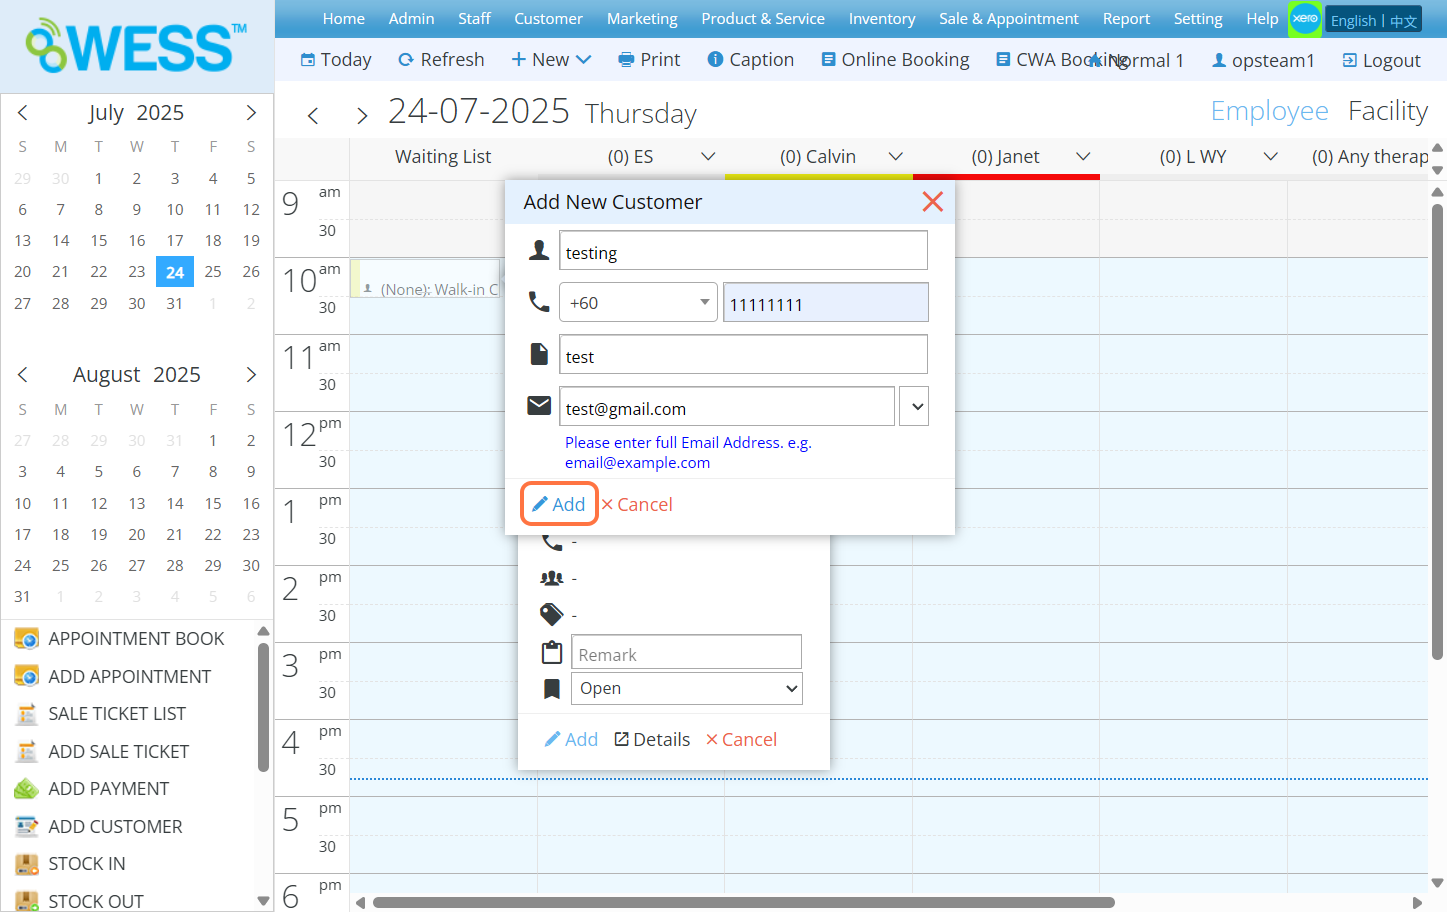
Step 7: [Optional] Click “+” button if said customer is new and doesn’t exist in the record
Step 8: [Optional] Fill in the blanks with information of said new customer
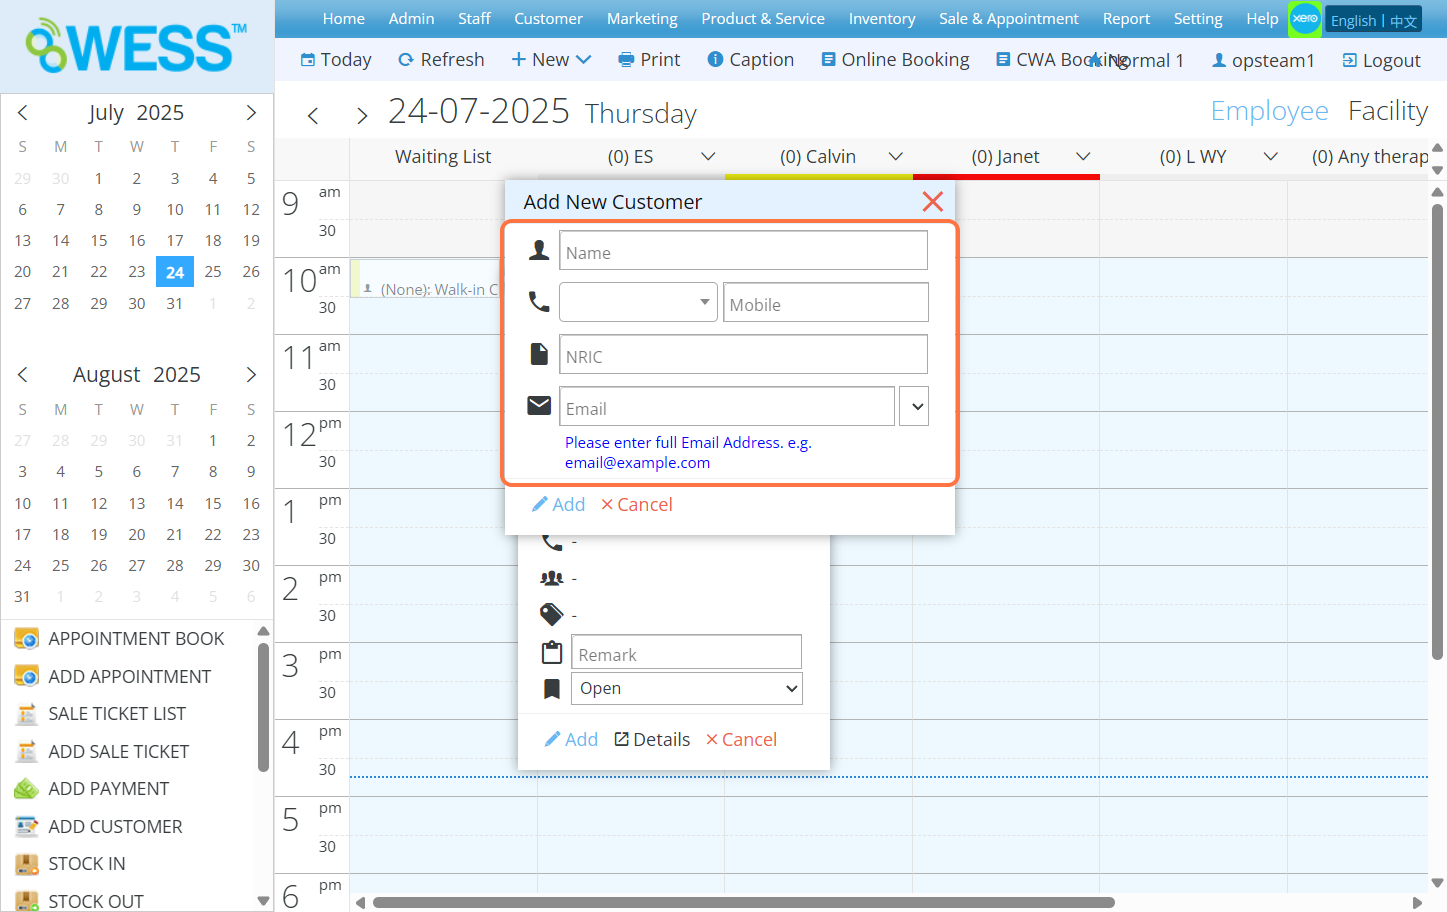
Step 9: [Optional] Click “ADD”
Step 10: Click “ADD”
Last Updated: July 2025
Full Guide: https://wesshelp.wessconnect.com/2021/06/17/how-to-add-new-sale-ticket/
Step 1: Click “Sales & Appointment”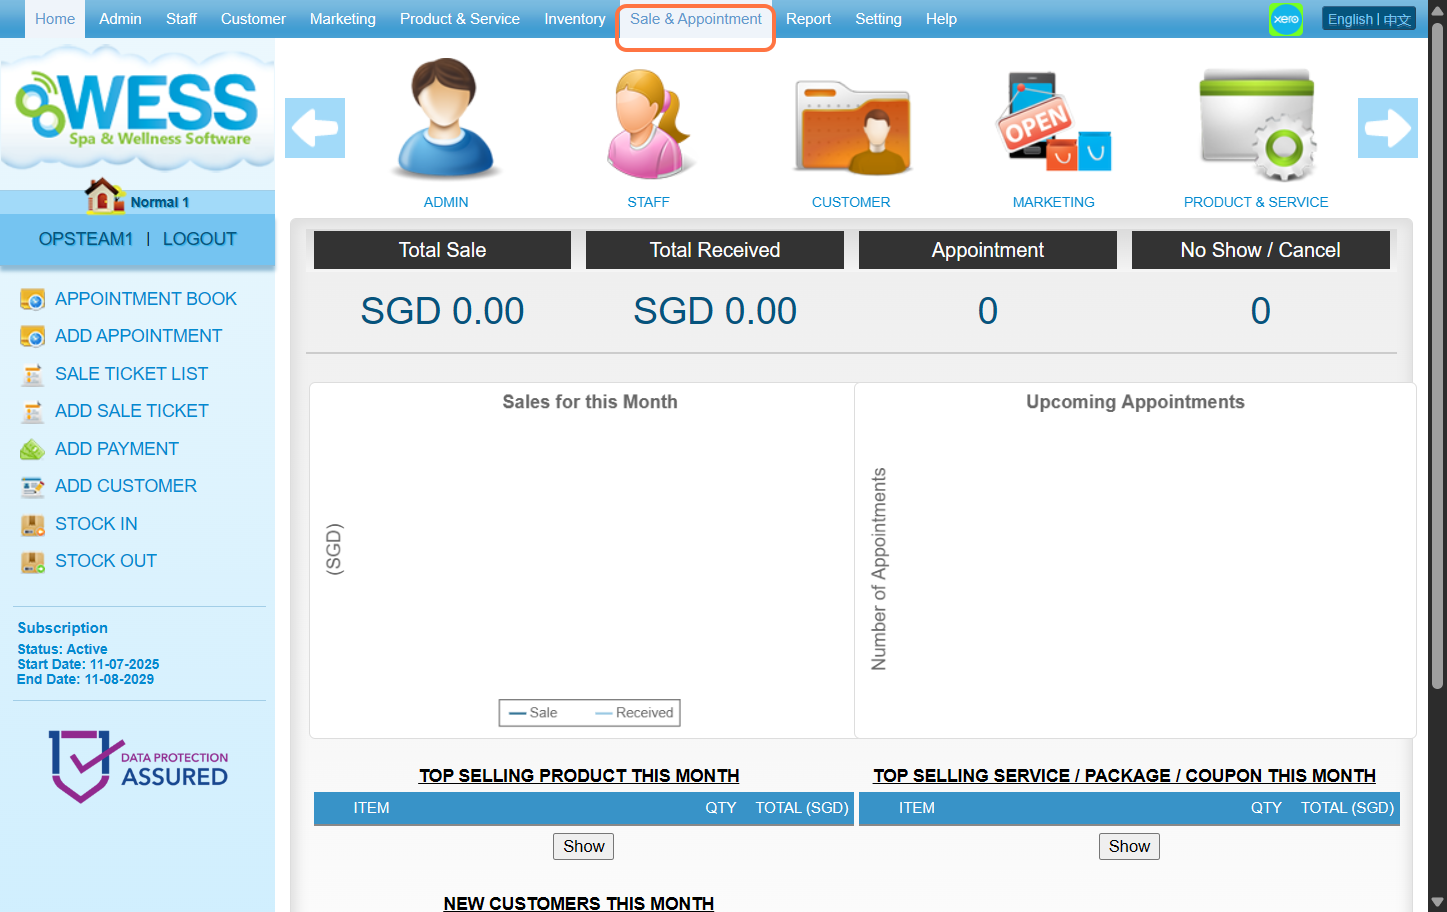
Step 2: Click “SALE TICKET”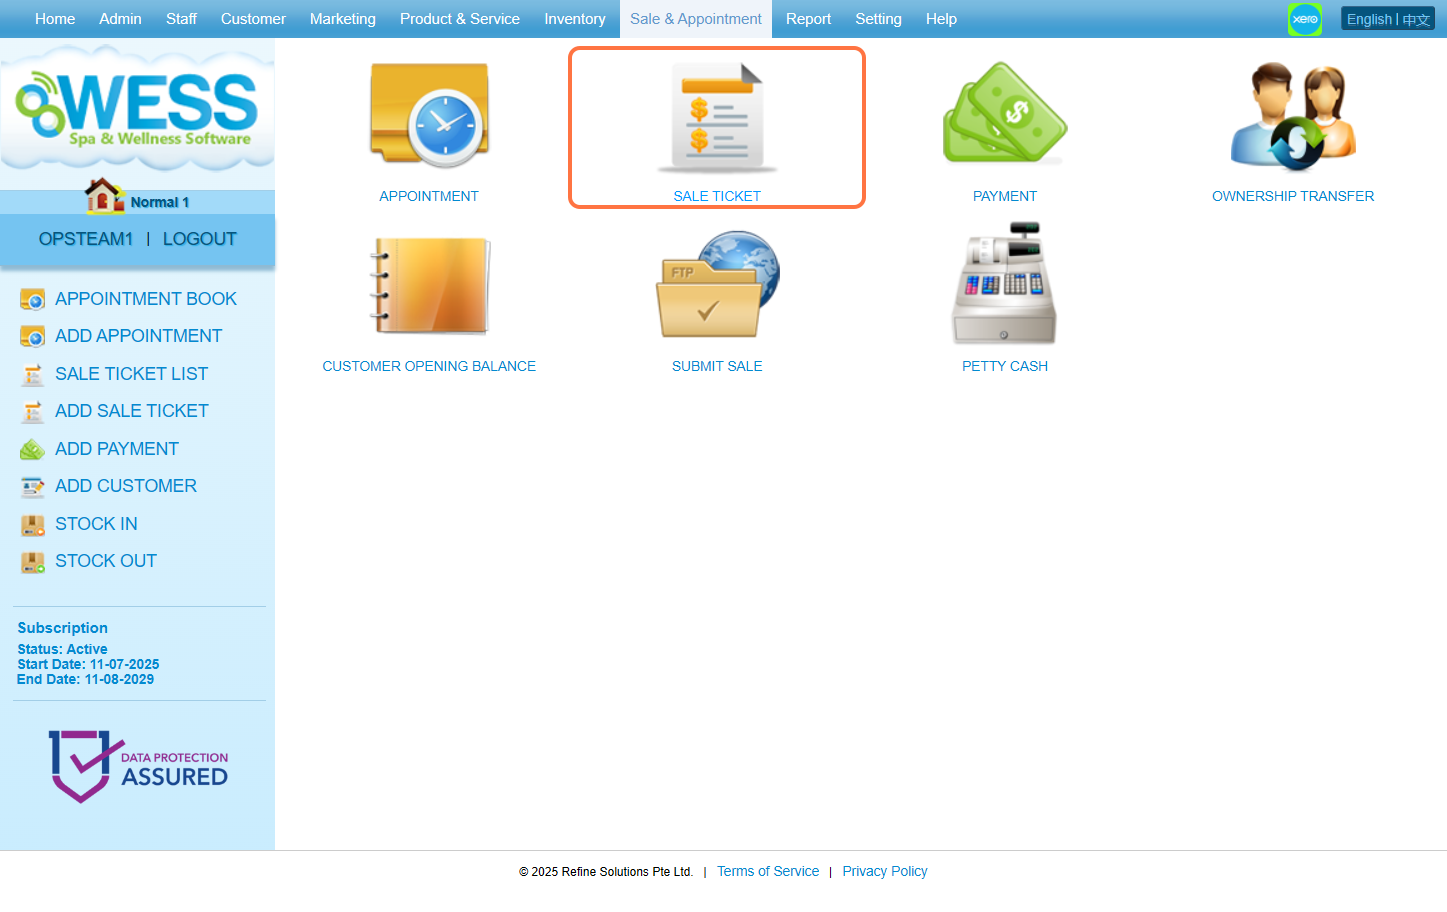
Step 3: Click “NEW”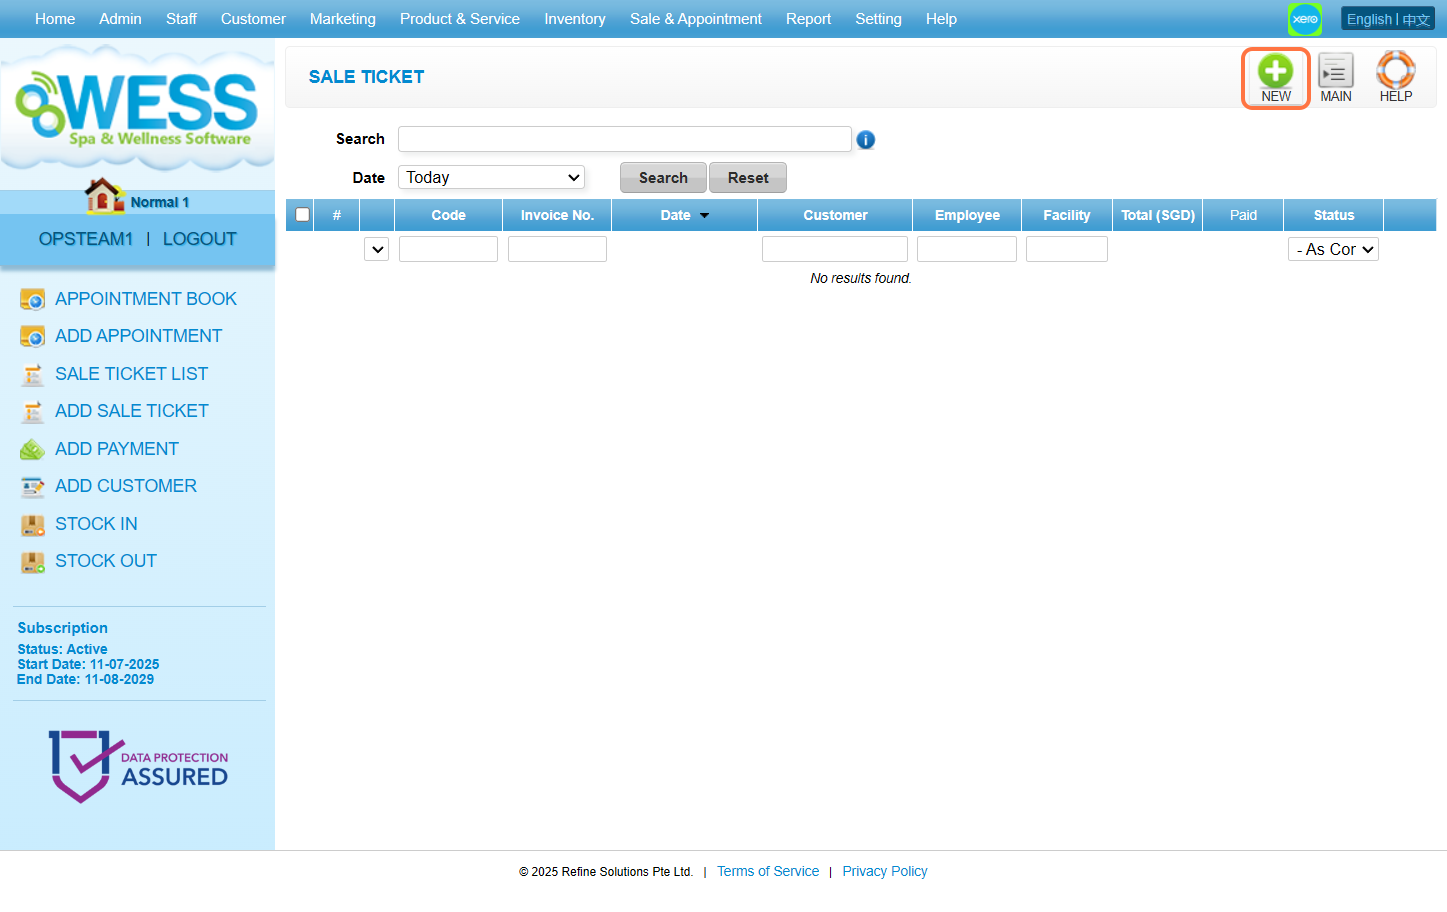
Step 4: Click “EMPLOYEE”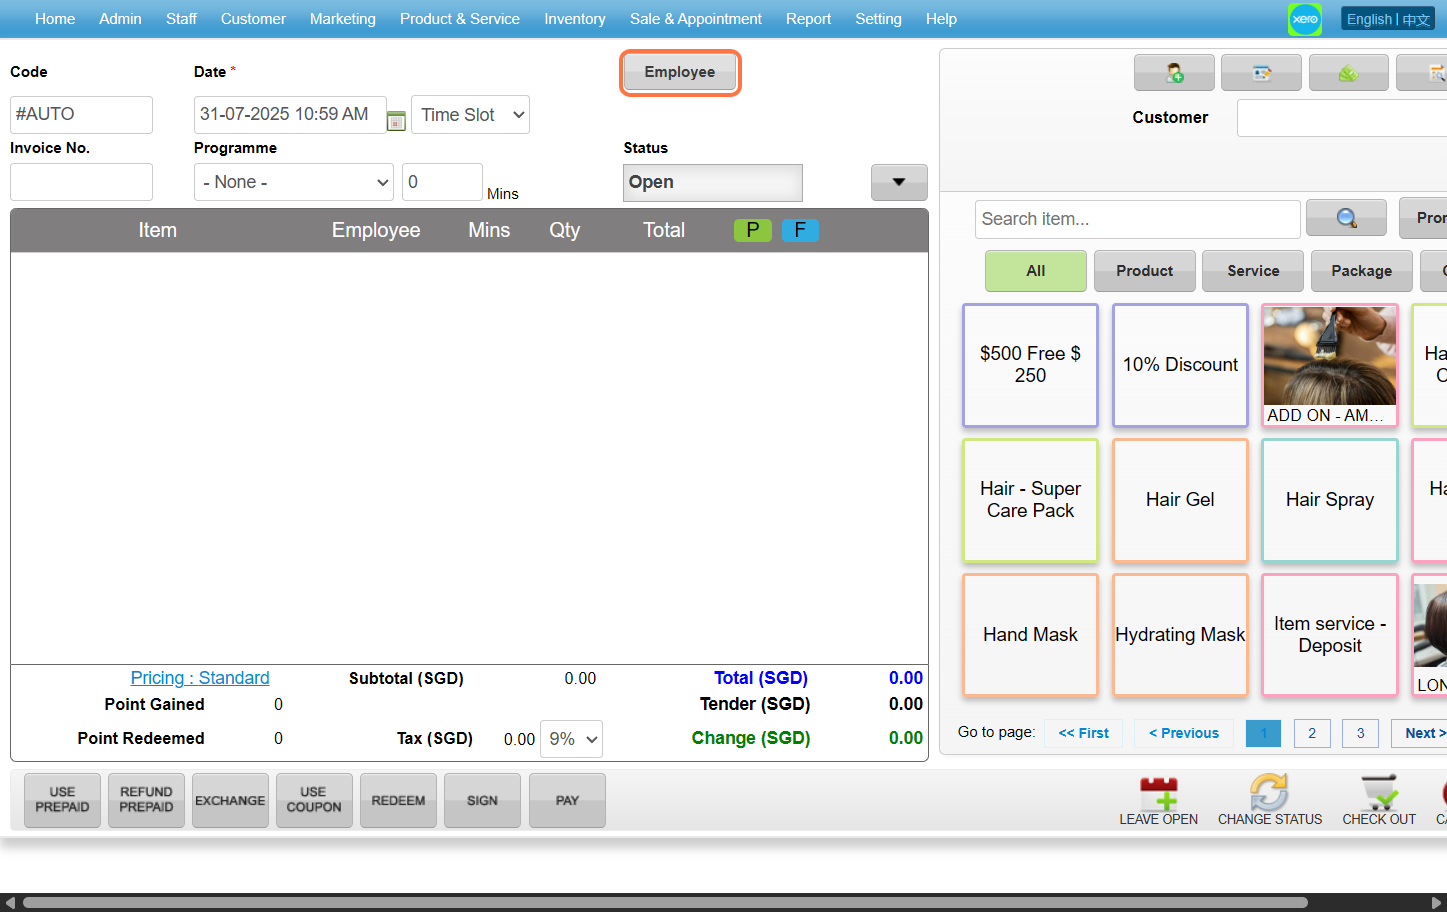
Step 5: Choose any employee you want then click “SET”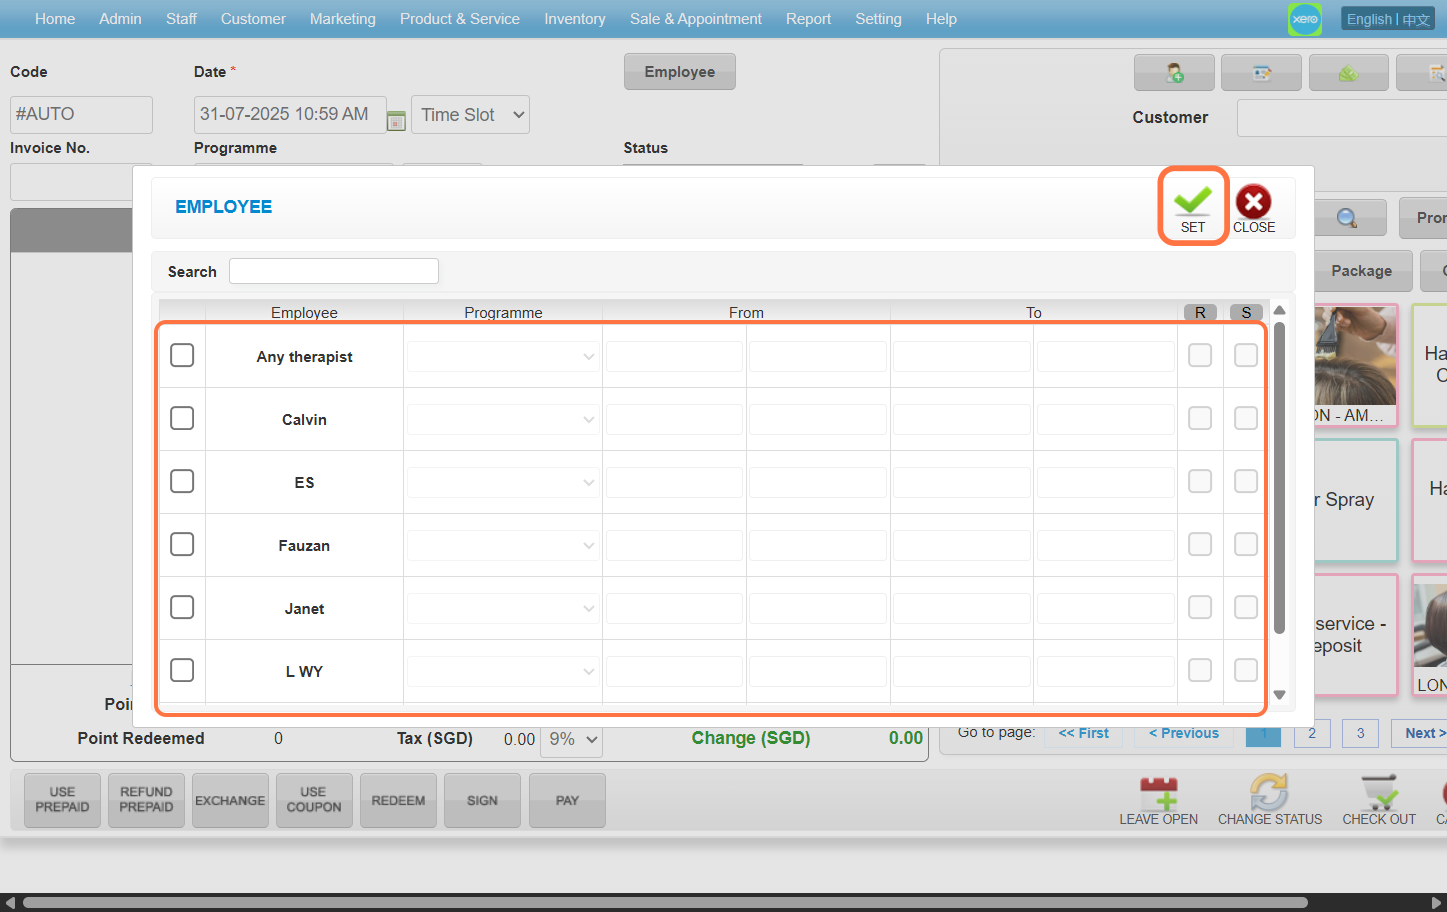
Step 6: Enter the customer name / code / phone number to search the customer you wanted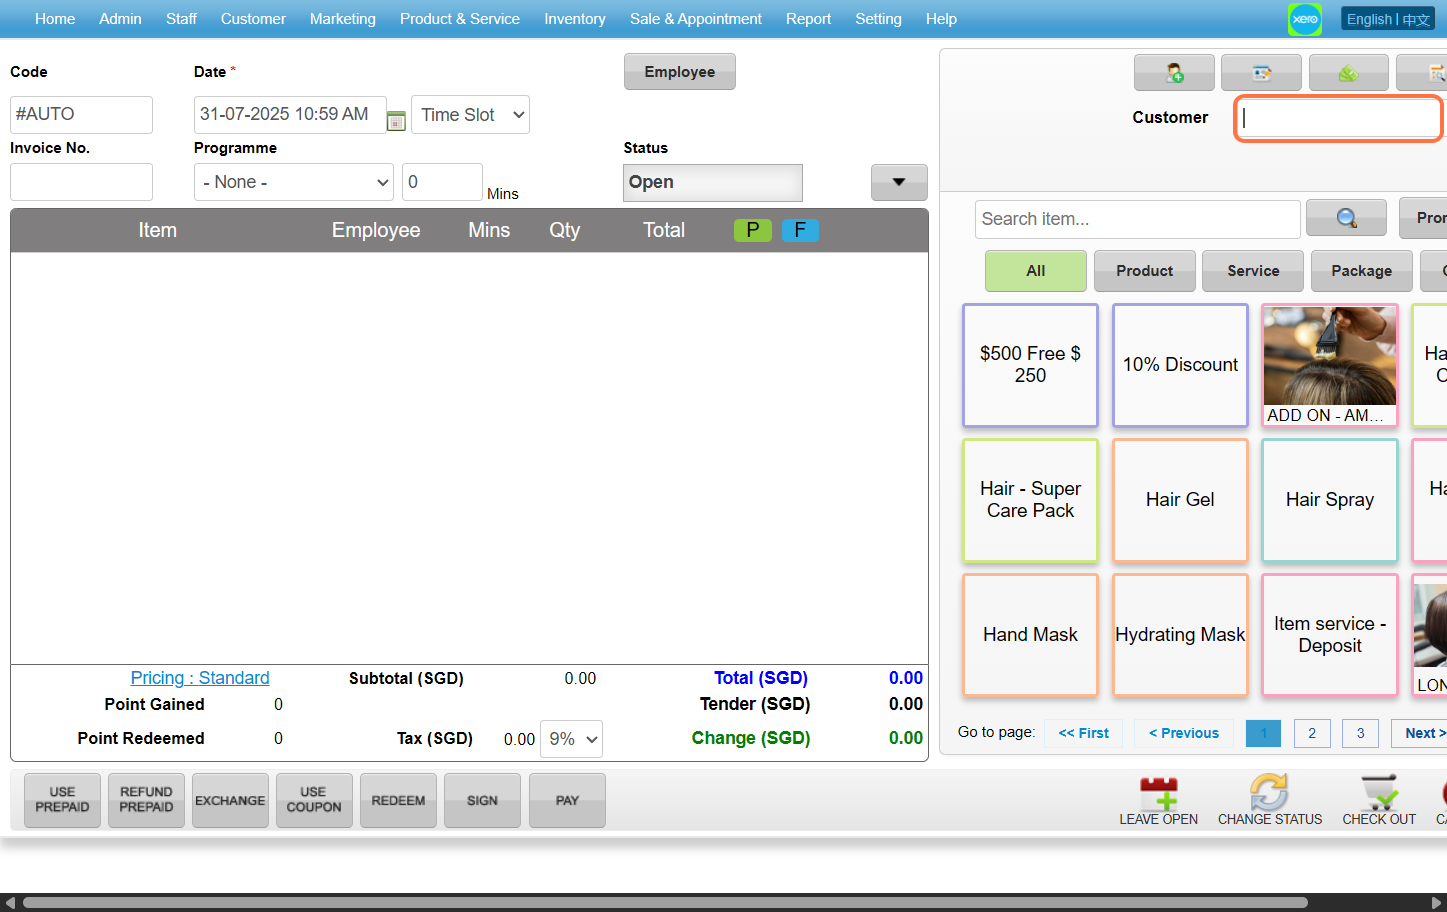
Step 7: Select the product / service / package / coupon that you wanted to choose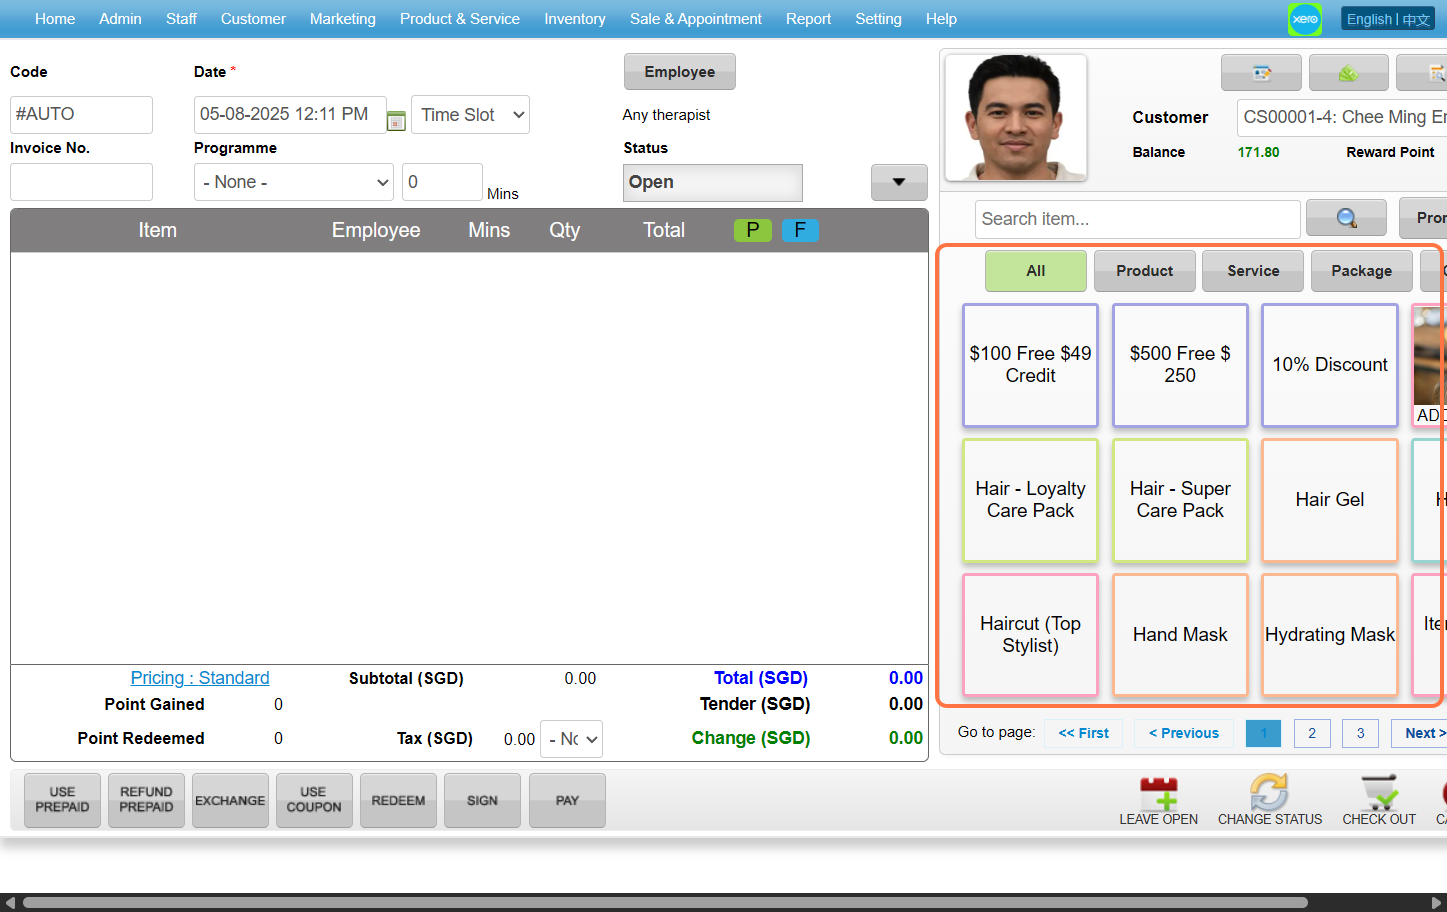
Step 8: Click “PAY”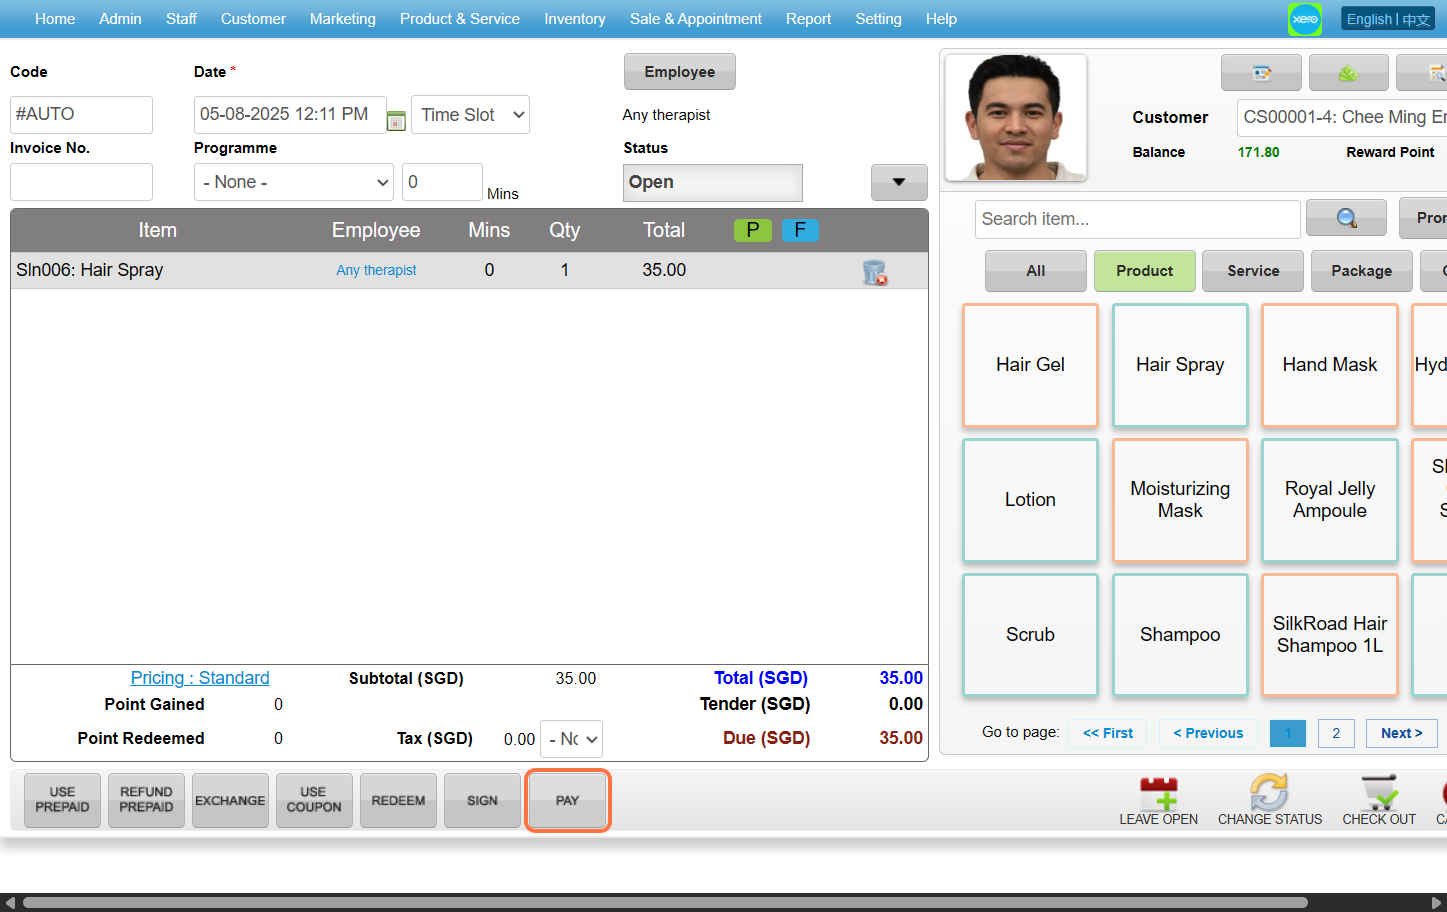
Step 9: Select the payment method and enter the amount paid by the customer.
[!] Full: Automatically sets the value to the total SGD amount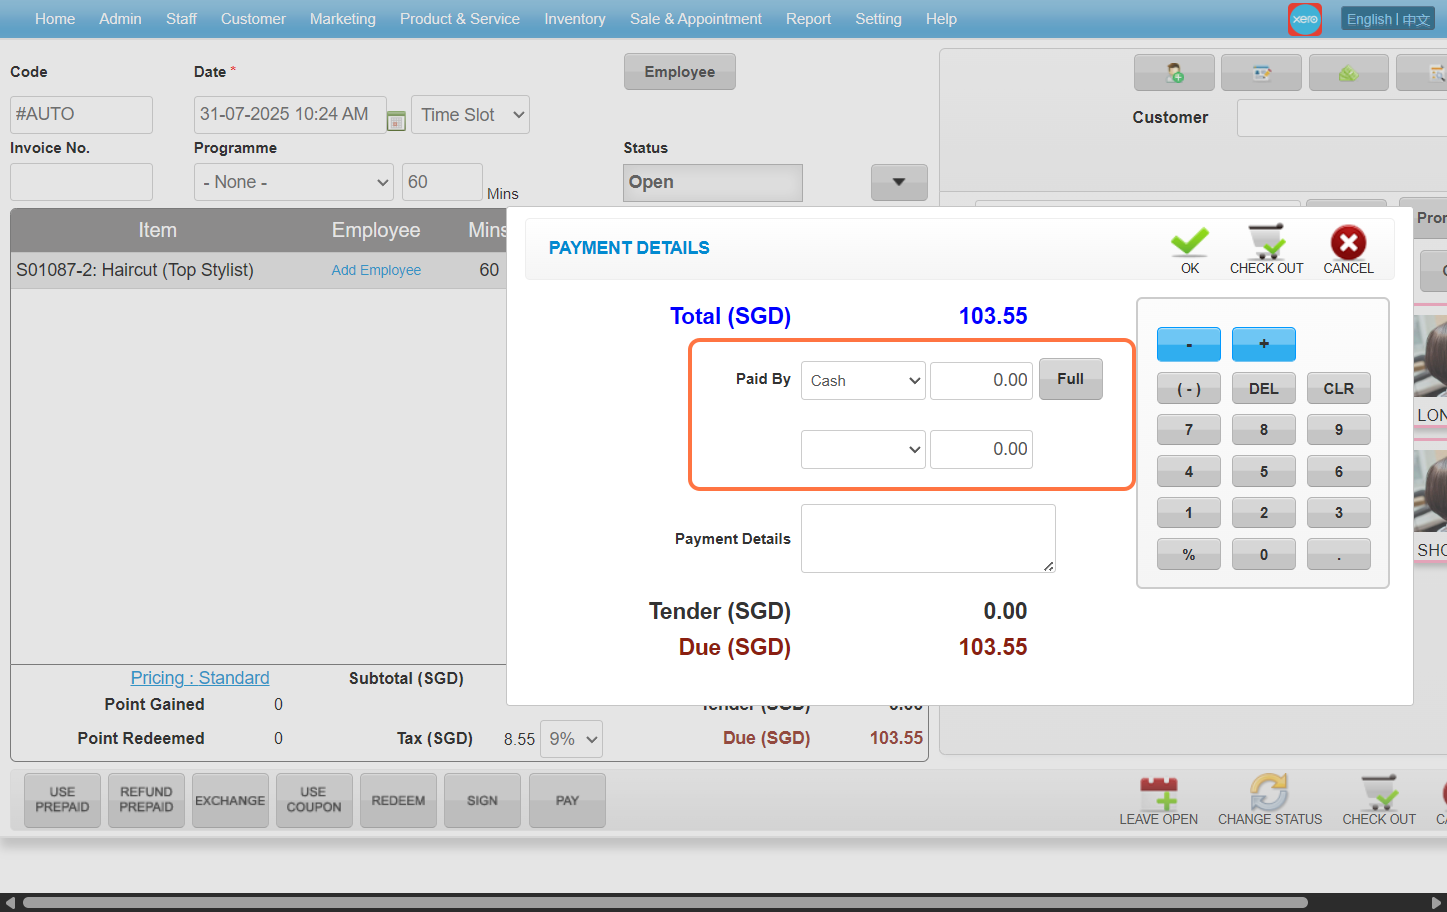
Step 10: Click “CHECK OUT” 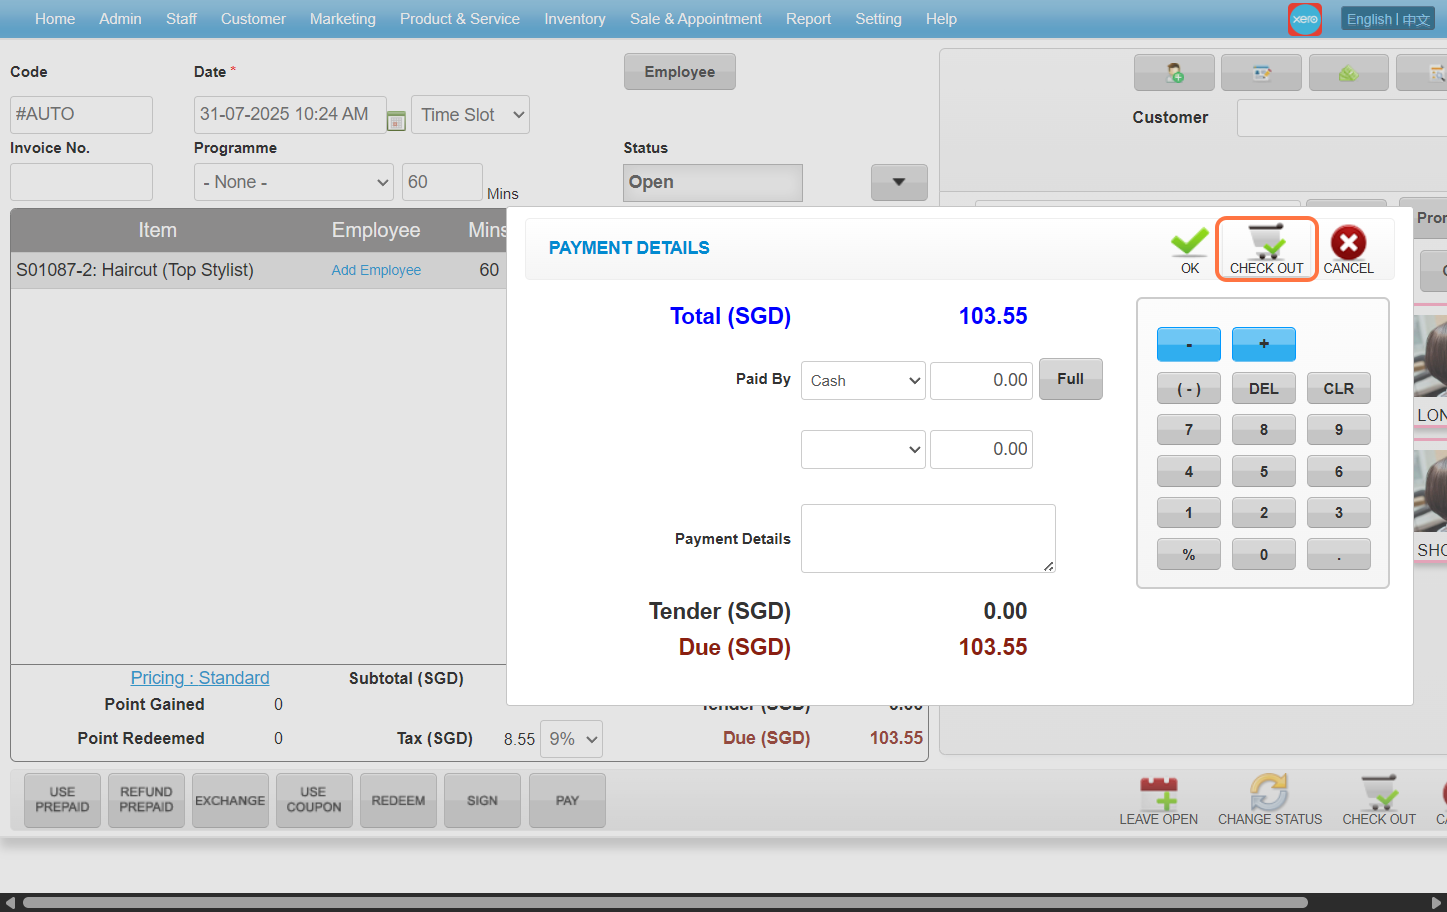
Last update: August 2025
Full Guide: https://wesshelp.wessconnect.com/2021/06/17/how-to-deduct-customer-session-package/
Step 1: Click “Sales & Appointment”
Step 2: Click “SALE TICKET”
Step 3: Click “NEW”
Step 4: Click “EMPLOYEE”
Step 5: Choose any employee you want then click “SET”
Step 6: Enter the customer name / code / phone number to search
Step 7: Click “USE PREPAID”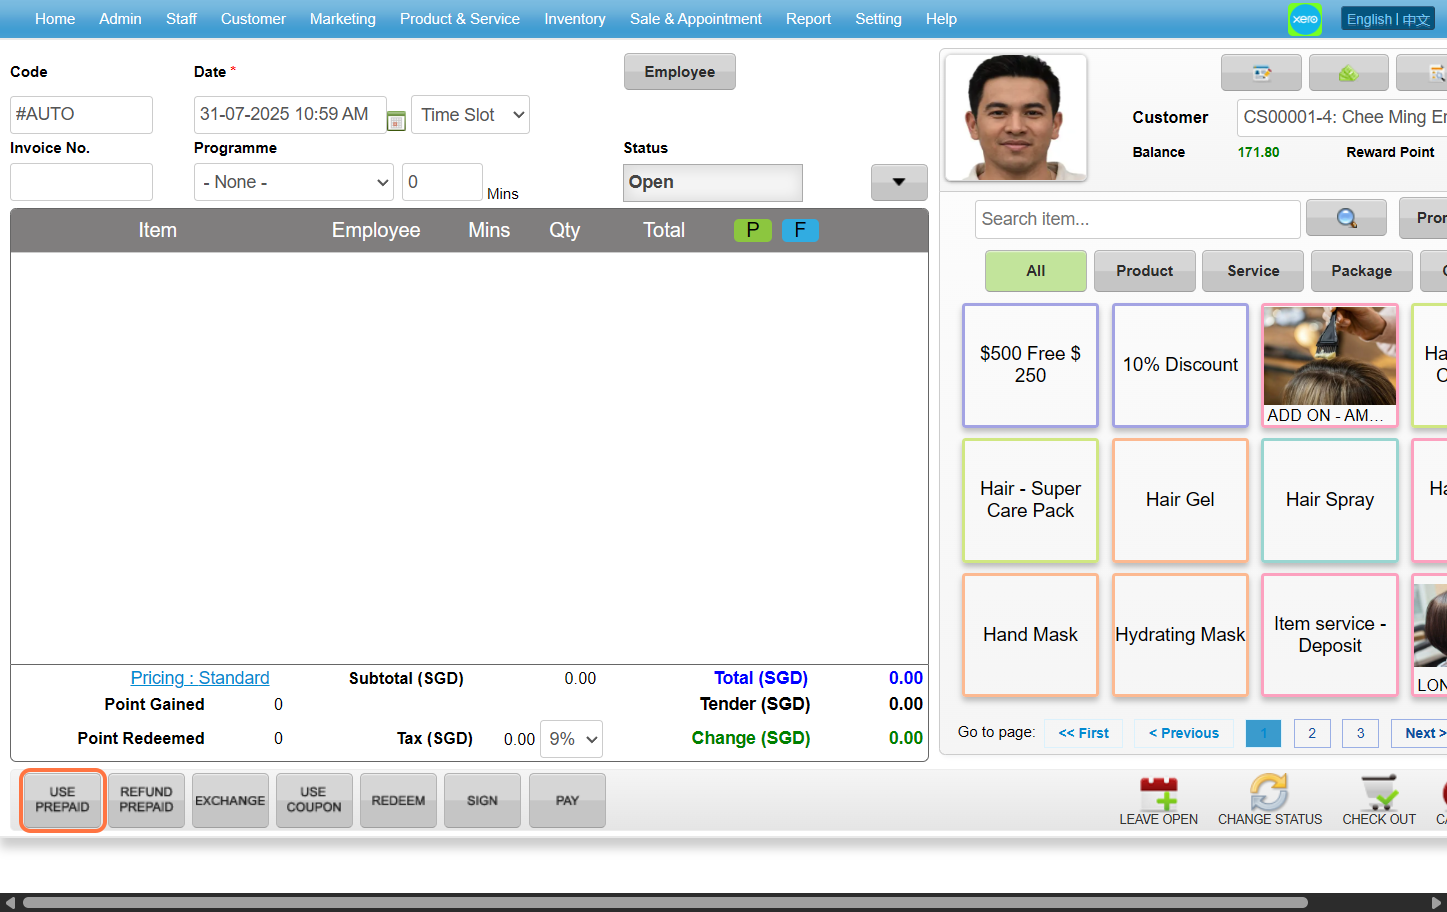
Step 8: Select any sesion package you want then enter the quantity desired before clicking “ADD & CLOSE”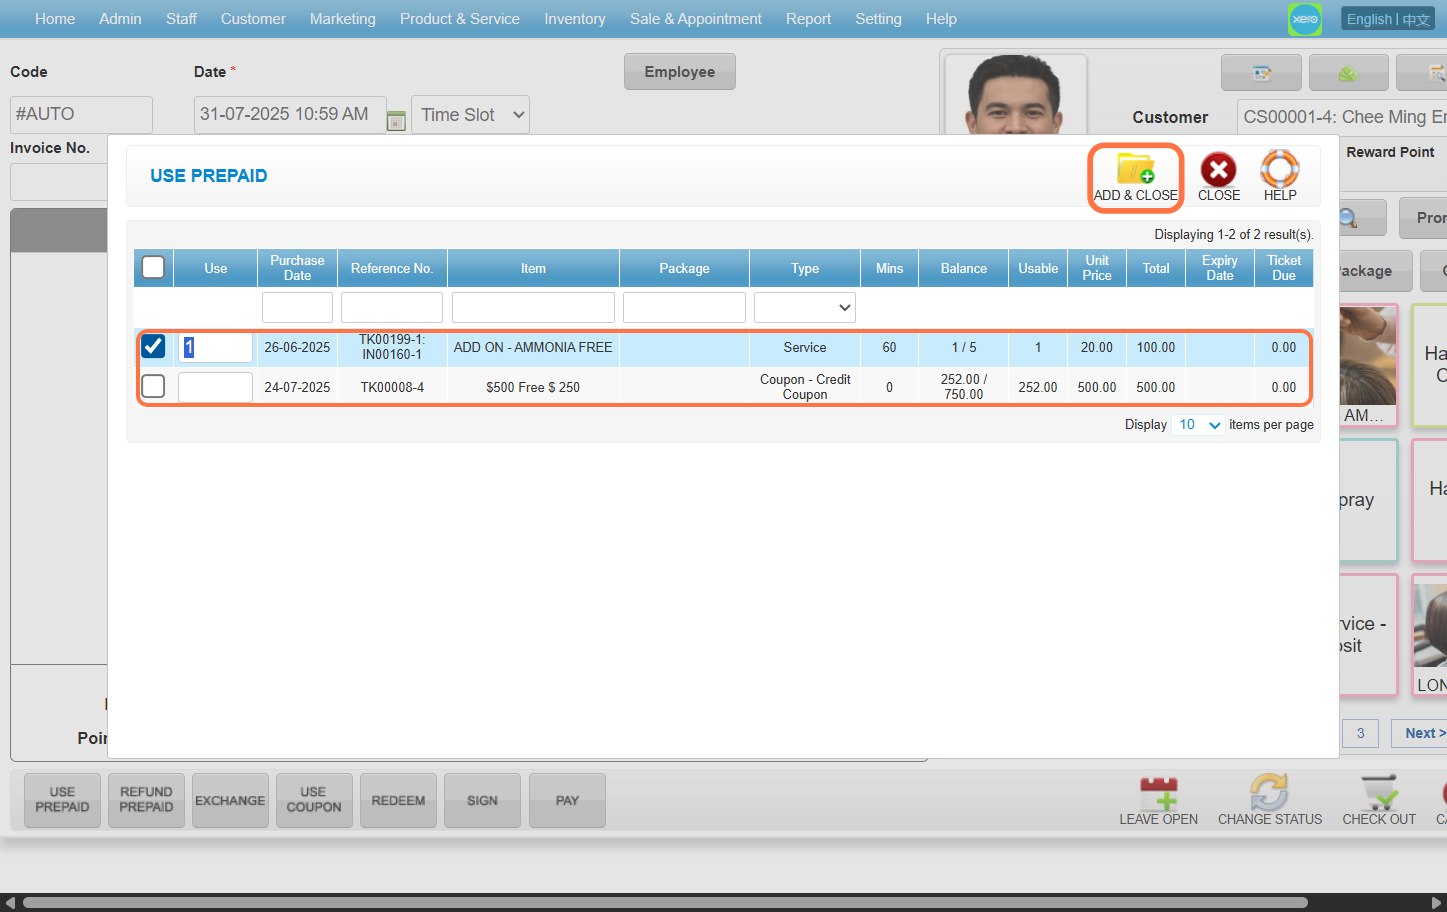
Step 9: Click “Checkout”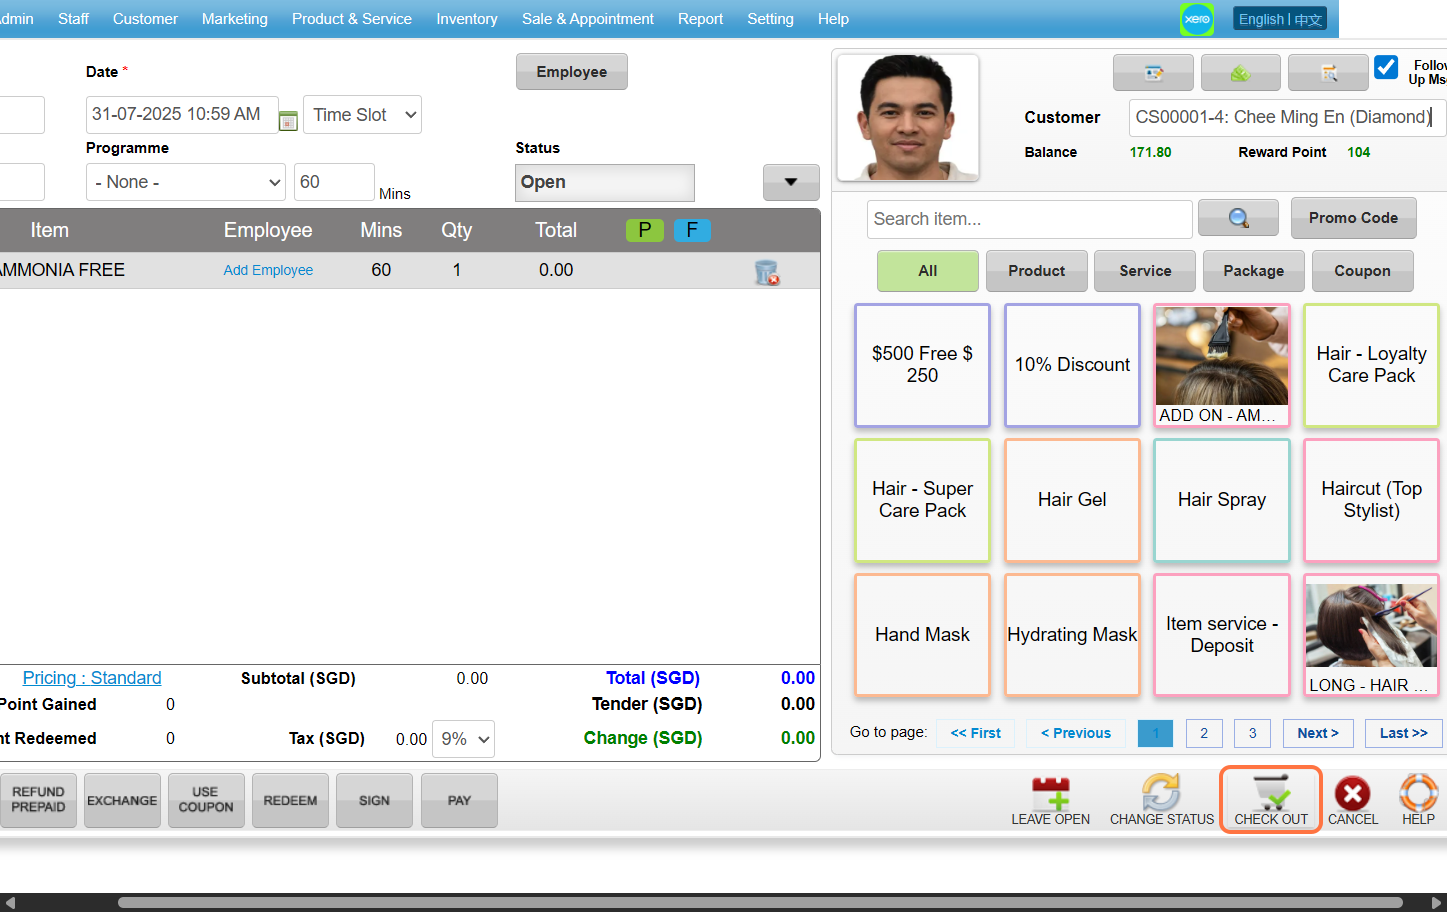
Last update: August 2025
Full Guide: https://wesshelp.wessconnect.com/2021/06/16/how-to-do-stock-take/
Step 1: Click “INVENTORY”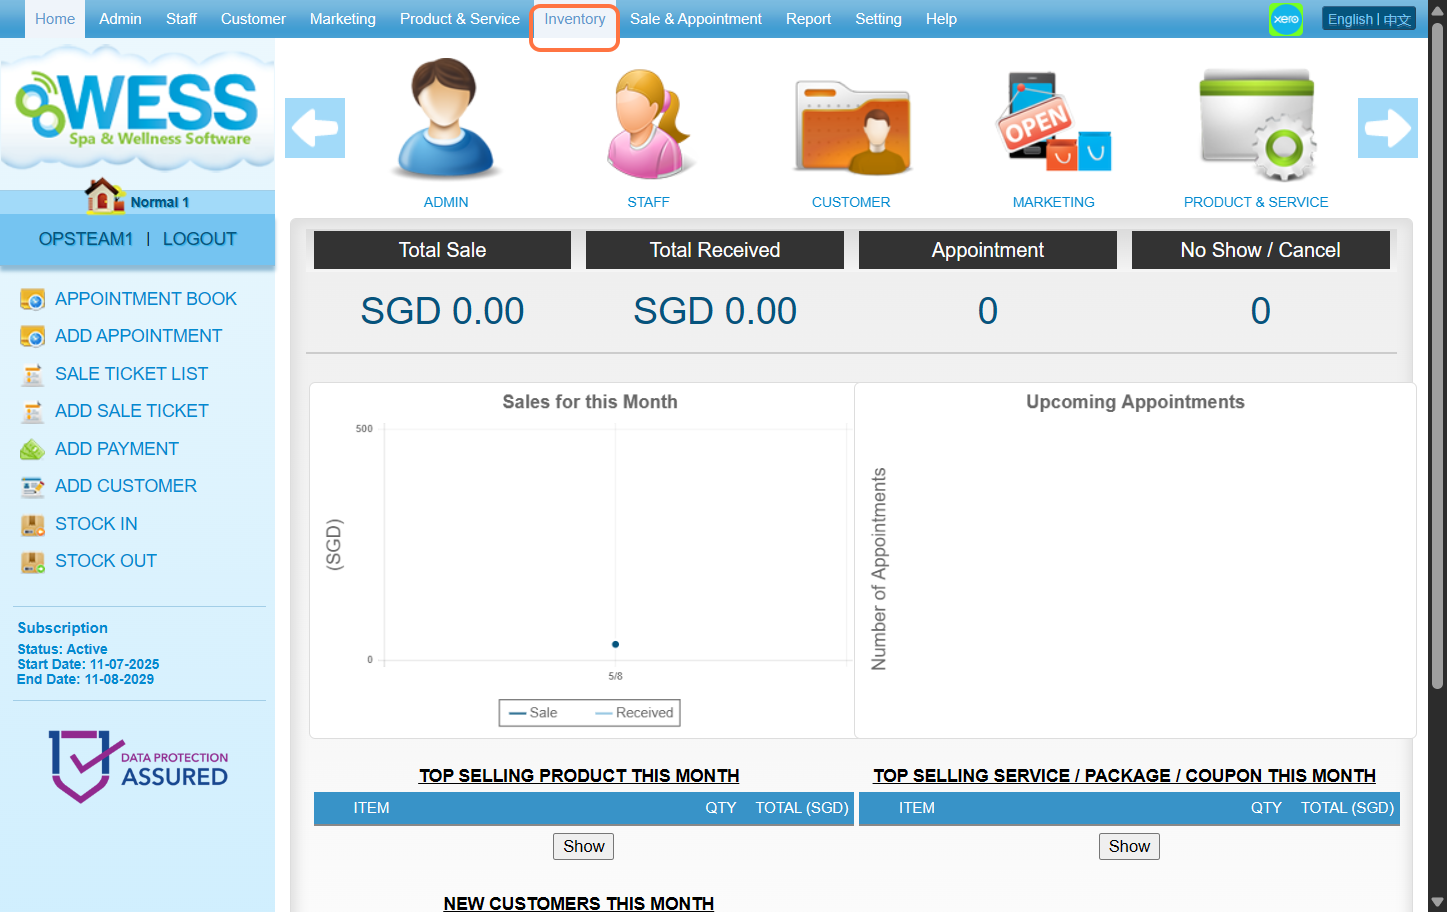
Step 2: Click “STOCK TAKE”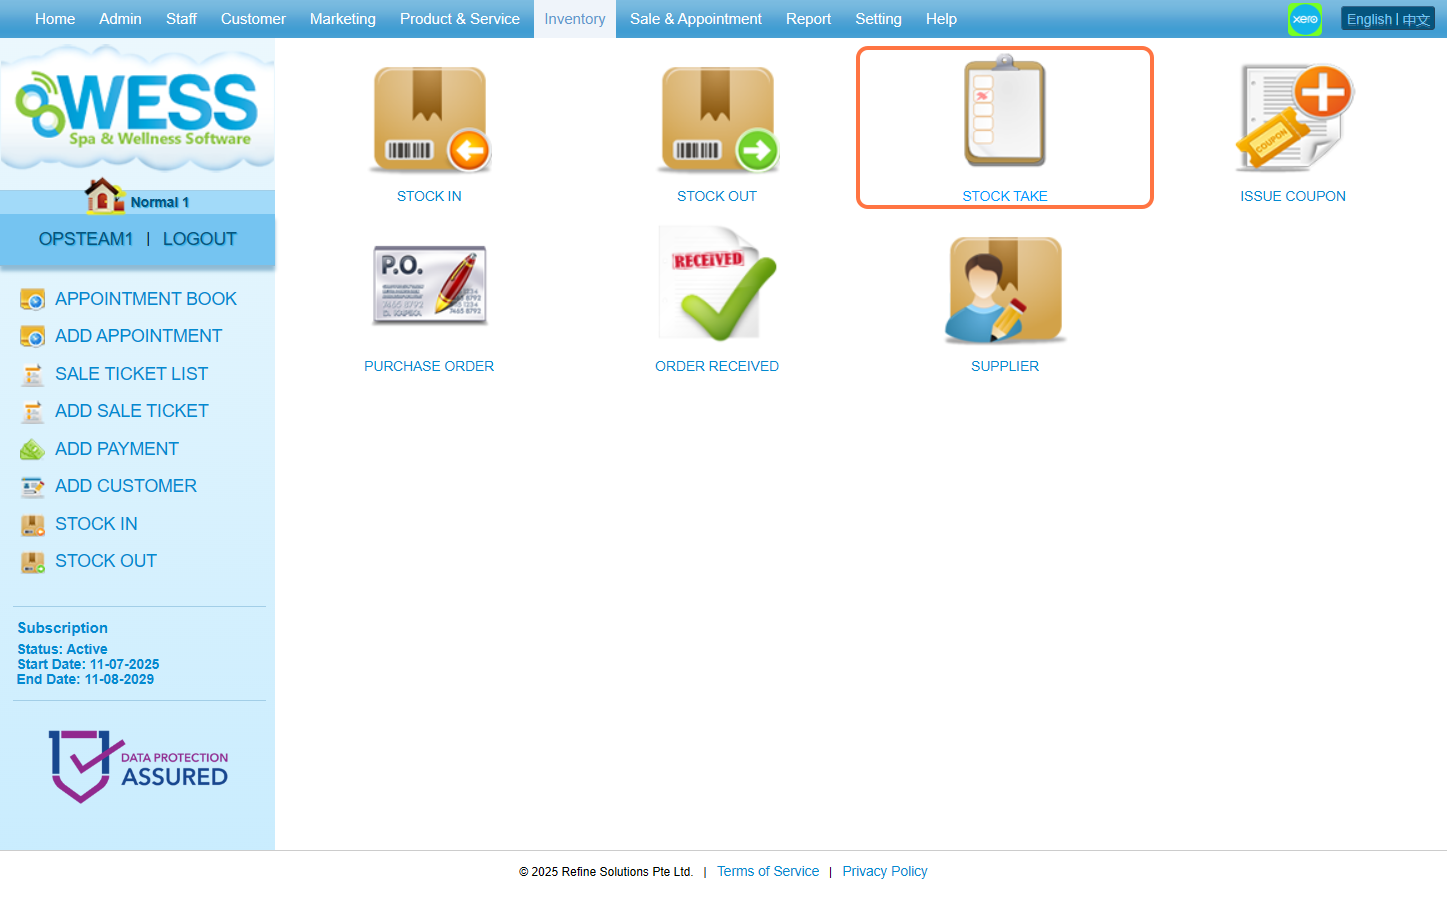
Step 3: Click “NEW”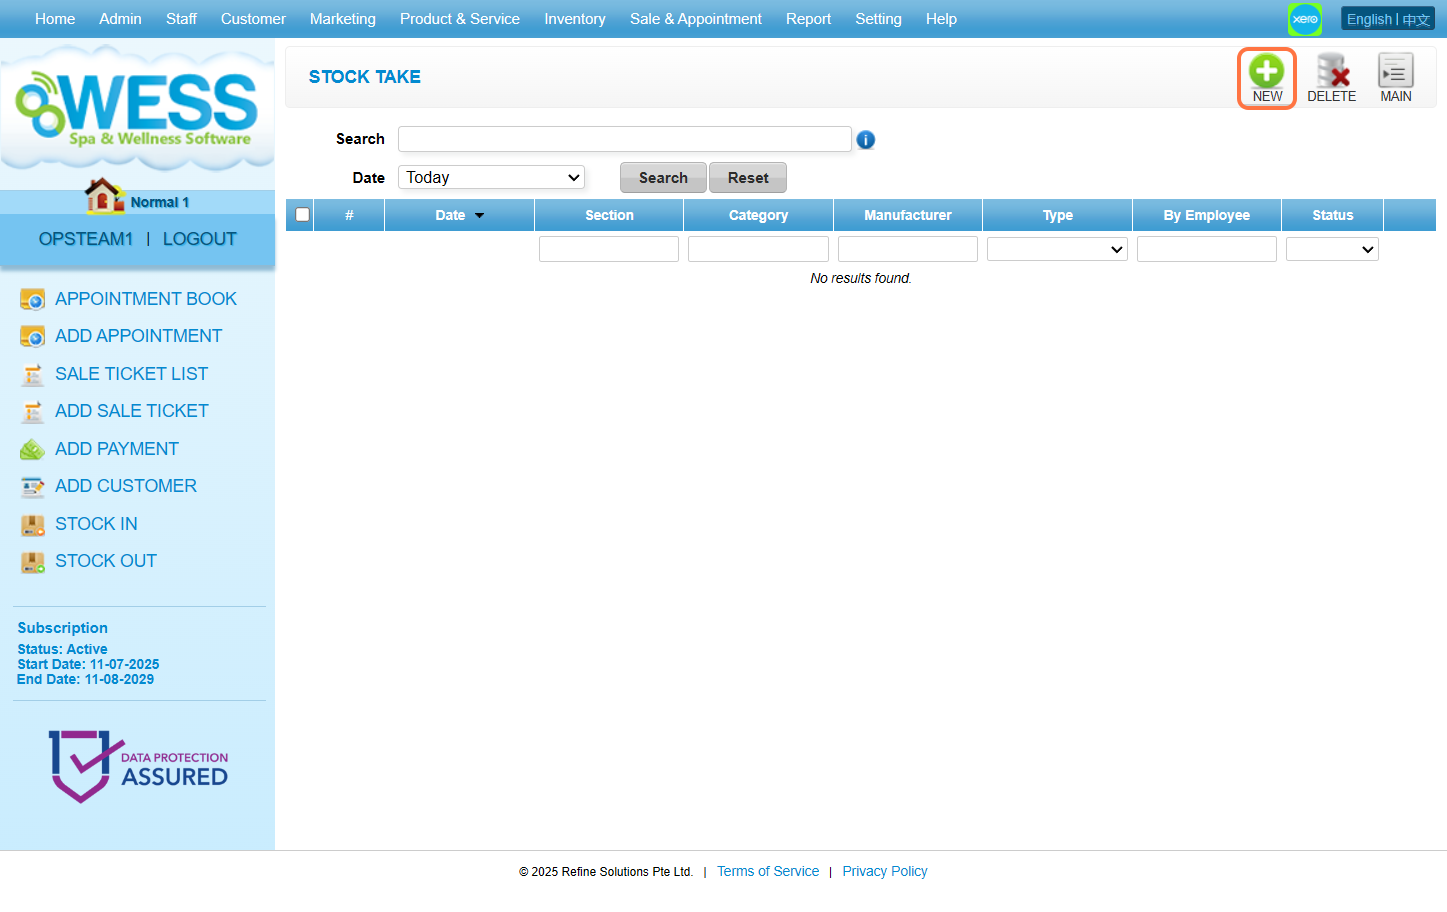
Step 4: Click “GENERATE”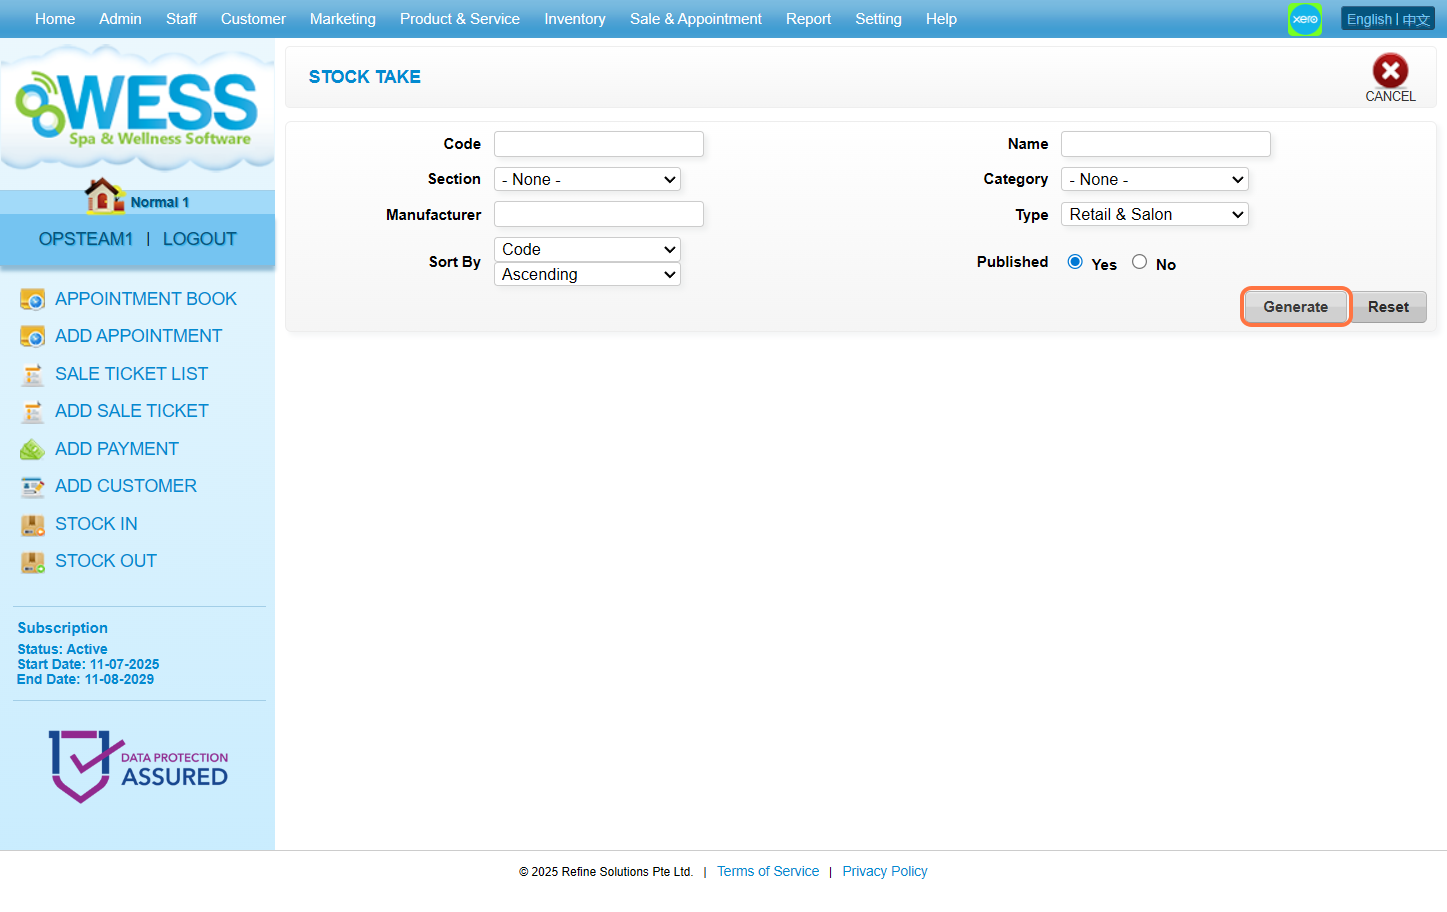
Step 5: Click and select the employee you want to choose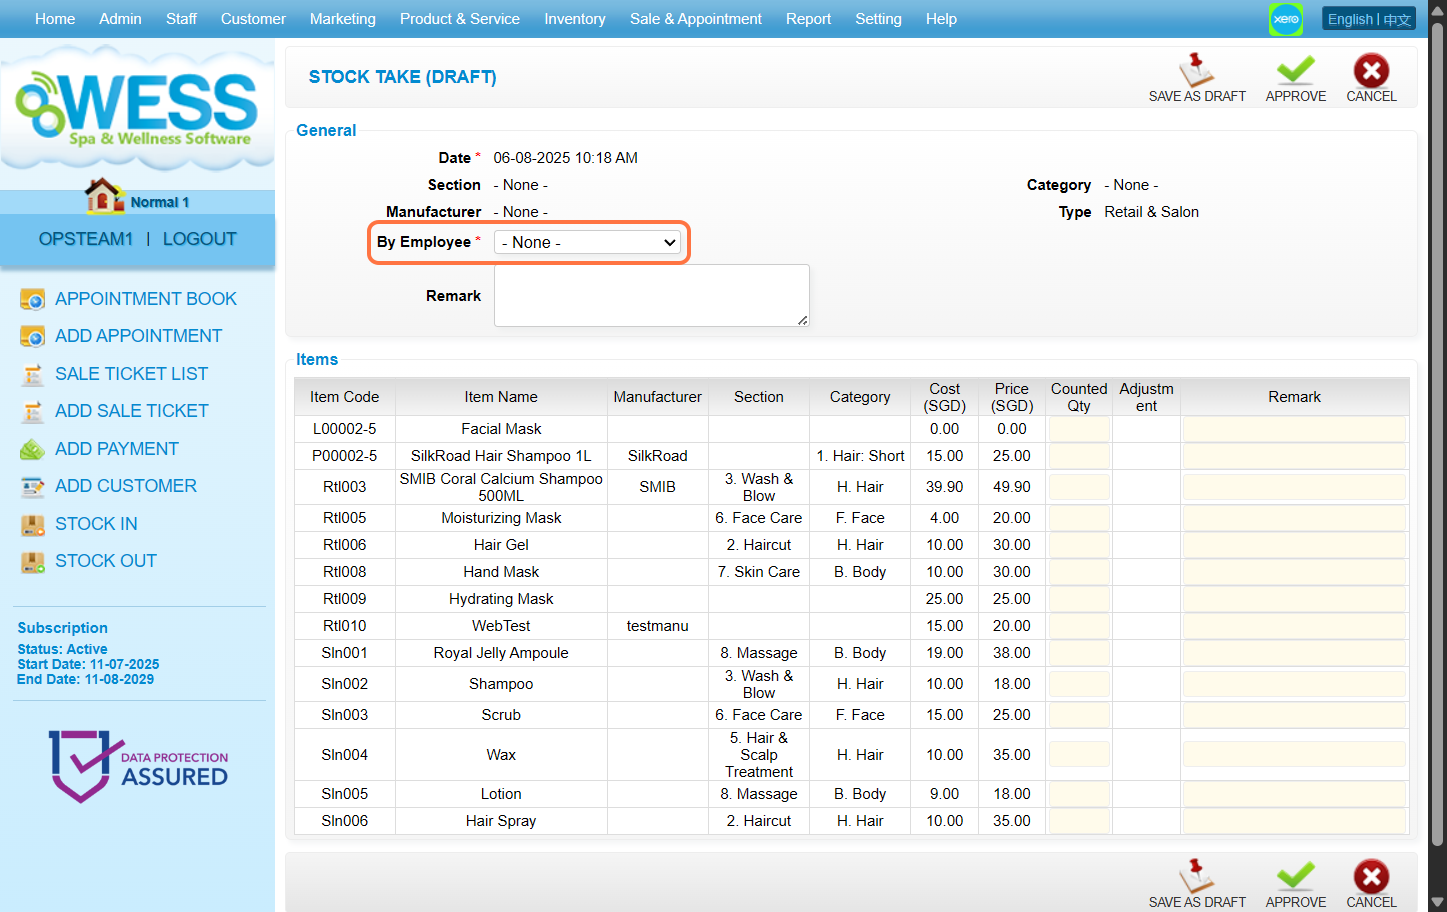
Step 6: You can count the stock quantity and fill in remark to record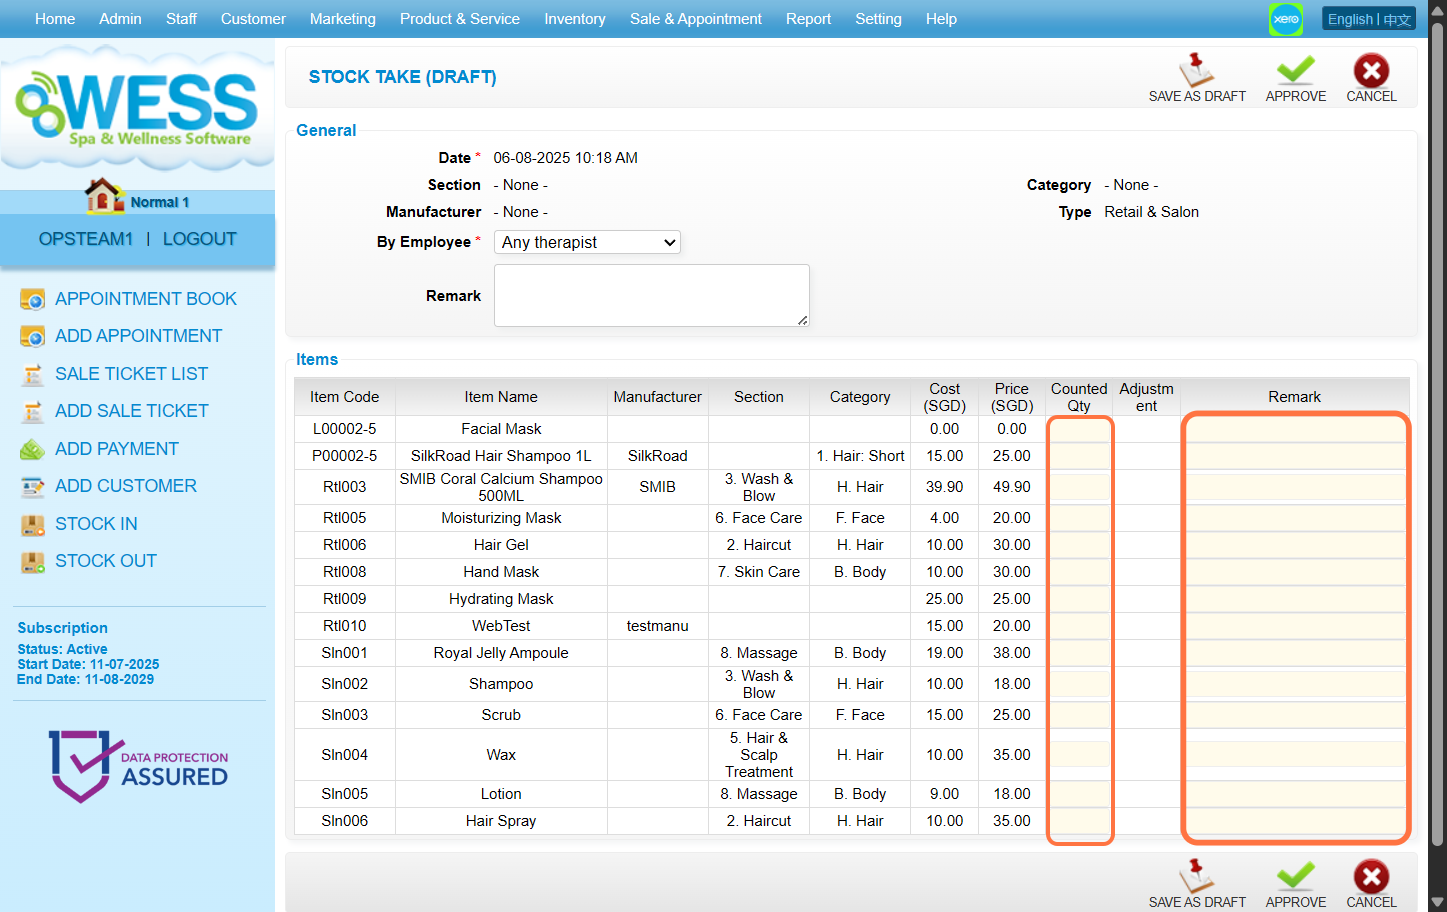
Step 7: Click “APPROVE”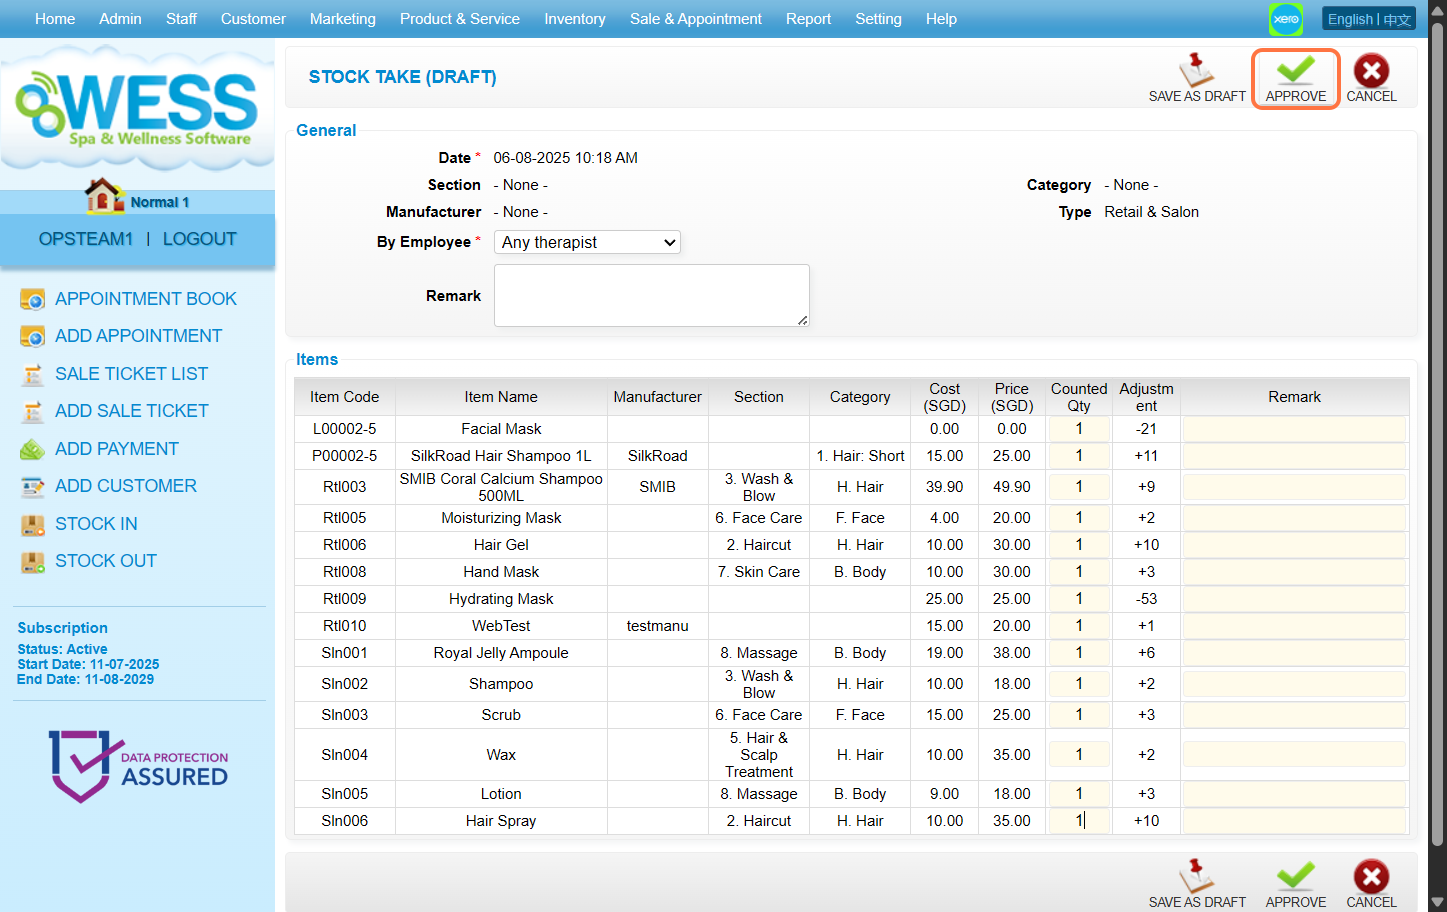
Last update: August 2025