Sale & Appointment

How to assign a serial coupon?

Step 1: Click “Sale & Appointment” .Step 1: Click “Sale & Appointment” .

Step 2: Click on “SALE TICKET” .Step 2: Click “SALE TICKET” .

Step 3: Click “NEW” .Step 3: Click “NEW” .

Step 4: Set a “Customer” name and select a customer .Step 4: Enter a “Customer” name and select a customer.

Step 5: Click “Employee” .Step 5: Click “Employee” .

Step 6: Select an employee and click “SET“.Step 6: Select an employee and click "SET".

Step 7: Enter the serial number coupon name and select it .Step 7: Enter the serial number coupon name and select it.

Step 8: Make sure enter the correct “Serial Number” .Step 8: Make sure enter the correct “Serial Number”.

Step 9: Click on the “➕” to add .Step 9: Click on the “➕” to add.

Step 10: Click “ADD & CLOSE” .Step 10: Click "ADD &CLOSE".

Step 11: Click the item .Step 11: Click the item.

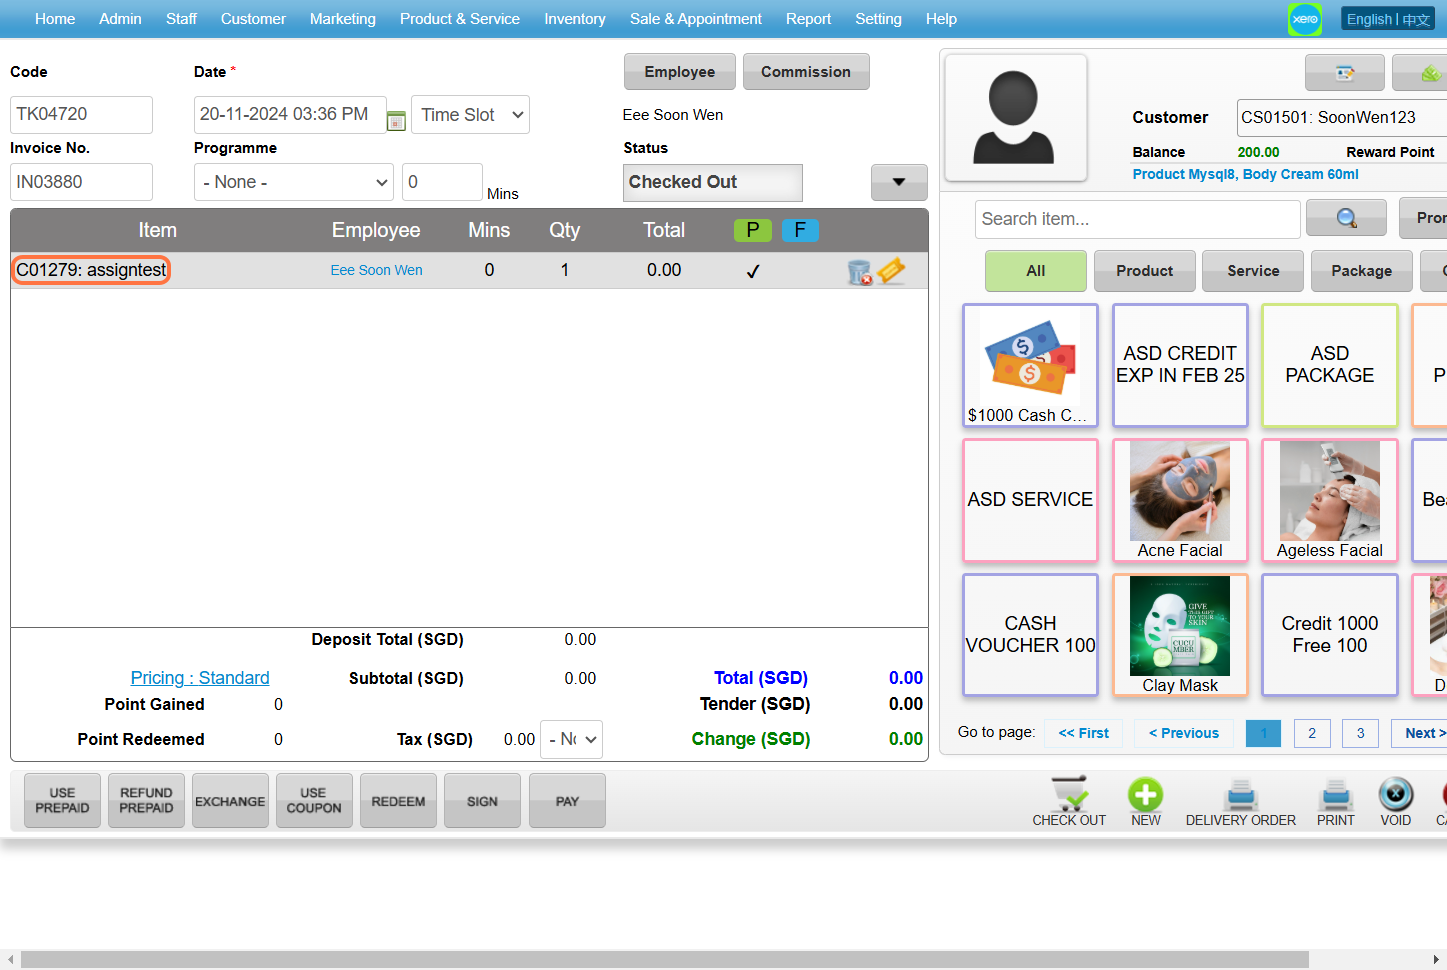
Step 12: Select “Prepaid” .

[!] If the prepaid option is not ticked, tick it.Step 12: Select "Prepaid".

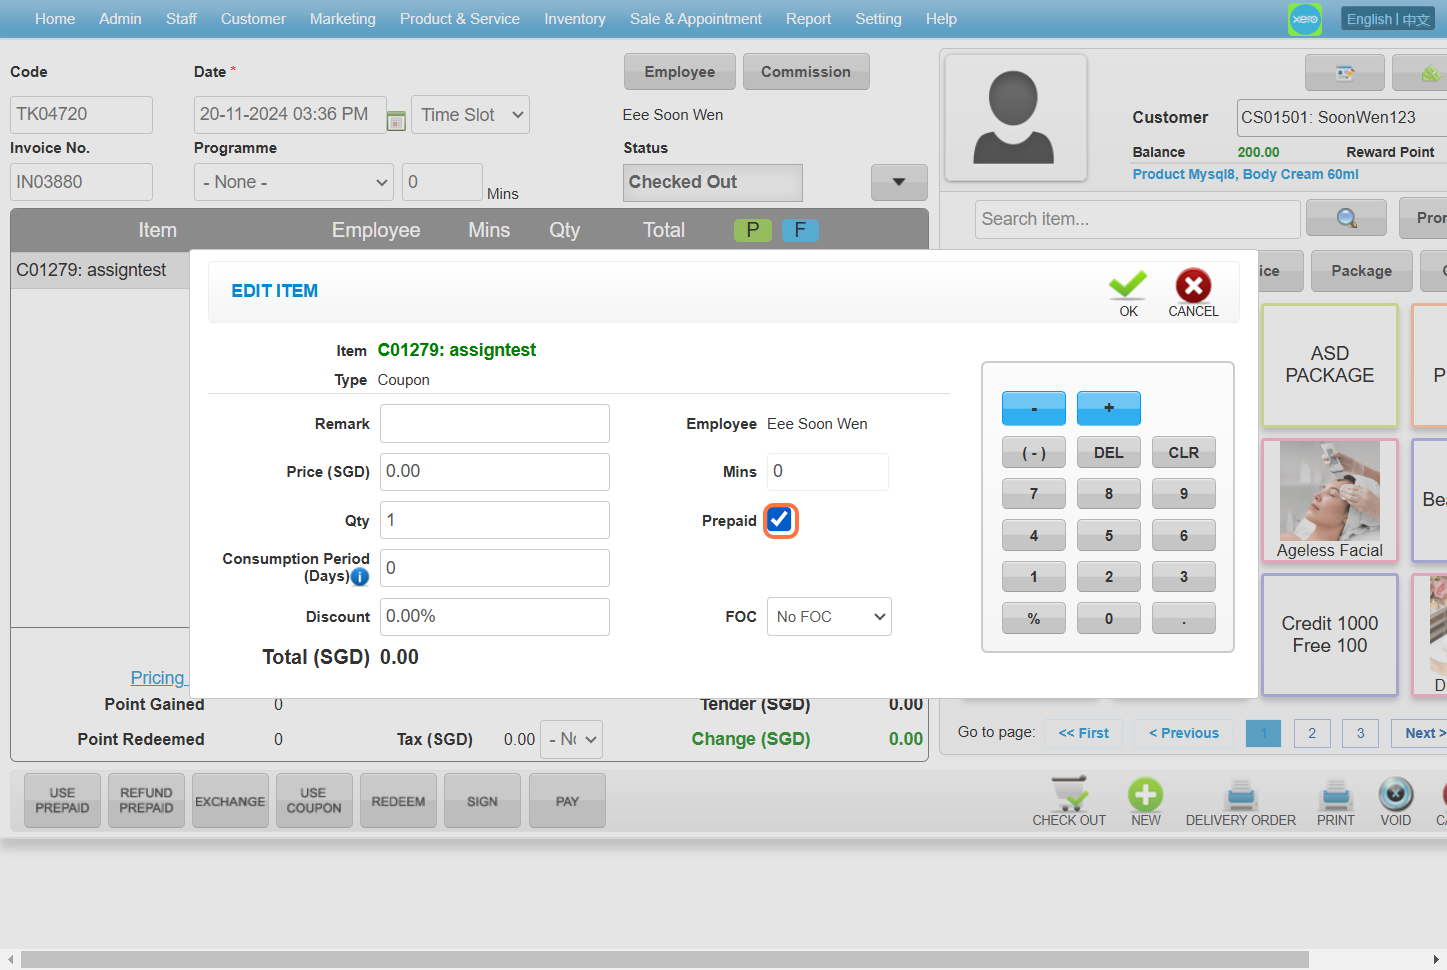
Step 13: Click “OK” .Step 13: Click "OK".

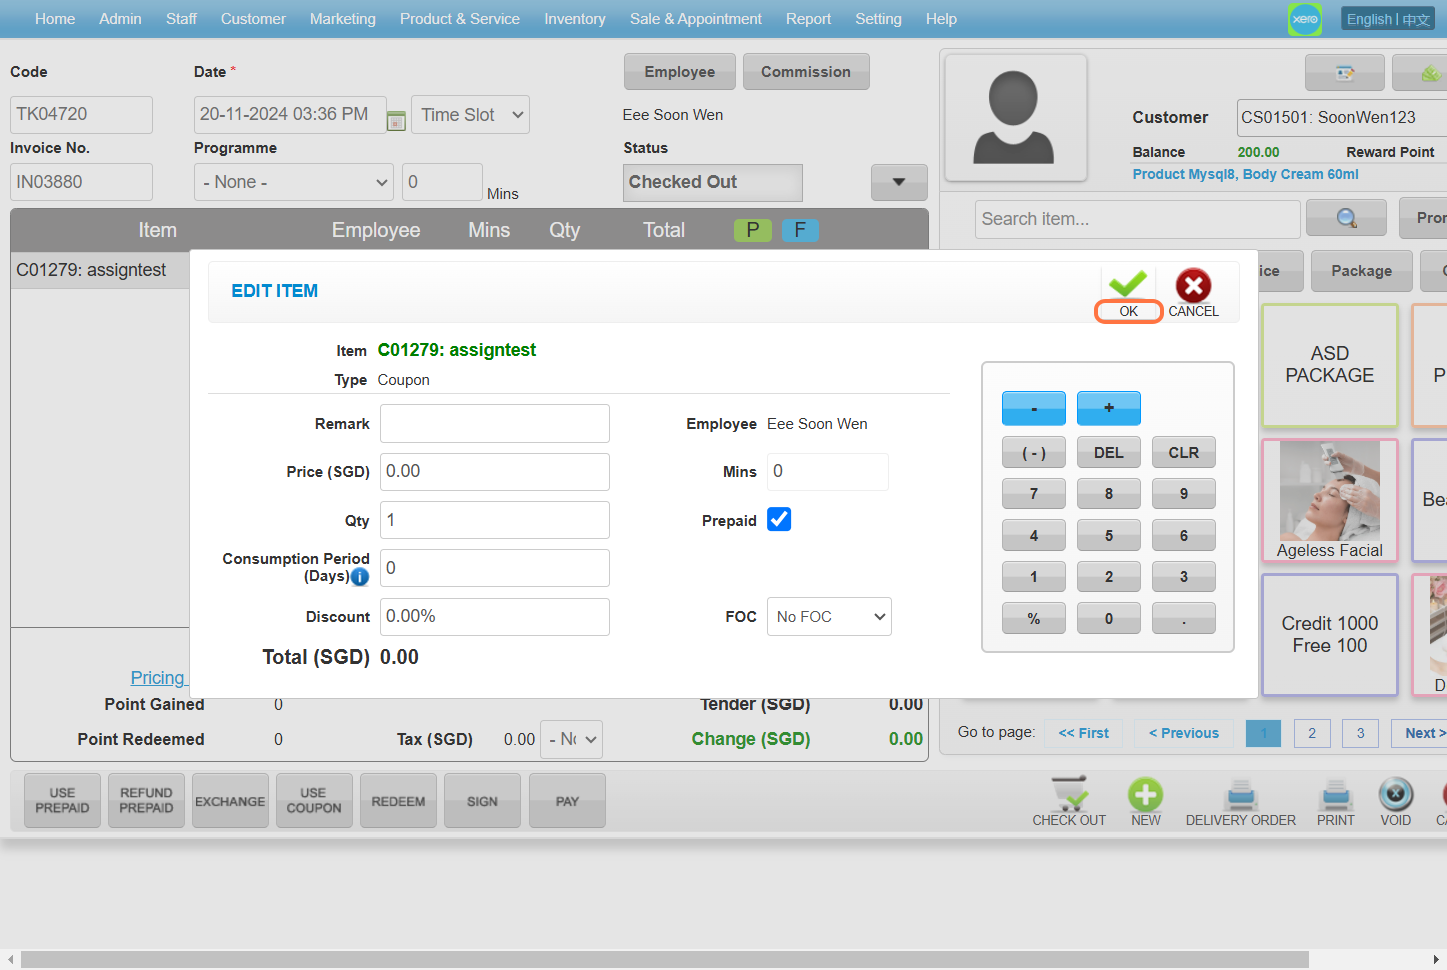
Step 14: Click “CHECK OUT” .Step 14: Click "CHECK OUT".

Last Updated: Nov 2024

Still need help? Don't worry, we're here to help

Still need help?
Don't worry, we're here to help

WESS