
Step 1: Click “Setting” .
Step 2: Click on “CUSTOMER GROUP” .
Step 3: Click on “NEW” .
Step 4: Enter the “Name” of the new customer group.
Step 5: Set the validity time for this customer group once assigned.
[!] Leave it empty will make this group permanent until removed manually.
Step 6: [Optional] As the expiry date can be updated, thus can turn this on to prevent it.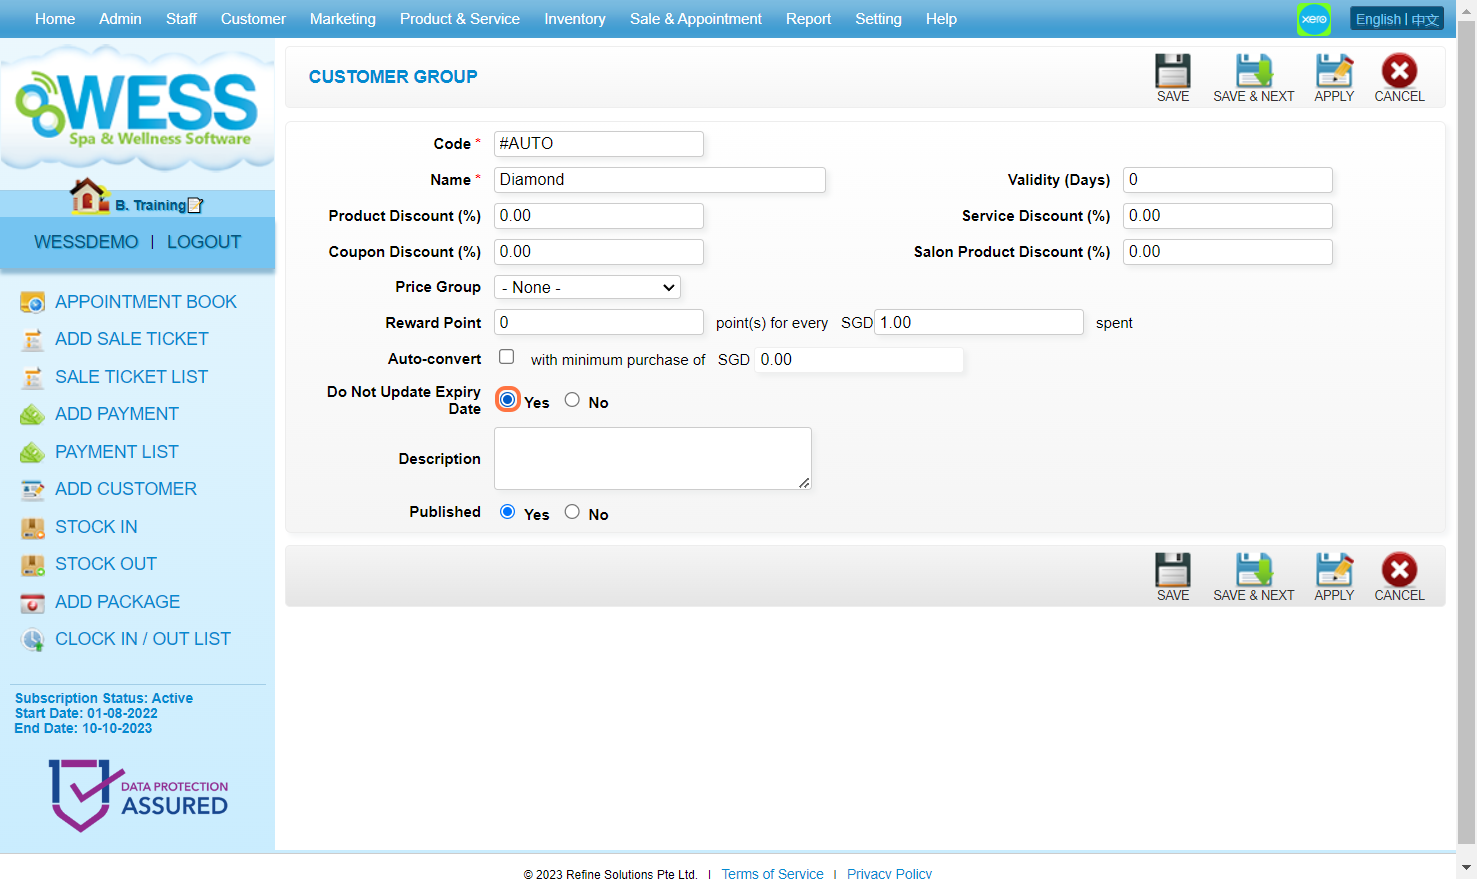
Step 7: Make sure the “Published” has been set to “Yes“.
Step 8: Can add information as many as you want here.
Step 9: Click on “APPLY” or other disk icons to save.”
Step 10: Make sure the new customer group has been saved.
Last Updated: July 2024